
Strut spring compressor tool mistakes usually happen for one simple reason, people underestimate how much energy a coil spring stores, and they rush setup because the job looks straightforward.
If you wrench on your own suspension, this tool can save time and money, but it also demands respect, the “right” compressor is the one that fits your spring style, your workspace, and your tolerance for risk.
This guide walks through what the tool actually does, which designs are common in the U.S. market, how to sanity-check your setup before turning a bolt, and when it’s smarter to stop and hand the strut to a shop.
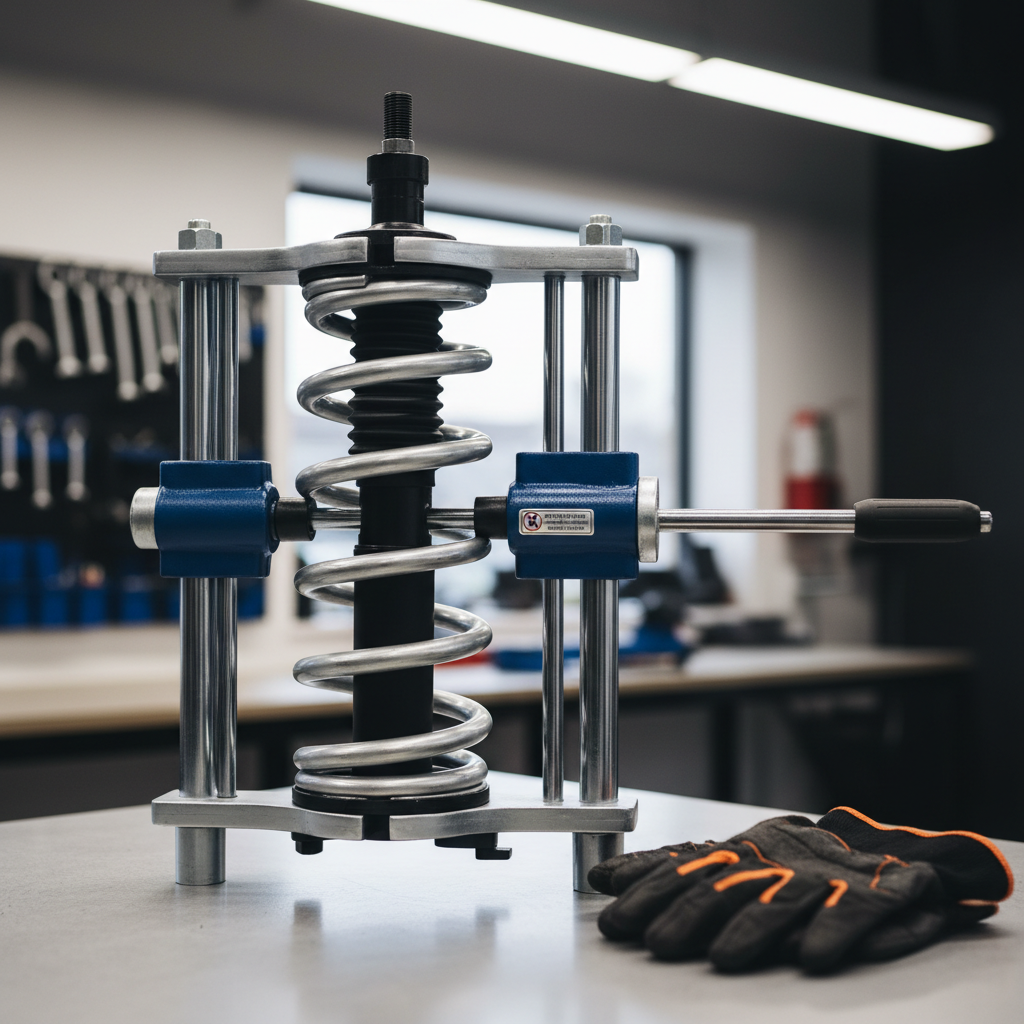
What a strut spring compressor tool does (and why it matters)
A coil spring on a strut assembly is preloaded, meaning it already pushes hard against the top mount even when the car sits on the ground. The compressor’s job is to reduce that spring’s height in a controlled way so you can remove the top nut, swap a strut, mount, bearing, or spring, then reassemble without the spring “launching.”
According to OSHA guidance on controlling hazardous energy and using proper protective measures, stored energy is a recognized workplace hazard, the same concept applies in a home garage, even if the job feels routine.
Real talk, most scary moments come from uneven compression, slipping hooks, worn threads, or trying to compress too far because the mount still won’t come free.
Common types of spring compressors (and who they suit)
There are a few main styles you’ll run into. None is “perfect,” each has tradeoffs around access, stability, and the kinds of springs it can grab.
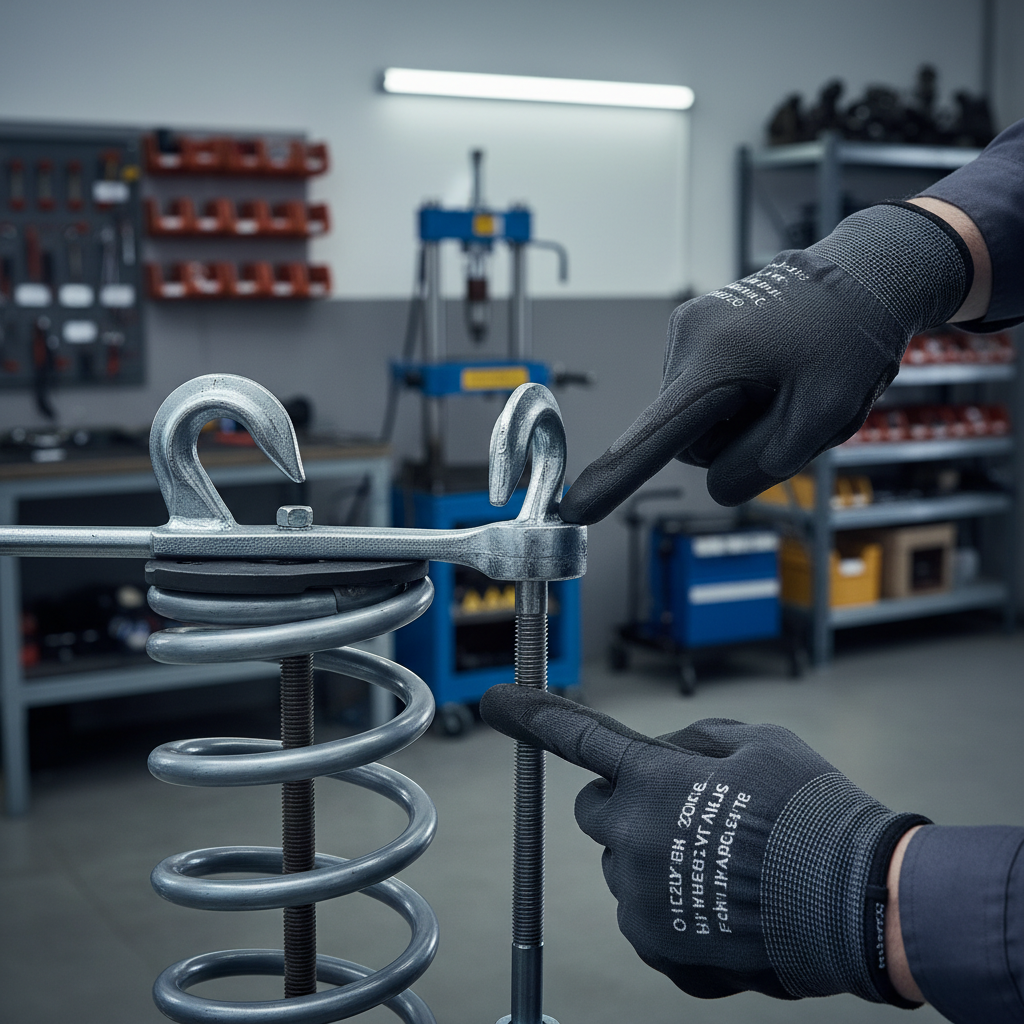
- External hook/rod compressors (pair set): Two threaded rods with hooks that grab the coil from the outside. Affordable and portable, but they demand careful symmetry and good hook engagement.
- Clamshell / strut-type compressors: A more enclosed tool that captures the spring with a housing. Often feels more stable, but fitment can be picky across different spring diameters.
- Wall/bench-mounted compressors: Heavy shop-style units with better control and repeatability. Great if you do suspension work often, less great if you have limited space or a one-off job.
If you’re dealing with tight, tapered, or closely wound coils, a basic hook set can struggle to seat safely, that’s usually the point where people start improvising, which is the part you want to avoid.
Quick self-check: are you a good candidate for DIY compression?
Before you buy anything, it helps to be honest about the setup. This is less about skill pride and more about whether your environment supports safe work.
- You have a flat, stable work surface and can secure the strut so it won’t roll or twist.
- You can clearly see the hooks or contact points on both sides of the coil.
- The spring has enough open coil spacing for the tool to grab without riding on the edge.
- You can turn the tool smoothly without binding, jumping, or gritty thread feel.
- You’re comfortable stopping mid-job if something feels off, even if it wastes time.
If two or more of those feel shaky, many people get better results by removing the full strut and having a shop swap the spring and mount, you still do most of the labor, just outsource the highest-risk part.
How to choose the right tool: fit, build, and small details that matter
“Fits your vehicle” is not enough. You want a tool that fits your spring geometry and your working constraints.
Key selection criteria
- Spring compatibility: Check min/max coil diameter and whether the tool can handle progressive or tapered springs.
- Thread quality and load rating: Look for clean, robust threads and clear manufacturer limits. If limits are vague, treat that as a yellow flag.
- Hook design: Deeper, well-shaped hooks usually resist slipping better than thin, shallow ones, especially on rusty coils.
- Anti-slip features: Safety pins, retainers, or locking collars can help, but they don’t replace proper seating.
- Wrenching method: Some tools accept an impact gun, but controlled hand turning is often safer for DIY because you feel binding early.
At-a-glance comparison table
| Type | Best for | Watch-outs | Typical buyer |
|---|---|---|---|
| External hook/rod (pair) | Occasional MacPherson struts with accessible coils | Uneven compression, hook slip, limited clearance | DIYers doing 1–2 suspension jobs |
| Clamshell-style | More controlled capture when it fits the spring well | Fitment limits, bulk around tight strut towers | DIYers who want extra stability |
| Wall/bench-mounted | Frequent strut rebuilds, repeatable work | Space needs, higher cost, mounting requirements | Advanced DIY / small shops |
Practical steps: using a spring compressor without rushing the dangerous parts
Strut spring compressor tool use goes smoother when you treat it like a setup job, not a “crank it down” job. If anything here conflicts with your tool’s manual, follow the manufacturer instructions.
Step-by-step workflow (DIY-friendly)
- Clean and inspect: Wipe threads, check hooks for cracks, bending, or sharp burrs, and confirm both sides match.
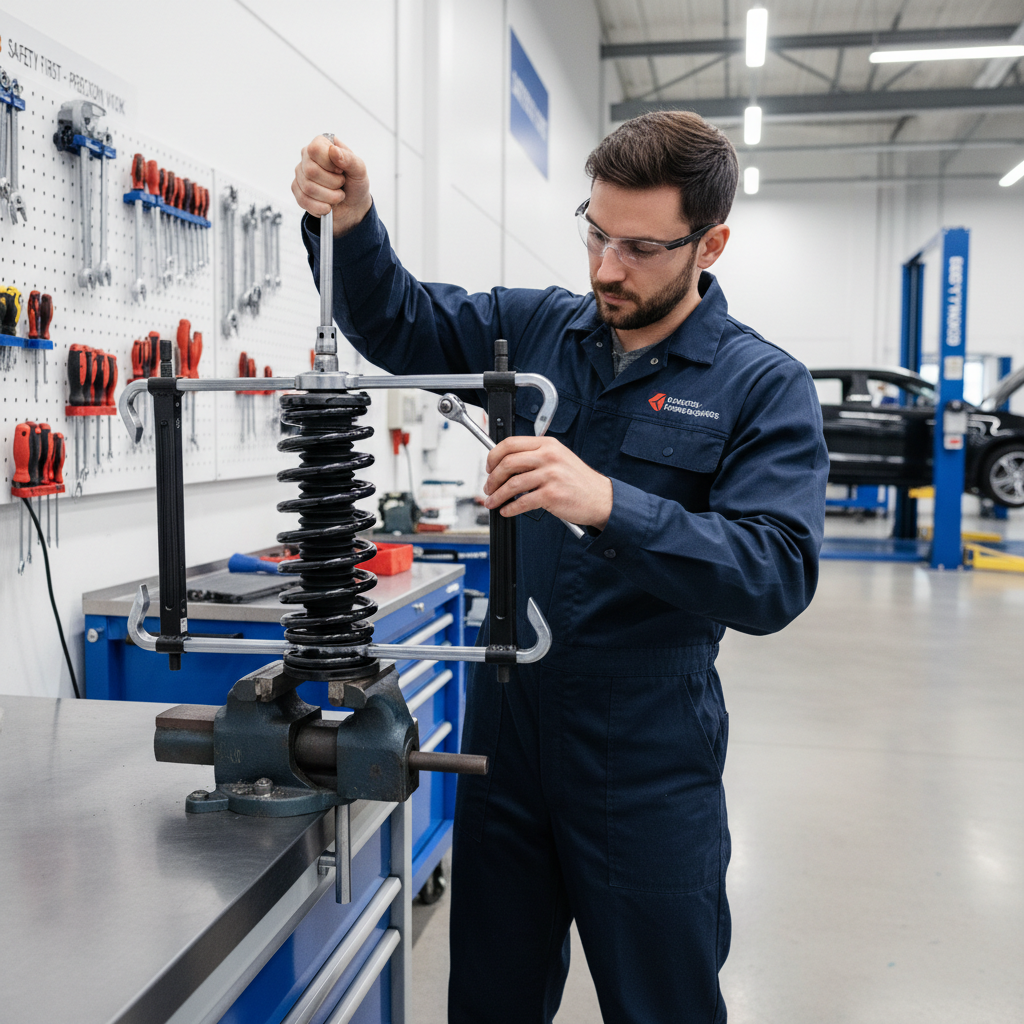
- Secure the strut: Use a sturdy vise with soft jaws when possible, or a stable floor setup that prevents rolling.
- Place hooks opposite each other: Aim for equal distance from the top, with hooks seated fully around the coil, not perched on an edge.
- Compress evenly: Alternate turns side-to-side, small increments, watching for the spring bowing or the hooks walking.
- Stop once the mount is free: You typically only need enough compression to remove tension from the top mount, compressing “extra” adds risk without benefit.
- Reassemble and decompress slowly: Align the spring ends to their seats, then release tension in small alternating turns.
Key point: if the tool starts to bind, squeal, or shift, that’s not “normal,” it’s your cue to back off and reset.
Safety pitfalls and common mistakes (what usually goes wrong)
Most failures come from small compromises that stack up. People don’t decide to be unsafe, they just try to “make it work” for five more minutes.
- Uneven compression: One side tightened far ahead of the other, spring bows, hooks lose bite.
- Wrong contact point: Hooks grabbing too close to the end coil where the shape changes, or sitting on painted edges.
- Using an impact too aggressively: Speed hides thread binding and can twist the tool out of alignment.
- Worn or dry threads: Galled threads increase torque, then people apply more force, which is how parts fail.
- Working in a bad stance: Face and torso in the “line of fire” if something slips.
According to NHTSA (National Highway Traffic Safety Administration), vehicle maintenance and repair should follow safe procedures and correct equipment use, if you’re unsure about a repair step that affects vehicle control, a qualified technician is a reasonable next step.
When to stop and get professional help
There’s no shame in outsourcing this part. In many cases, paying a shop to swap springs onto new struts can be the most cost-effective move because it reduces the chance of tool damage, parts damage, or injury.
- Your spring is tapered, tightly wound, or has minimal grab points.
- You see rust pitting, coil damage, or a cracked isolator, the assembly may behave unpredictably.
- The top nut won’t break free without extreme force or heat.
- Your compressor won’t seat symmetrically no matter how you reposition it.
- You need to do multiple vehicles and are considering a bigger bench-mounted setup, a shop can advise based on workload.
If you suspect any component damage, or you’re uncertain about reassembly torque and alignment, it’s smart to consult a professional mechanic, suspension issues can affect steering and braking stability.
Conclusion: a smart way to approach the job
A strut spring compressor tool can be a solid DIY investment when it matches your spring style and you’re willing to prioritize setup and inspection over speed. If you want one actionable takeaway, buy for fit and stability first, then practice slow, even compression with frequent visual checks.
If you’re planning a strut job this weekend, pull your strut, measure the spring diameter and coil spacing, and decide upfront whether a portable compressor is appropriate, that single decision prevents most “I’m halfway in and stuck” moments.
FAQ
Can I use a strut spring compressor tool with an impact wrench?
Some tools allow it, but many DIYers get safer, more predictable results by hand. Impacts can mask binding and encourage uneven compression, if you use one, keep speed low and alternate sides carefully.
How tight should I compress the spring?
Usually only until the top mount is free of spring pressure. If the mount still feels loaded, stop and verify hook placement and symmetry rather than cranking harder.
What’s the difference between internal and external spring compressors?
External styles grab the coil from the outside, internal styles compress from within the spring. Internal tools can help in tight spaces, but compatibility varies a lot, especially on modern strut designs.
Do I need to remove the whole strut assembly from the car?
In many cases, yes, it’s typically safer and gives you better access and visibility. Compressing a spring in the wheel well tends to increase awkward angles and reduces your ability to confirm hook seating.
How do I know if my compressor is unsafe to use?
If threads feel rough, hooks look bent, pins don’t seat, or the tool flexes noticeably under load, treat it as unsafe. Replacing a questionable tool is usually cheaper than dealing with the consequences.
Should I replace the strut mount and bearing while I’m in there?
Often, yes, especially if mileage is high or you hear clunks when turning. But parts choice depends on the vehicle and budget, a shop can confirm wear signs when the assembly is apart.
Is renting a spring compressor from an auto parts store a good idea?
It can be, especially for a one-time job, but inspect the rental tool closely for wear and missing hardware. If you can’t confirm its condition, consider another option.
If you’re trying to decide between tool styles, or you want a more dependable setup for repeated suspension work, it may help to compare your spring measurements and workspace constraints against a short list of proven compressor designs, a quick consult before buying often saves a return and a stressful Saturday.