
Garden fork tool digging is one of those chores that feels simple until you hit compacted clay, rooty beds, or a lawn edge that refuses to budge. If your fork bounces, your wrists ache, or the soil comes up in heavy slabs, it’s usually not just “you being tired”, it’s a mismatch of tool, timing, and technique.
This guide breaks down what a digging garden fork is best at, how to pick one that actually fits your yard, and how to use it for soil turning without turning your back into the project. I’ll also point out the common mistakes people make when they switch from a shovel to a fork and expect instant magic.
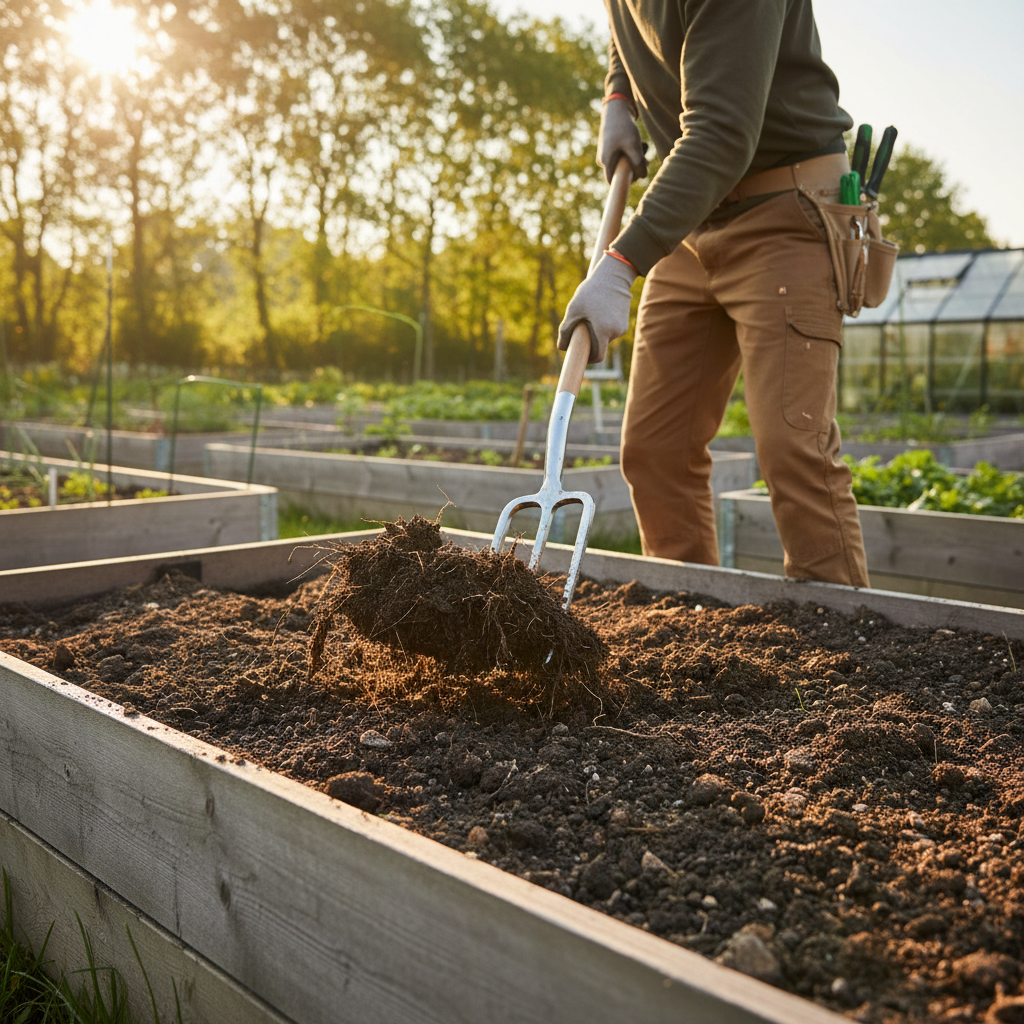
One quick framing helps: a garden fork isn’t mainly for “scooping”, it’s for lifting, loosening, and aerating. Once you lean into that, soil turning gets faster, and you usually break fewer earthworms along the way.
What a digging garden fork actually does well
A digging fork (often called a garden fork) shines when the goal is to loosen soil structure rather than remove a big volume of dirt. In real yards, that usually means beds that have settled over winter, soil that crusts after rain, or a planting area with a lot of organic matter.
- Loosens compaction by prying soil up and creating cracks for air and water.
- Turns soil with less slicing than many shovels, which can be gentler on soil life.
- Works around roots and rocks because tines slip between obstacles more easily than a blade.
- Mixes compost in place without pulverizing everything into dust.
According to USDA Natural Resources Conservation Service (NRCS)... soil structure and organic matter play a big role in water infiltration and root growth, and overly aggressive tillage can harm structure in many situations. That doesn’t mean “never turn soil”, it means your tool and intensity matter.
Choosing the right garden fork tool for digging (fit matters)
If garden fork tool digging feels like a fight, the fork might be wrong for your soil. Stores often stock one “standard” option, but small differences in tine shape and handle length change everything.
Key fork features to compare
- Tines: forged vs. welded — forged tines typically handle rocky or clay soil better, welded tines can flex or fail sooner under prying force.
- Tine shape — square/flat tines bite and pry compacted soil; round tines slide in easier for lighter soil and compost turning.
- Tine length — longer tines reach deeper, but can be harder to drive into hard ground; mid-length often feels more controllable.
- Handle length — long handles reduce bending but can feel awkward in tight beds; D-handles give control, especially for shorter users.
- Foot step/shoulder — a wider step is easier on boots and knees when you need to drive the fork in.
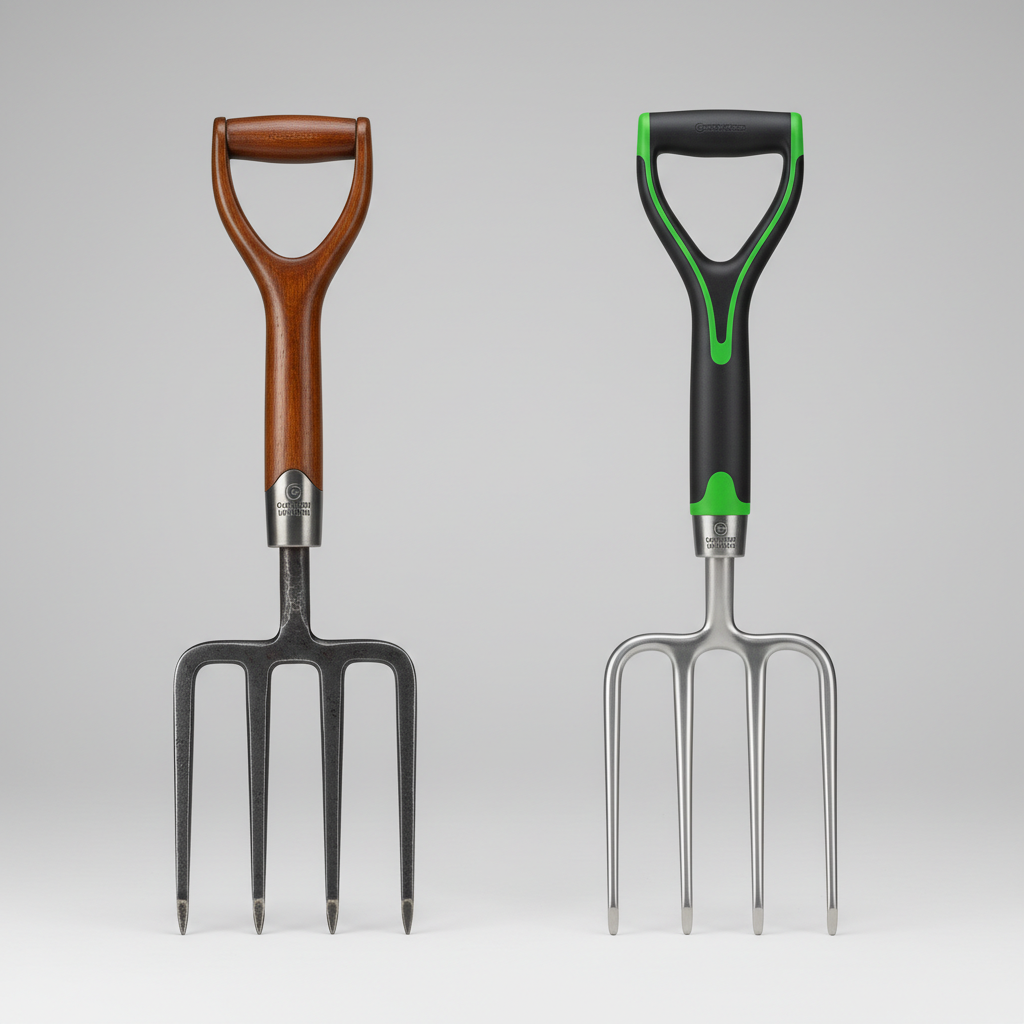
One practical rule: if you have heavy clay or lots of stones, prioritize a sturdier fork with square, forged tines even if it costs a bit more. If you mostly work amended beds and compost, a lighter fork is usually more pleasant and still durable.
Quick self-check: do you need a fork, a spade, or both?
People often buy a fork expecting it to replace every digging tool. It won’t, and that’s fine. Use this quick checklist to decide what to reach for.
- Choose a digging fork if you’re loosening compacted soil, lifting a clump to break it, mixing compost, or working in rooty areas.
- Choose a spade/shovel if you need clean edges, you’re moving soil from point A to B, or you’re cutting sod.
- Use both if you’re renovating a bed: fork to loosen and aerate, spade to reshape edges and move extra soil.
If your fork won’t penetrate more than an inch or two, it’s usually a soil-moisture issue or compaction beyond “hand tool level”, not a sign you’re weak. Sometimes waiting for the right moisture window is the real hack.
How to turn soil with a garden fork (a method that saves your back)
Garden fork tool digging goes smoother when you treat the fork like a lever, not a spear. The goal is to lift and fracture soil, then let gravity do some work.
Step-by-step technique
- Pick the right moisture: soil that’s slightly damp crumbles; soil that’s wet smears and compacts, dry soil fights back.
- Work in small bites: push the fork in, then rock back gently to lift the section without yanking.
- Use your foot, not your arms: step on the shoulder to drive tines in; your arms guide, legs supply force.
- Lift just enough: raise the soil a few inches, then shake lightly to fracture clods.
- Turn in passes: advance one fork-width at a time so you’re not twisting your torso.
For most home gardens, you rarely need to flip soil as deep as the full tine length. A moderate depth with better consistency usually beats “as deep as possible” that leaves huge clumps and sore joints.
Soil turning scenarios: what changes with clay, sand, and compost-heavy beds
The “right” approach changes by soil type, and that’s where a lot of frustration starts. You copy a tip from a friend in a different state and wonder why your yard acts like a brick.
Compacted clay
- Wait for a workable window after a light rain, not right after a storm.
- Use a fork to crack and lift, then add compost on top and mix lightly rather than pulverizing the clay.
- Consider repeating shallow passes over weeks; clay often responds better to gradual improvement.
Sandy or fast-draining soil
- Turning too aggressively can make it even looser and harder to keep moist.
- Focus on incorporating organic matter and avoiding overworking when it’s bone dry.
Compost-rich raised beds
- Use lighter lifts and minimal turning; you’re mostly aerating and blending.
- A fork is great for “fluffing” without destroying structure that roots like.
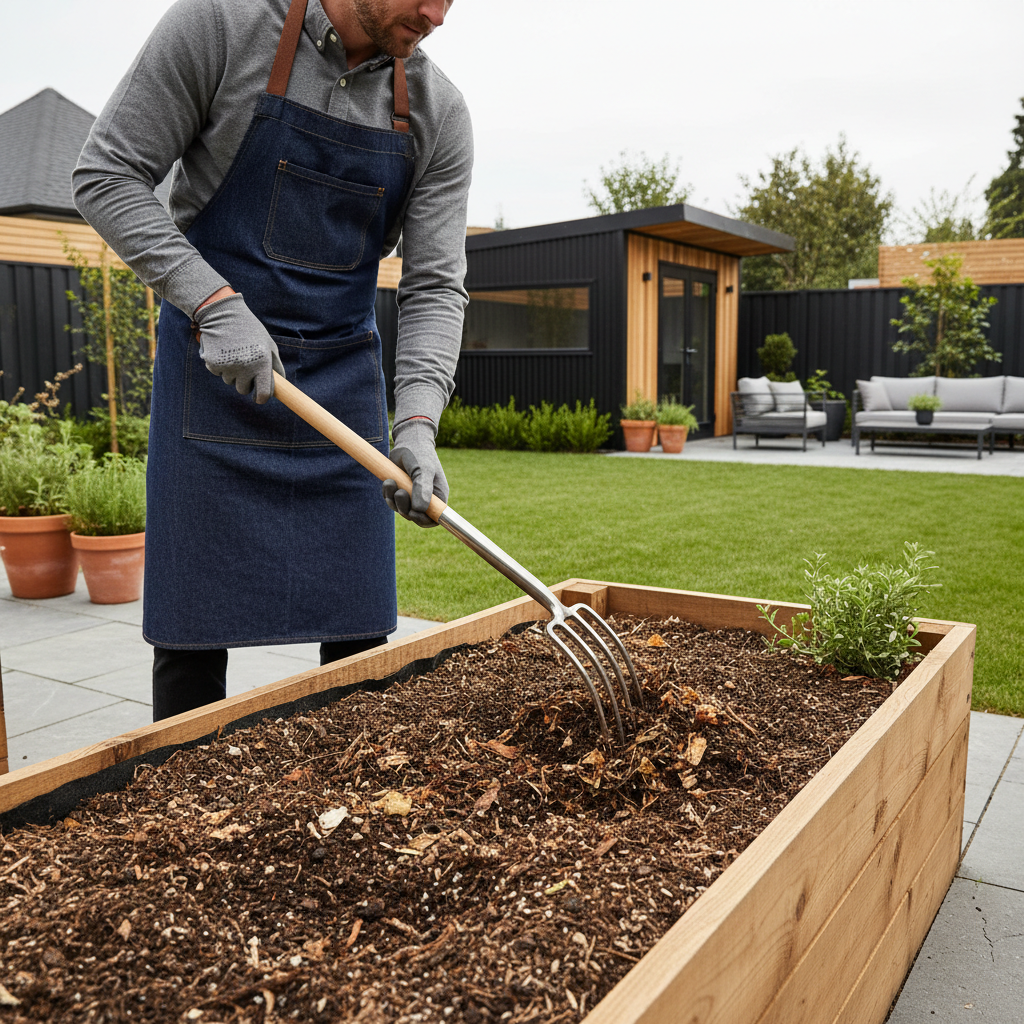
According to University of California Agriculture and Natural Resources (UC ANR)... adding organic matter and avoiding working soil when too wet helps maintain good soil structure. In practice, that means you can often do less turning and still get better planting results.
Fork comparison table: which style fits which job?
Here’s a simple way to match common fork styles to real tasks. Brand names vary, but these categories show up in most garden centers.
| Tool type | Best for | Watch-outs |
|---|---|---|
| Digging fork (square, forged tines) | Turning soil, prying compacted ground, rocky beds | Heavier, can tire you out in light soil |
| Border fork (smaller head) | Tight beds, between plants, smaller gardeners | Less leverage for big compaction |
| Spading fork (often sturdier build) | Breaking new ground, deeper loosening | Overkill for fluffy raised beds |
| Manure/compost fork (many curved tines) | Moving mulch, compost, manure | Not ideal for soil turning, tines can bend when prying |
Common mistakes that make digging feel harder than it should
Most problems come from three habits: digging at the wrong time, using too much force in one motion, and expecting the fork to do a shovel’s job.
- Working soil when it’s too wet: it smears, compacts, and later dries like concrete.
- Trying to flip huge sections: smaller lifts create better crumb structure with less strain.
- Twisting while prying: it’s a fast route to a sore back; reposition your feet instead.
- Ignoring handle fit: a handle that’s too short quietly forces bad posture all season.
- Skipping cleanup: dried soil on tines increases friction next time, and rust shortens tool life.
Practical maintenance and safety (small habits, big payoff)
Garden fork tool digging stays easier when the tool remains sharp where it matters and smooth where it slides into soil. You don’t need fancy products, just consistency.
- Rinse and brush soil off after use, then dry.
- Lightly file burrs on tine edges if they catch or snag, avoid grinding aggressively.
- Oil metal parts occasionally, especially if you store tools in a humid shed.
- Check the handle for cracks or looseness; a wobbly head wastes effort and can be unsafe.
If you have a history of back, knee, or wrist issues, consider pacing the job over multiple days and using supportive footwear and gloves. For persistent pain, it’s sensible to consult a medical professional.
Key takeaways (the “do this next” list)
- Match the fork to your soil: forged square tines for tough ground, lighter forks for amended beds.
- Time it right: slightly damp soil is the sweet spot for turning and aerating.
- Use leverage: step in, rock back, lift a little, let the soil break itself.
- Turn less than you think: moderate depth and multiple passes often beat aggressive flipping.
Conclusion: make the fork work for you, not the other way around
If garden fork tool digging has been frustrating, the fix is usually a combination of better fit, better timing, and a calmer technique that relies on leverage instead of brute force. Start with one bed, try the small-bite method, and notice how the soil responds over a week or two.
If you want a simple action step, check your soil moisture tomorrow, then do a 10-minute test patch with a steady rocking motion. You’ll know quickly whether you need a sturdier fork, a different approach, or just a better day to dig.
FAQ
What is the best garden fork tool digging technique for hard clay?
Wait for slightly damp conditions, drive the tines in with your foot, then rock back to crack and lift rather than trying to pry out huge chunks. Clay improves faster when you add compost and loosen in repeat shallow passes.
Can I use a garden fork instead of a tiller for soil turning?
For many home beds, yes, especially if you’re refreshing existing soil rather than breaking new ground. A fork is slower than a machine, but it can be gentler on structure, and you control exactly how much you disturb.
Why won’t my garden fork penetrate the soil?
Common causes are soil that’s too dry, heavy compaction, or tines that are too short or too rounded for your conditions. Try watering lightly the day before, then test again; if it still won’t bite, you may need a sturdier digging fork.
Is a border fork strong enough for turning soil?
It can be, but mostly for smaller beds or lighter soil. In compacted ground, a smaller head reduces leverage, which means more effort and a higher chance of bending lighter tines.
How deep should I turn soil with a digging fork?
Often 6–10 inches is plenty for annual vegetables and bed refreshes, but it depends on what you’re planting and how compacted the layer is. Going deeper isn’t always helpful if it brings up poor subsoil or creates massive clods.
Should I sharpen garden fork tines?
You don’t sharpen them like a knife, but cleaning, removing burrs, and keeping the tips in good shape reduces friction. If tines are mushroomed or badly bent, replacement is usually smarter than aggressive grinding.
When should I avoid turning soil?
Avoid working when soil is saturated and sticky, since it compacts easily and can damage structure. If you’re unsure, squeeze a handful; if it forms a ribbon and smears, waiting usually pays off.
If you’re turning beds every season and it still feels like a wrestling match, you may prefer a more purpose-built digging fork for your soil type, or a setup that reduces manual labor like raised beds and regular compost top-dressing. A small upgrade in tool fit can make the work feel completely different.