
Knowing how to use a tire inflator correctly comes down to two things most people skip, setting the right PSI for your exact vehicle, and getting an airtight seal on the valve stem before you start.
If you have ever topped off a tire and still saw the warning light, or watched the PSI bounce around on the screen, you are not alone, portable inflators are convenient, but they can also be easy to misuse when you are rushed on the shoulder of the road or in a dark driveway.
This guide walks through the practical stuff that matters in real life, picking the correct pressure, connecting the chuck properly, inflating in short cycles, and knowing when to stop and call for help.
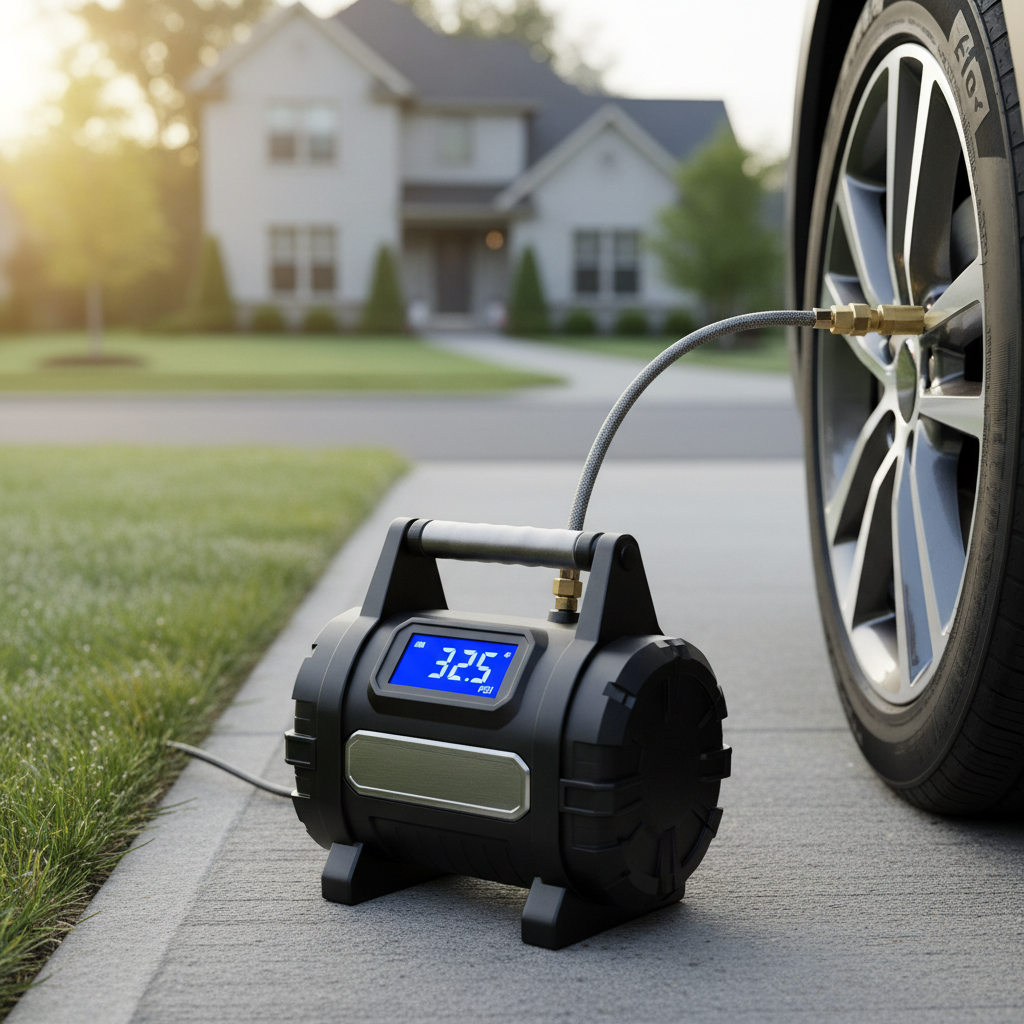
Get the basics right before you inflate
Most problems happen before the motor even turns on, wrong target PSI, a weak power source, or an attachment that does not match your valve. Fix those, and the rest tends to go smoothly.
Find your vehicle’s recommended PSI (not the max on the tire)
Use the sticker on the driver door jamb, or your owner’s manual. The number on the tire sidewall is typically the tire’s maximum rating, not what your car wants day to day.
According to NHTSA, properly inflated tires help with vehicle handling and reduce the risk of tire-related crashes, so this is not just a “fuel economy” detail.
Pick the right nozzle and check the valve type
Most passenger vehicles in the US use Schrader valves. Bikes sometimes use Presta valves, many inflators include an adapter, but it is easy to lose or install incorrectly.
- Schrader: wider metal stem, common on cars and most SUVs
- Presta: narrower stem with a small threaded tip and lock nut, common on road bikes
Make sure the inflator can deliver enough pressure
Most cars need something like the low-to-mid 30s PSI, many inflators handle that fine. If you inflate truck tires, trailer tires, or LT tires, verify your inflator’s stated max PSI and duty cycle so you do not overheat it.
Step-by-step: how to use a portable tire inflator correctly
If you want the short version, you are aiming for a clean connection, the correct target PSI, and a steady inflate-and-check rhythm.
- Park safely, set the parking brake, and turn on hazards if you are roadside.
- Remove the valve cap and keep it somewhere you will not drop it.
- Press the chuck straight onto the valve stem until it seals, then lock the lever if your inflator has one.
- Power the inflator, set the target PSI if it has auto-stop, or start inflating in short bursts.
- Stop, read the pressure, and adjust until you hit the target.
- Remove the chuck quickly and straight, reinstall the valve cap snugly.
The moment that separates “works great” from “why is it leaking,” is the seal. If you hear a steady hiss at the connection, stop and reseat the chuck.
Portable inflator types, power options, and what changes
Not all inflators behave the same, and your approach should match your power source.
12V car plug inflators
These are common and reliable, but many cars cut power when the ignition is off. If your inflator will not start or keeps stopping, turn the vehicle to accessory mode or run the engine if you are in a well-ventilated outdoor area.
Battery-powered inflators
Convenient, but battery health matters. Cold weather can reduce battery output, which can make the unit run slower, read oddly, or shut down mid-fill.
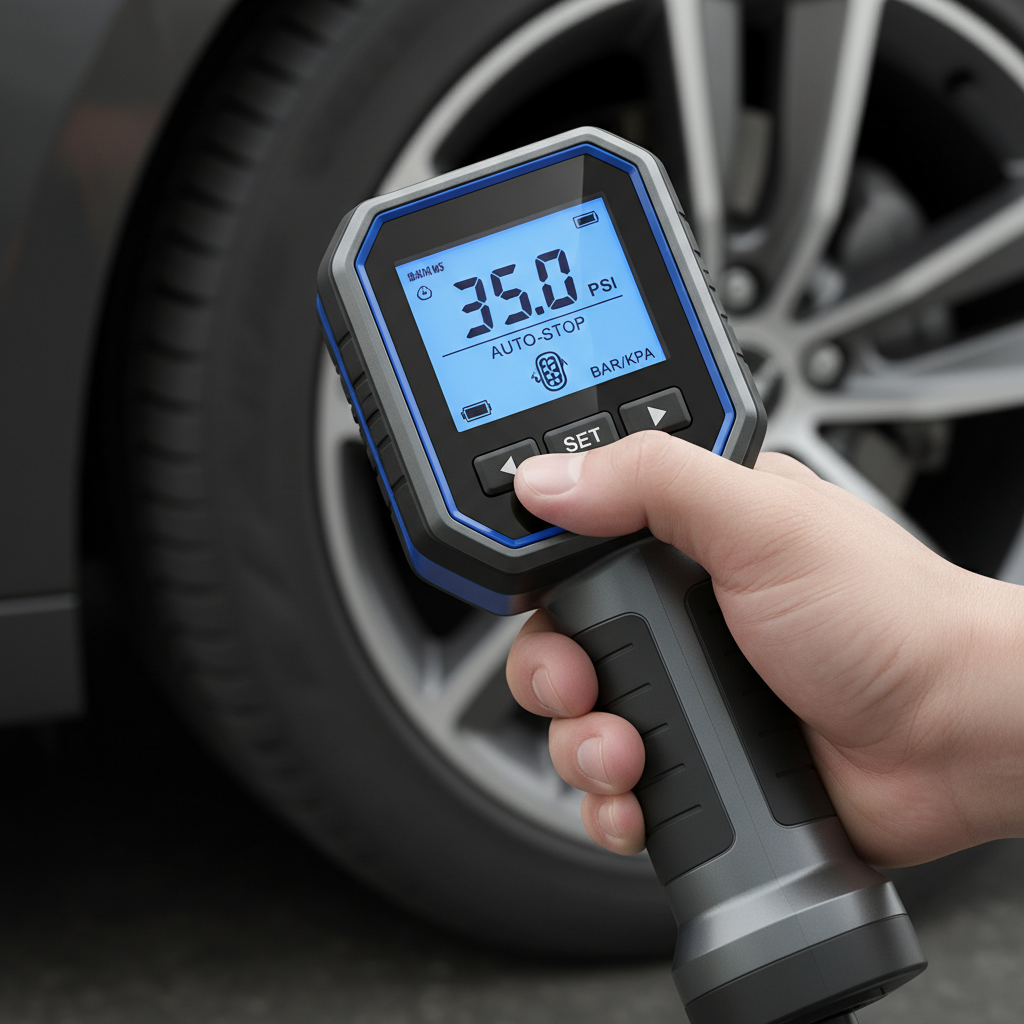
Inflators with auto-stop vs manual
Auto-stop is helpful, but it is not magic. Gauge accuracy varies by product, so treat auto-stop as a convenience feature, then verify with a separate tire gauge when you can.
A quick PSI workflow that avoids most mistakes
Here is the routine I recommend because it is forgiving, even if your inflator gauge is not perfect.
Inflate when tires are “cold” when possible
Tire pressure rises as you drive and the air warms. If you check right after highway miles, the reading can look higher than your real baseline. According to Tire Rack, tire pressures should generally be set when tires are cold for the most consistent readings.
Use a separate gauge as your reference
Even a basic pencil gauge can act as your “truth meter.” If your inflator says 36 PSI and your gauge says 33 PSI consistently, you can adjust your process.
Top off in small increments near the target
When you are within 2–3 PSI of the goal, inflate in short bursts. This reduces overshooting, especially on smaller tires.
- If you overshoot, release air by pressing the valve pin briefly, then recheck.
- If the tire loses pressure right after you disconnect, the chuck may have been leaking during the fill.
Common issues and quick fixes (with a troubleshooting table)
Most “my inflator doesn’t work” situations are really connection, power, or heat issues.
| Symptom | Likely cause | What to do |
|---|---|---|
| Inflator runs but PSI barely increases | Leaky chuck seal, damaged valve core, or slow leak in tire | Reseat and lock the chuck, try a different valve angle, check for hissing at the stem, consider a soapy-water leak check |
| PSI jumps around on the display | Intermittent seal, vibration, or reading while air is flowing | Pause inflation, wait a few seconds, then read again, keep the hose straight |
| Unit shuts off mid-inflate | Overheat protection or weak power | Let it cool, check duty cycle guidance, use a direct battery connection if supported, avoid long continuous runs |
| Cannot attach to valve | Wrong adapter or valve cap debris | Confirm Schrader vs Presta, remove any valve cap gasket stuck on the stem, use the correct adapter |
| Tire loses PSI soon after filling | Puncture, bead leak, cracked stem, or loose valve core | Check for nails, listen for leaks, try tightening the valve core with a core tool if available, get a tire shop inspection if unsure |
Safety and “don’t do this” mistakes that can cost you
Inflating a tire looks harmless, but there are a few real risks, especially if the tire is already damaged.
- Do not inflate past the vehicle sticker PSI just because the sidewall shows a higher number. Overinflation can reduce traction and increase impact damage risk.
- Do not keep inflating a visibly damaged tire, bulges, sidewall cuts, or cords showing mean the tire may fail. In many cases it is safer to install a spare or get roadside help.
- Avoid long continuous runs if your inflator feels hot. Many portable units need rest breaks, check your manual for duty cycle guidance.
- Use a stable power setup, keep cords away from the wheel, and avoid running the unit where it can pull dirt into the intake.
If you are unsure whether a tire is safe to inflate after a puncture or impact, it is reasonable to consult a tire professional, especially if the tire ran low for any distance.
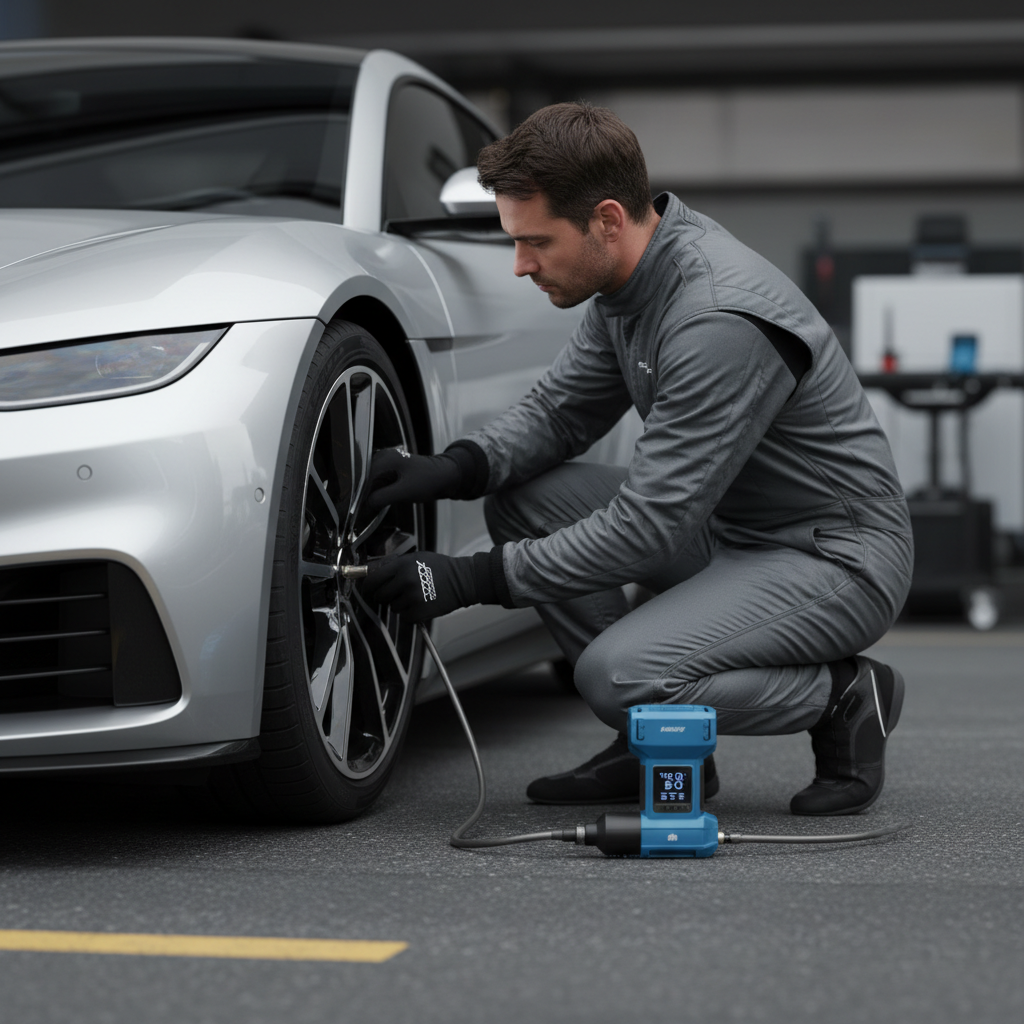
Practical tips that make the process faster and more accurate
These are small moves, but they reduce frustration a lot.
- Keep valve caps in a pocket instead of on the ground, they disappear easily.
- Inflate in the shade when possible, direct sun can warm the tire and nudge readings up.
- Check all four tires if one is low, many times another is trending down too.
- Know your “normal”, if you top off monthly, you will notice a sudden leak faster.
- Calibrate your expectations, portable units are for topping off and emergency use, not a perfect shop compressor replacement.
When a portable inflator is not enough
Sometimes the right answer is to stop inflating and change plans.
- If the tire drops more than a couple PSI in a day, there is likely a leak worth diagnosing.
- If the tire was driven very low, internal damage is possible even if it inflates again, a tire shop can inspect for safety.
- If you see repeated TPMS warnings after setting correct PSI, the sensor system may need a reset procedure or service, your manual usually explains the basics.
According to AAA, maintaining tires and addressing damage early helps reduce breakdown risk, so if something feels “off,” getting it checked is often cheaper than waiting.
Key takeaways and next steps
If you remember three things, you will cover most situations, use the door-jamb PSI, get a clean airtight chuck seal, and verify with a separate gauge when accuracy matters.
Tonight or this weekend, check your recommended PSI, test your inflator on a good tire, and make sure the adapters and power cord are actually in your car, that small prep step saves stress when you need it most.