
how to use a scratch awl for wood marking comes down to one thing: controlling the point so it makes a clean, repeatable line that your saw, chisel, or drill bit can actually “find.”
If your pencil lines keep disappearing under sanding dust, your drill bit skates across hardwood, or your joinery looks slightly off even when you measured twice, a scratch awl is often the missing link. It creates a physical groove, not just a visual mark, and that changes how accurately you can work.
This guide walks through the practical stuff people trip over: choosing the right tip, how much pressure to use, how to mark with the grain versus across it, and how to pair an awl with a square or marking gauge so your layout stops drifting.
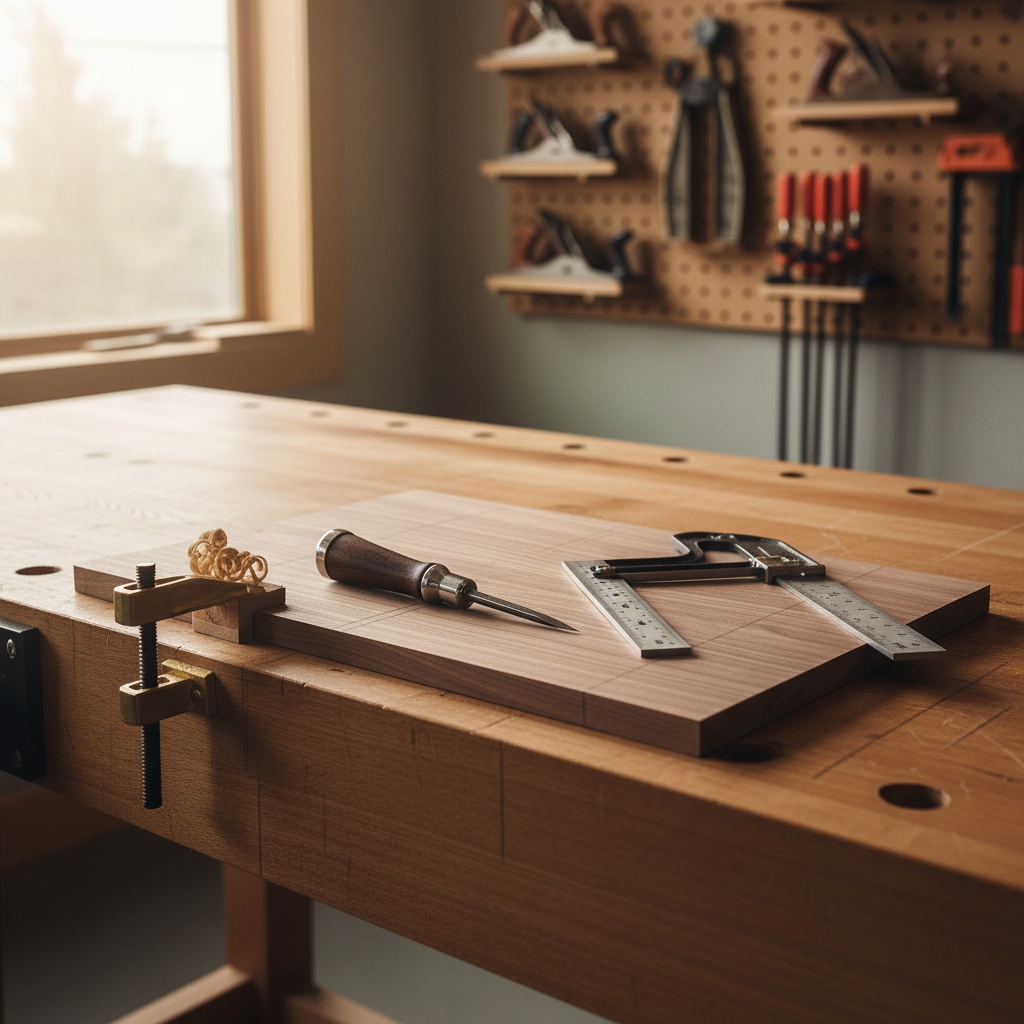
What a Scratch Awl Does (and When It Beats a Pencil)
A scratch awl is a pointed steel tool used to scribe lines, start holes, and register measurements directly into wood fibers. The “scratch” is intentional: it gives your cutting edge or drill a track to follow.
It tends to outperform a pencil when accuracy matters more than visibility. A pencil mark can be thick, smudged, or sanded away; a scribed line stays put and can act like a tiny fence for a chisel.
- Best uses: joinery layout, hinge mortises, drilling pilot locations, transferring measurements from one part to another.
- Less ideal: rough carpentry layout where speed matters more than precision, or surfaces that must remain pristine with zero scratches.
According to OSHA, hand tools should be used only for their intended purpose and kept in safe condition, which matters here because a dull or damaged point can force you to push harder than you should.
Pick the Right Awl and Prepare the Tip
Not all awls behave the same. Some have thick conical points meant for starting holes, others are finer and better for delicate layout. For wood marking, you usually want a point that’s sharp enough to scribe cleanly but not so needle-thin that it snaps or digs too deep.
Quick selection cues
- Handle comfort: if it hurts your palm, you’ll grip too hard and your line will wobble.
- Point geometry: a finer taper helps for precise layout; a stouter taper helps for starting screw holes.
- Surface finish: polished steel glides along a straightedge more smoothly than rough, pitted steel.
Tip prep (simple, not fussy)
If the point looks blunt or has a flat spot, touch it up. A fine file or sharpening stone can refine the taper, then a quick polish reduces drag. You’re not chasing razor-knife sharpness, you’re chasing predictable bite.
- Lightly dress the tip so it forms an even cone.
- Remove burrs, since burrs can tear grain and widen the line.
- Wipe on a little paste wax (optional) for smoother tracking along a square.
Basic Technique: Grip, Angle, Pressure, and One Clean Pass
Most messy awl lines come from overpressure and re-tracing. You’ll get cleaner results by letting the point ride a guide and making one confident pass, then deepening only if needed.
How to hold it
- Pencil grip: good for light layout lines and controlled scribing.
- Ice-pick grip: better for starting holes, but easier to punch too deep for layout.
Angle the awl slightly in the direction of travel, around 10–20 degrees. Too vertical and it tends to “plow” and grab; too shallow and it can skate.
- Pressure: start light, then increase only if the line isn’t readable.
- Pass count: aim for one pass, then a second only to deepen the same groove.
- Stability: anchor your wrist or knuckles on the wood, not floating in midair.
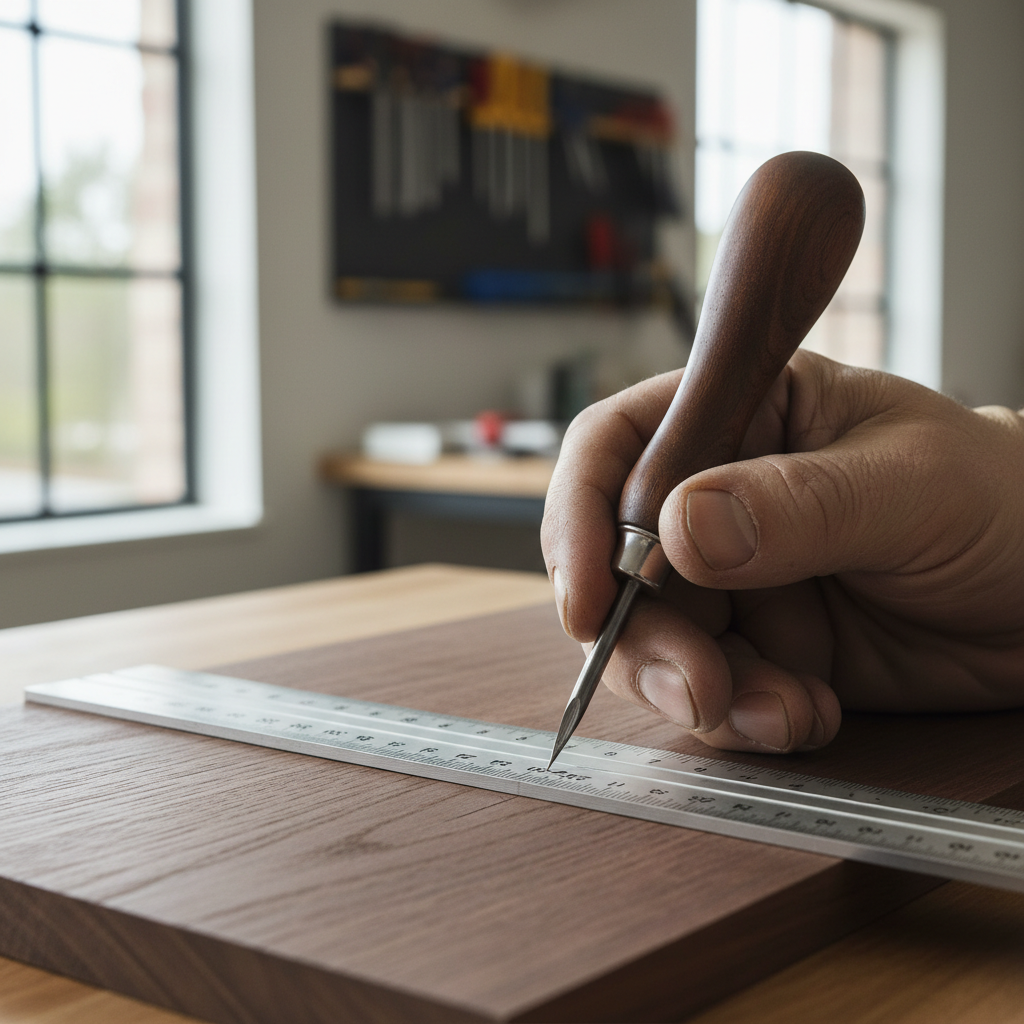
Mark Straight Lines with a Square or Straightedge (No Drift)
For most people learning how to use a scratch awl for wood marking, the breakthrough is realizing the awl shouldn’t freehand anything that needs to be straight. Let the square do the steering.
Step-by-step for a straight scribe
- Seat your square firmly, and keep pressure on the square, not the awl.
- Place the awl tip against the square’s edge, then pull the awl toward you in a controlled motion.
- Keep the awl angled slightly into the square so it stays registered.
- If you need a deeper line, run a second pass in the same groove, don’t “search” for it.
A small but real detail: pulling is usually steadier than pushing, especially across dense grain where the point can grab and jump.
Marking across grain vs with grain
- Across grain: use lighter pressure first, because the point can lift fibers and leave a ragged edge.
- With grain: the awl may follow softer earlywood and wander; rely on the straightedge and keep the angle consistent.
Locate Drill Points and Start Holes Cleanly
An awl is also a simple way to stop a drill bit from skating. The trick is to make a tiny conical divot, not a crater that splinters the surface.
- Cross your layout lines, then place the tip exactly at the intersection.
- Twist lightly while applying downward pressure to “seat” the point.
- For hardwood, deepen just enough that the bit’s tip registers.
- For softwood, go lighter than you think; it compresses easily and can throw depth off.
If you’re working near an edge, consider clamping a backer board. Tear-out often starts from unsupported fibers more than from the awl itself.
Practical Self-Check: Are You Using It Right?
Before you blame the tool, run through this quick checklist. It saves time and avoids “fixing” the wrong thing.
- Your scribed line is hard to see: you may be too light, or the tip may be dull and burnishing instead of cutting.
- The line looks wide and fuzzy: too much pressure, a burred tip, or you’re re-tracing off the groove.
- The awl keeps slipping off the square: you’re pushing sideways instead of angling gently into the edge.
- Your drill still walks: the divot is too shallow, or the bit tip geometry isn’t suited for the material.
Key point: a scratch awl should feel controlled and quiet. If it feels like it’s fighting you, something about angle, sharpness, or support is off.
Common Mistakes, Safety Notes, and When to Ask for Help
The awl is small, but it can still cause injuries if it slips. According to CPSC, many home workshop injuries involve hand tools and hand placement, so keeping your off-hand out of the travel path is not optional.
Common mistakes that waste time
- Over-scribing: deep grooves can telegraph through thin stock and complicate finishing.
- Using the awl like a punch everywhere: layout lines want a light scribe; hole starts want a deliberate divot.
- Marking on the wrong face: always define a reference face and edge, or transferred marks drift.
- Skipping workholding: if the board moves, your line accuracy disappears no matter how good your technique is.
Safety basics (simple, effective)
- Clamp small parts instead of holding them in your hand.
- Pull the awl toward a safe direction, never toward your fingers.
- Store with a tip cover or in a rack; a bare awl in a drawer is a surprise waiting to happen.
When it makes sense to get guidance
If you’re laying out high-stakes joinery for a paid job, using unfamiliar hardwoods that chip easily, or you’re unsure about tool safety in a shared shop, asking a more experienced woodworker or a local maker space instructor can be worth it. A five-minute correction on stance and pressure often fixes weeks of frustration.
Quick Reference Table: Use Cases and What to Do
This is the “keep it near the bench” section, especially if you switch between joinery, drilling, and hardware layout.
| Task | Best setup | Pressure | Pro tip |
|---|---|---|---|
| Scribe a cut line | Awl + square/straightedge | Light to medium | Pull toward you, then deepen with one more pass |
| Transfer a measurement | Awl + reference face | Light | Knife-wall precision comes from consistent reference edges |
| Start a drill hole | Awl at line intersection | Medium | Twist slightly to seat the point before drilling |
| Mark hinge screws | Awl through hinge hole | Medium | Keep the awl centered; don’t oval the pilot location |
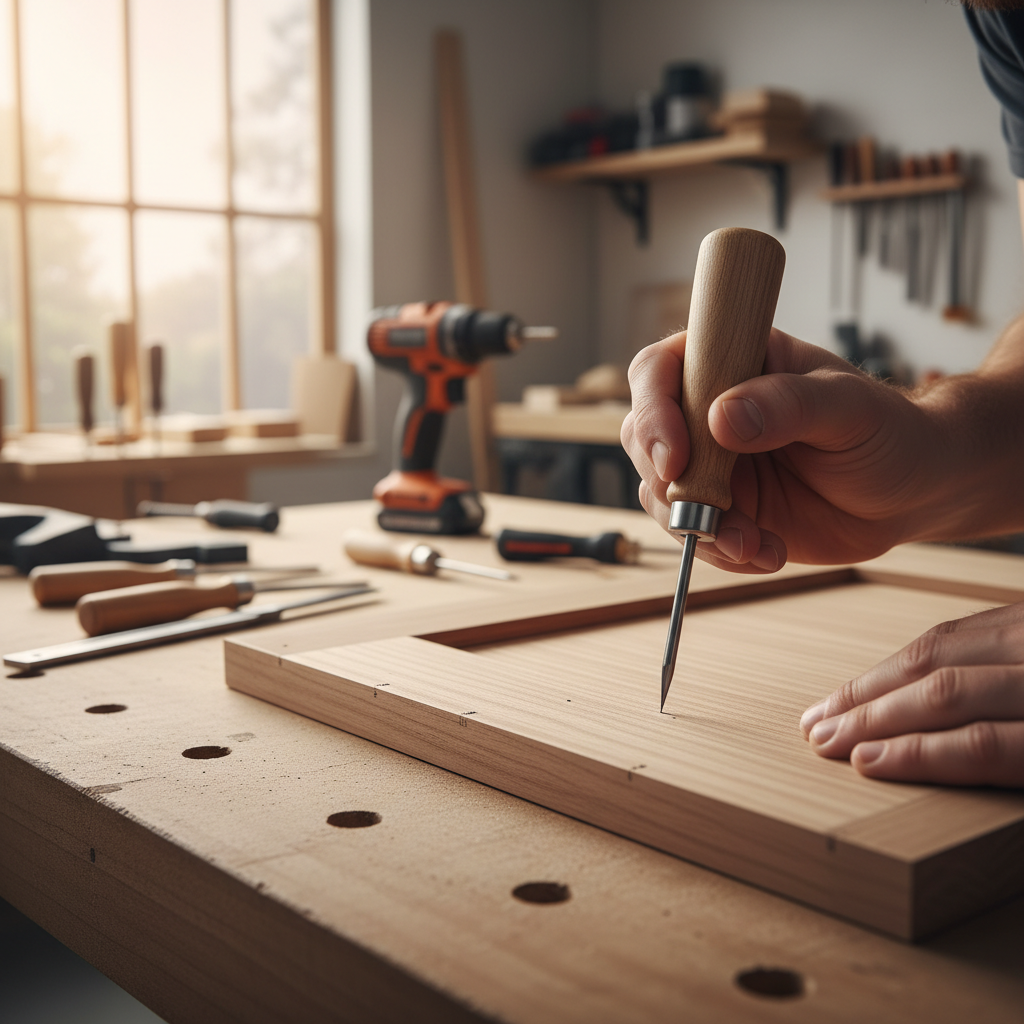
Actionable Practice Routine (10 Minutes, Scrap Wood)
If you want the skill to stick, do a short drill on scrap. It builds hand pressure control fast, which is what most beginners lack.
- Scribe five lines across grain using a square, each with one pass only.
- Pick the cleanest line, then deepen it with a second pass, staying in the same groove.
- Mark five hole centers at line intersections, then drill small pilots and check if the bit stayed centered.
- Repeat on a different species if you have it; hardwood and softwood feel different.
Key takeaways: keep the tip sharp, let guides steer, use less pressure than you expect, and make the groove work for you instead of trying to draw with the point.
If you try one improvement today, clamp the work and slow your first pass down, you’ll usually see straighter scribe lines right away.
FAQ
Can I use a scratch awl instead of a marking knife?
For many layout tasks, yes, especially when you need a visible groove and you’re working with a square. A marking knife often leaves a cleaner “wall” for chiseling, so for fine joinery a knife may still be the better choice.
How deep should an awl line be for wood marking?
Usually shallow is enough to guide your cut and remain visible under shop lighting. If you can feel a trench with your fingertip, you may be deeper than necessary, particularly on thin stock.
Why does my awl line look fuzzy on softwood?
Softwood fibers crush and tear more easily, so heavy pressure can make the line ragged. Lighter passes and a smoother, polished tip help a lot.
How do I stop the awl from wandering with the grain?
Use a square or straightedge and keep the awl angled slightly into it, then pull rather than push. Wandering usually happens when the point follows softer growth rings instead of your intended path.
Is a scratch awl good for marking metal rulers or squares?
It can scratch many metals, so be careful around precision tools. If you want to protect your square, keep the awl tip riding the edge lightly, and avoid grinding the point against it.
Can I start a screw hole with an awl instead of pre-drilling?
Sometimes, but it depends on screw size, wood species, and how close you are to edges. An awl divot helps locate the bit, but for hardwood or large screws, pre-drilling often reduces splitting risk.
What’s the difference between an awl and a center punch?
A center punch is usually meant for metal and makes a sharp indentation with a strike. An awl is hand-driven and better for controlled scribing and gentle hole starts in wood.
If you’re setting up a small hand-tool workflow and want fewer “almost right” cuts, learning how to use a scratch awl for wood marking alongside a good square and solid clamping is a simple upgrade that pays off on every project.