
How to use spade bits in a drill comes down to three things most people skip: choosing the right bit size and type, controlling the drill speed, and supporting the wood so the exit side doesn’t explode into splinters.
Spade bits look simple, which is why they’re common in weekend projects, but they’re also unforgiving. A little tilt, too much speed, or drilling straight through without a plan, and you get tear-out, stuck bits, or a hole that’s bigger than it should be.
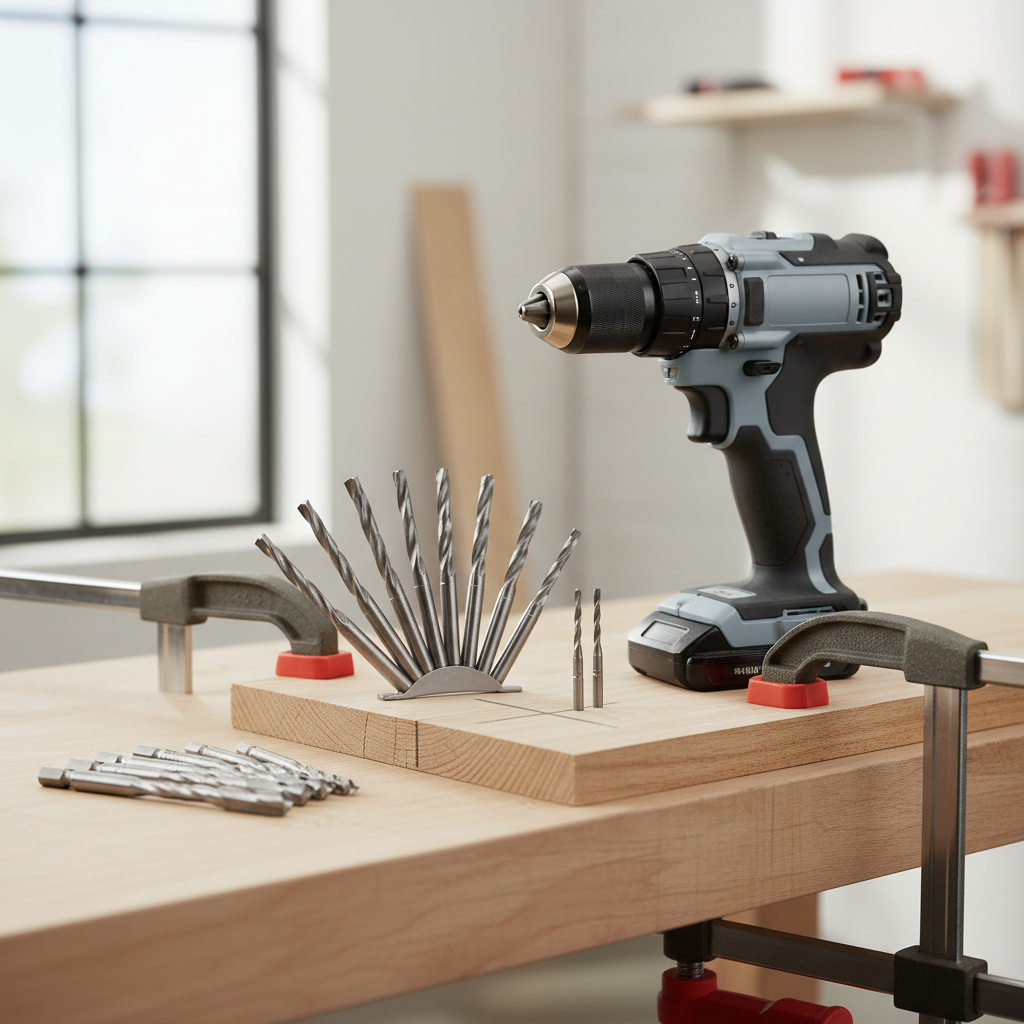
This guide walks through the practical stuff: when a spade bit is the right tool, how to keep it from wandering, and what to do when the bit binds. You’ll also get a quick checklist and a few “don’t do this” mistakes that show up constantly.
What spade bits are good for (and when to pick something else)
Spade bits are flat wood-boring bits designed for fast, rough-to-medium holes in softwood and many hardwoods. They’re popular because they’re cheap, available everywhere, and can drill large diameters without a bulky hole saw.
That said, they’re not the cleanest option. If you care about a furniture-grade edge or you’re drilling cabinetry, a brad-point bit or Forstner bit often leaves a cleaner rim and is easier to start precisely.
- Good use cases: running wires, plumbing pass-throughs, rough framing, shop jigs, utility holes in studs and joists (where allowed by code), deck projects.
- Usually not ideal: visible finish holes, hinge cups, ultra-precise dowel work, thin veneer plywood where tear-out is hard to hide.
According to OSHA, power tools require appropriate guarding and safe operating practices, so treat a “simple hole” like real tool work: eye protection, stable work, and controlled speed.
Choose the right spade bit: size, point style, and shank
Most problems start before the drill ever spins. A dull or cheap bit can wander, burn, and chew the exit side. If your project matters, use a sharp bit and match the bit style to the job.
Bit size and length
- Diameter: pick the exact pass-through size you need, and remember wood movement and cable bundles. When in doubt, test on scrap from the same material.
- Length: standard spade bits work for studs and 2x lumber; extended bits help reach into cavities, but they’re easier to flex off-center.
Point and cutting edge style
- Standard point: fine for quick holes, more likely to tear out on the back side.
- Spur or “wing” style: scores the perimeter a bit better, often cleaner entry in plywood and hardwood.
- Self-feed spade bits: pull aggressively, great for speed, but can bind fast if your drill torque is high and your grip is casual.
Shank matters more than people think
Look for a 1/4-inch hex shank if you’re using an impact driver or you want less slipping. Round shanks can spin in a worn chuck, especially at larger diameters.
Prep the drill and the workpiece so the bit doesn’t “grab”
If you’ve ever had a spade bit suddenly yank the drill sideways, that’s usually a mix of poor support and too much speed. Setup reduces surprises.
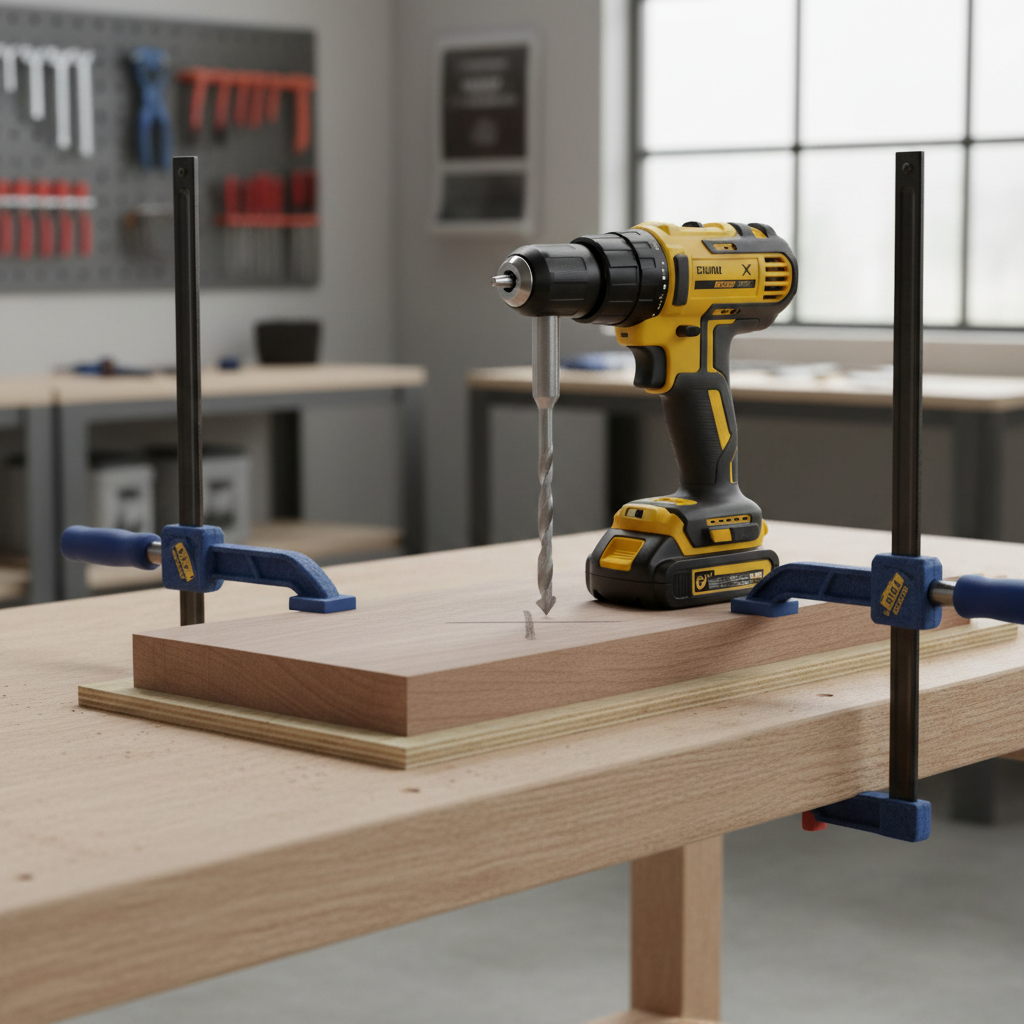
Do this before drilling:
- Clamp the work: hands holding wood while drilling is how boards spin, knuckles get hit, and holes drift.
- Add a backing board: a scrap piece under the work supports the fibers and cuts tear-out on the exit side.
- Mark the center: pencil crosshair works; for more accuracy, make a small dimple with an awl or nail set so the point seats.
- Pick the right drill mode: use drill mode, not hammer mode, and avoid clutch settings that slip mid-cut.
Speed and torque: a quick rule of thumb
Spade bits cut better at slower speeds than twist bits, especially as diameter increases. High RPM creates heat, burning, and more grabbing.
- Small spade bits (1/4–1/2 in): moderate speed, light pressure.
- Medium (5/8–1 in): slower speed, steady pressure, clear chips often.
- Large (1-1/8 in+): slow speed, two-handed control, consider a side handle if your drill supports one.
How to drill a clean hole with a spade bit (step-by-step)
This is the part people rush, then spend ten minutes sanding a blowout that never needed to happen. The goal is controlled cutting, not forcing the bit through.
- Start square: line the drill up 90 degrees to the surface, check from two angles, then begin at low speed so the point establishes center.
- Let the bit score: once the outer edges start cutting a ring, increase speed slightly, but keep it conservative.
- Pulse and clear chips: every inch or so, back the bit out while spinning slowly to clear shavings. Packed chips create heat and binding.
- Handle the exit cleanly: when the point just breaks through the back, stop, flip the board, and finish from the other side, or keep drilling into a backing board.
- Finish gently: ease off pressure near the end so the bit doesn’t “punch” through and tear fibers.
Key takeaway: most clean holes come from a slow start and a supported exit, not from buying a fancier drill.
Common problems and fixes (quick reference table)
If you’re troubleshooting mid-project, use this table like a cheat sheet. It covers what typically causes the issue and what to try next.
| Problem | What’s probably happening | What to do |
|---|---|---|
| Bit wanders or “walks” at start | Point not seated, starting too fast, surface too slick | Make an awl dimple, start at low speed, hold drill square |
| Tear-out on exit side | No backing, pushing through too hard | Use scrap backing, or drill halfway then finish from back |
| Burn marks / smoke | Dull bit, too much RPM, chips packed | Slow down, clear chips, replace or sharpen bit |
| Bit binds and drill twists | Too much feed pressure, wet wood, large diameter at high torque | Reduce pressure, slower speed, use two hands/side handle |
| Hole slightly oversized | Drill not square, flexing with long bit | Shorter bit if possible, recheck angle, clamp work tighter |
Quick self-check: are you set up for a clean, safe hole?
Before you pull the trigger, run this fast mental checklist. It catches the stuff that causes most “why did that happen” moments.
- Bit sharp? Edges look crisp, not rounded or scorched.
- Work clamped? No shifting if you push sideways with your hand.
- Backing in place? Especially for plywood, pine, and anything you’ll see.
- Correct drill? A low-speed, higher-torque drill helps on large sizes, impacts are more likely to be messy.
- Body position steady? Two hands available, wrists not in a weird angle, stance stable.
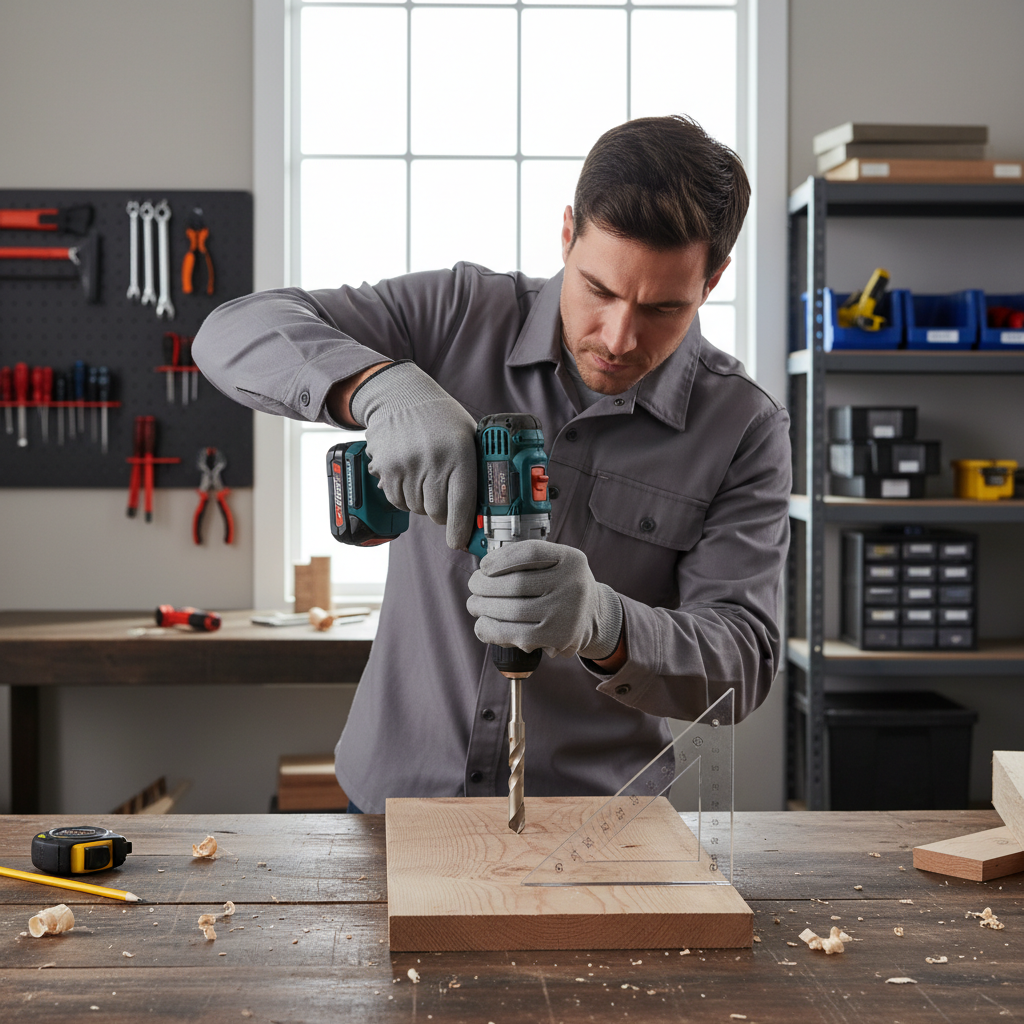
If two or three items feel shaky, fix setup first. In real life, that saves more time than trying to “drill carefully” through a bad setup.
Practical tips for specific materials (studs, plywood, hardwood)
How to use spade bits in a drill changes slightly depending on what you’re drilling, mostly because chip clearing and tear-out behave differently.
Softwood studs (construction lumber)
- Expect knots and wet areas that grab more, slow down when the cut tone changes.
- For wiring holes, keep alignment consistent so pulls stay easy later.
- Clear chips often, pine packs shavings fast.
Plywood and OSB
- Use a backing board and start gently so the top veneer doesn’t splinter.
- If the hole edge matters, consider painter’s tape over the mark, it sometimes helps reduce surface splintering.
Hardwood (oak, maple, etc.)
- Run slower RPM, let the cutting edges work, forcing increases burning risk.
- If the bit squeals or darkens the rim, stop and clear chips, then continue.
Safety notes and when to get help
Spade bits can catch abruptly, especially at larger diameters. That sudden torque can strain wrists and can pull the workpiece if it isn’t secured. Eye protection is the baseline, and hearing protection is reasonable for repeated drilling.
According to NIOSH, controlling exposure to wood dust is important in many shop settings, so if you’re drilling lots of holes in MDF or plywood, consider a mask or dust collection, and if you have respiratory concerns, it’s smart to ask a qualified professional what level of protection fits your situation.
- Stop and reassess if the drill stalls repeatedly, the bit smokes, or the work keeps shifting.
- Consider a pro for structural drilling in framing where building codes may apply, or when you suspect you’re near plumbing, electrical, or engineered lumber restrictions.
Conclusion: the simple routine that keeps holes clean
Most clean results come from a boring routine: sharp bit, clamped work, slower speed, and an exit strategy so the back side stays intact. Once that becomes habit, how to use spade bits in a drill feels less like wrestling the tool and more like predictable cutting.
If you’re drilling today, do one thing that pays off immediately: add a backing board or drill halfway and finish from the opposite side. It’s the easiest upgrade you’ll see with spade bits.
Key points to remember: start slow to prevent walking, clear chips to avoid heat and binding, and support the exit to control tear-out.