
How to install a magnetic tool strip comes down to three things most people skip: choosing a safe spot, using the right anchors for your wall, and leveling before you drill anything.
If you do those well, the strip stays straight, tools don’t slide, and you don’t end up with a row of “oops” holes you keep looking at. A magnetic strip is one of those small shop upgrades that quietly saves time every day, but only if it’s mounted solid.
This guide walks through placement, hardware choices by wall type, and a step-by-step install. I’ll also flag common mistakes, like mounting over hidden wiring or overloading a strip that was never meant to hold a full set of hammers.
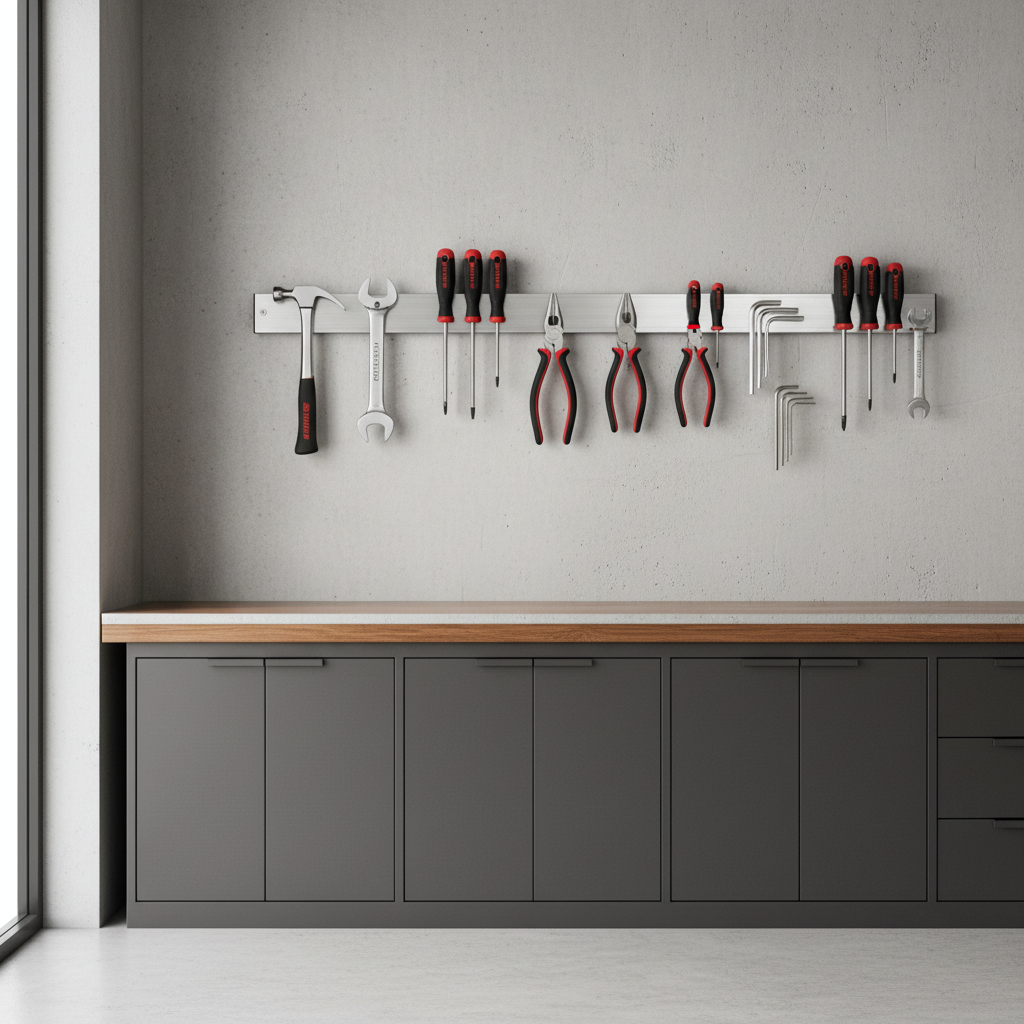
Pick the right location before you touch a drill
The “best” spot is usually the one that keeps tools reachable without forcing you to work under them. Think convenience, but also safety.
- Height: Many garages land around chest to eye level, so you can grab tools without stretching.
- Clearance: Leave room below for tool handles and above for your fingers to pull tools off cleanly.
- Moisture/heat: Avoid directly over a sink, damp basement wall, or near high heat where adhesives can creep.
- Traffic: Don’t mount where someone’s shoulder or head will bump long tools.
If you’re unsure about drilling into a wall that may hide wiring or plumbing, consider a stud finder with live-wire detection or ask a qualified professional. According to CPSC (U.S. Consumer Product Safety Commission), home improvement activities can create injury risk when tools and electrical hazards combine, so slow down at the “what’s behind this wall” step.
Tools and materials you’ll want on hand
You can usually finish in 20–40 minutes if you gather everything first. Most “messy installs” start with missing hardware and rushed substitutions.
- Magnetic tool strip (and included screws, if provided)
- Level (or a laser level)
- Tape measure and pencil
- Drill/driver and bits (pilot bit + wall-specific bit)
- Stud finder (helpful even in garages)
- Anchors suitable for your wall type, if not hitting studs
- Safety glasses, and hearing protection if drilling masonry
One quick reality check: some strips ship with basic screws that work for studs but not for drywall-only mounting. Don’t assume the included hardware matches your wall.
Wall type matters: choose fasteners that actually hold
Before you decide how to install a magnetic tool strip, identify what you’re mounting into. This determines whether the strip stays up for years or rips out the first time you grab a pry bar.
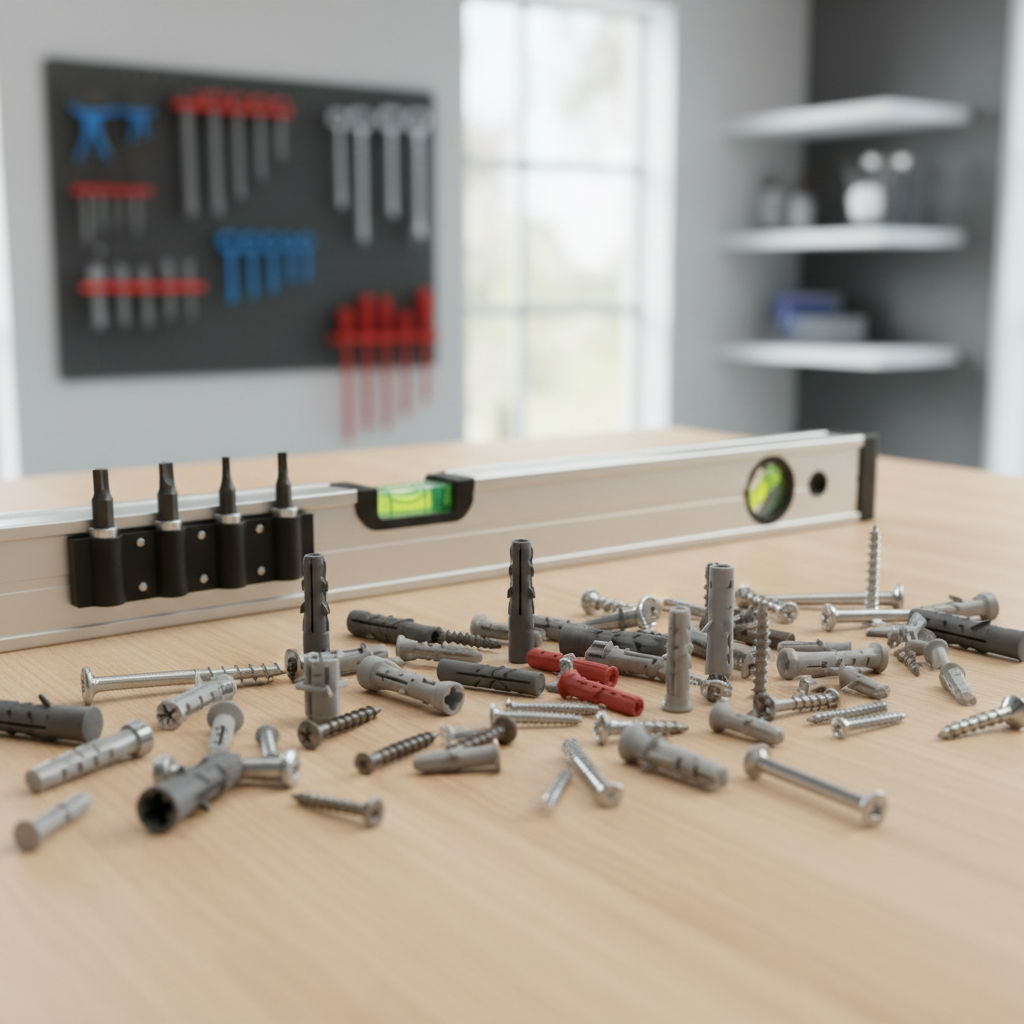
Fastener selection cheat sheet
| Wall type | Best mounting choice | Notes you’ll be glad you knew |
|---|---|---|
| Wood studs | Wood screws into studs | Most reliable, often no anchors needed if you hit solid wood. |
| Drywall (no stud) | Toggle bolts or heavy-duty drywall anchors | Plastic expansion anchors can be marginal for heavier tools. |
| Concrete/block | Masonry screws or sleeve anchors | Use a masonry bit, and keep dust under control. |
| Tile | Tile-safe drilling + appropriate anchors | Drilling tile wrong can crack it; many people choose a different location. |
| Metal paneling | Self-drilling screws or through-bolts (as appropriate) | Check what’s behind the panel, hollow spaces need different hardware. |
A quick self-check: are you mounting light tools or heavy tools?
This sounds obvious, but it drives everything: strip choice, number of screws, and whether drywall-only mounting is smart.
- Light-duty: screwdrivers, pliers, small wrenches, small scissors
- Medium-duty: adjustable wrenches, ratchets, chisels, medium clamps
- Heavy-duty: hammers, pry bars, large pipe wrenches, power tools with steel bodies
If your “magnetic tool strip” will hold heavy tools, aim for studs or masonry whenever possible, and use more fasteners. If the strip uses two tiny screws and thin metal, treat it as light-duty even if the listing claims otherwise.
Step-by-step: how to install a magnetic tool strip (clean and level)
This sequence avoids the usual pitfalls: crooked installs, stripped screws, and holes that don’t line up with the strip.
1) Mark the line, not just the holes
Hold the strip where you want it, then use a level to draw a light pencil line along the top edge. A line gives you a reference even if you shift the strip slightly.
2) Find studs (even if you plan to use anchors)
Run a stud finder and mark stud centers. If you can land at least one screw in a stud, do it. That one decision often determines whether the strip feels “rock solid.”
3) Mark hole positions and double-check spacing
Align the strip to your level line, then mark the mounting holes. Before drilling, hold the strip back up and confirm the marks match the actual holes. This is where people save themselves from drilling twice.
4) Drill pilot holes or anchor holes
- Stud: drill a small pilot hole so the screw drives straight without splitting.
- Drywall anchors: drill the size specified by the anchor packaging.
- Masonry: use a masonry bit and drill to the correct depth.
Wear eye protection. Dust and chips tend to fall right where you’re looking.
5) Mount the strip, then snug—don’t crush
Start screws by hand if you can, then drive them until snug. Over-tightening can deform thin strips or strip out anchors, which is frustrating because it feels tight right until it fails.
6) Test with a few tools before loading everything
Put on two or three tools, tug gently, and watch for flex. If the strip shifts, fix it now. It’s much easier before it’s full of metal.
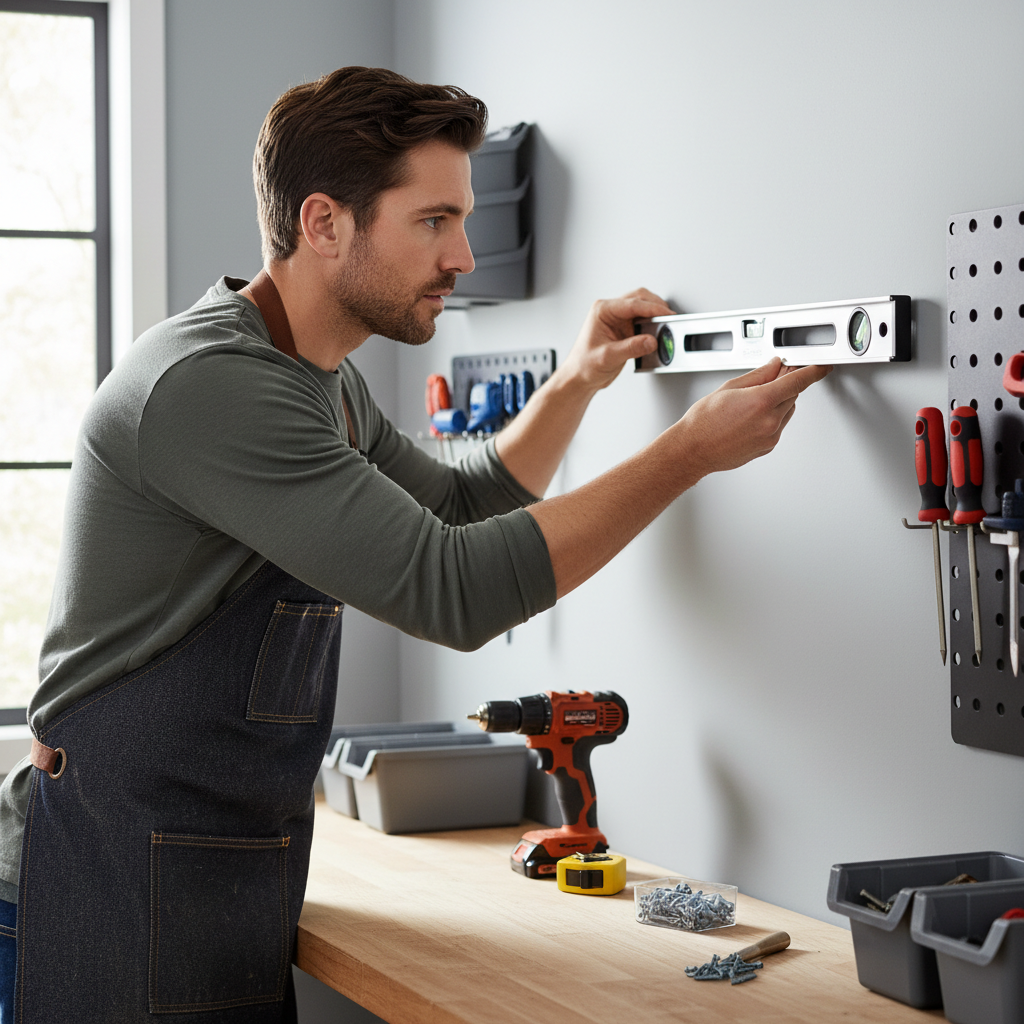
Practical mounting scenarios (drywall, studs, tile, concrete)
Most installs fall into one of these. Match your approach to the wall instead of forcing a one-size-fits-all method.
Mounting on studs (ideal for heavy tools)
- Place the strip so at least two holes hit studs if possible.
- If holes don’t line up, consider moving the strip slightly or using a different strip with adjustable mounting slots.
- Use screws long enough to bite into the stud after passing drywall.
Mounting on drywall with anchors (fine for light to medium tools)
- Choose anchors rated for the expected load, toggles tend to feel more secure than small plastic anchors.
- Use all mounting holes on the strip, don’t “save time” by using only two.
- If the strip is long, add a center support point if the design allows.
Mounting on tile (only if you’re confident)
- Use a tile-specific drill bit and low pressure, let the bit do the work.
- Avoid drilling near tile edges where cracking risk can increase.
- If you’re renting or tile is expensive, it may be smarter to mount on a nearby painted wall or use a freestanding tool organizer.
Mounting on concrete or block
- Use a hammer drill if available, it usually makes cleaner work.
- Vacuum dust from holes so anchors seat correctly.
- Check screw length and depth, shallow holes can keep screws from tightening fully.
Common mistakes that make the strip fail later
- Mounting too high: you end up pulling tools downward at an angle, which can pry the strip loose over time.
- Trusting weak magnets: not all strips have the same pull strength; if tools slide, it’s not always an “installation problem.”
- Overloading the ends: heavy tools at the far left and far right increase leverage on the screws.
- Skipping the level: it looks minor until you line up multiple strips and everything feels visually off.
- Using the wrong anchor: drywall anchors vary a lot, and “included anchors” can be low-grade.
Key point: if you feel the strip “flex” when you remove a tool, treat that as an early warning. Tighten, upgrade anchors, or move to studs before it turns into a wall repair project.
When it’s worth getting help (or changing plans)
Sometimes the smart move is to stop and reassess, especially if the wall surface is costly or the risk feels unclear.
- You suspect wiring, plumbing, or a gas line behind the mounting area.
- You’re mounting into tile, stone, or an unfamiliar wall system and cracking would be expensive.
- You plan to store heavy tools overhead, above a workbench where you stand often.
- You don’t have the right bit or anchors, and “making it work” is tempting.
In those situations, consulting a qualified handyman or contractor can be a practical way to avoid damage. If you’re in a workplace setting, follow your company safety rules and any applicable requirements. According to OSHA (Occupational Safety and Health Administration), employers are responsible for maintaining a safe workplace, and tool storage can be part of overall safety planning.
Conclusion: a solid install is mostly planning
When you install a magnetic strip with the wall type in mind, take 3 minutes to level it, and use anchors you trust, it usually turns into one of the most satisfying “small” shop improvements.
If you want a simple next step, pick your location and confirm what you’re mounting into, then buy the right fasteners before you start drilling. You’ll finish faster, and the strip will feel like it belongs there.
Key takeaways
- Studs beat anchors for heavy tools, but good toggles work for lighter sets.
- Level first, drill second saves you from crooked lines and extra holes.
- Match hardware to the wall instead of relying on whatever came in the box.
FAQ
- How do I install a magnetic tool strip in drywall without studs?
Use heavy-duty drywall anchors or toggle bolts, and use every mounting hole available. If the strip will hold heavier tools, consider relocating so at least one screw hits a stud. - What height should I mount a magnetic tool strip?
Many people like chest-to-eye level so tools are visible and easy to grab, but adjust for tool length and who uses the space. The right height is the one that doesn’t force you to pull tools downward at a harsh angle. - Can a magnetic tool strip hold hammers and pry bars?
Sometimes, but it depends on magnet strength and how securely it’s mounted. For heavier tools, mounting into studs or masonry is usually the safer bet. - Do I need to drill pilot holes into studs?
Pilot holes are often a good idea because they help the screw drive straight and reduce splitting risk. They also make it easier to keep the strip aligned while you fasten it. - Can I use adhesive instead of screws?
For very light loads it can work in some cases, but adhesives can fail with humidity, temperature swings, and paint texture. If you want long-term reliability, screws and proper anchors are typically more dependable. - How do I stop tools from sliding on the strip?
Make sure the strip is level and clean, then spread tools out so they have full contact. If sliding continues, it may be the strip’s magnet strength rather than the mounting method. - Is it okay to mount the strip above a workbench?
Often yes, but keep enough clearance so tools don’t drop onto the bench area, and avoid placing very heavy tools directly overhead. If you’re concerned about safety, mount slightly to the side or lower on the wall.
If you’re installing multiple strips or want a cleaner layout without trial-and-error holes, it can help to plan the wall like a small system, measure spacing once, and standardize your fasteners so every strip mounts the same way.