
How to properly wear a dust mask comes down to one thing people often skip: getting a real seal on your face, not just “having something on.” If your glasses fog fast, you feel air rushing out near your nose, or the mask slides when you talk, you may be losing most of the protection you think you have.
This matters because many dusty jobs and DIY tasks feel harmless right up until they irritate your lungs, trigger allergies, or worsen asthma. A mask worn incorrectly can create a false sense of safety, which is worse than knowing you’re unprotected and changing your plan.
Below is a practical, no-drama walkthrough: picking the right type, putting it on the right way, doing quick fit checks, and knowing when a dust mask is the wrong tool entirely.
Choose the right mask before you worry about fit
Not every “dust mask” is the same. Some are meant for nuisance dust, others are tight-fitting respirators designed to filter smaller particles. According to NIOSH, respirators (like N95s) must meet specific filtration and performance requirements, while generic face coverings may not.
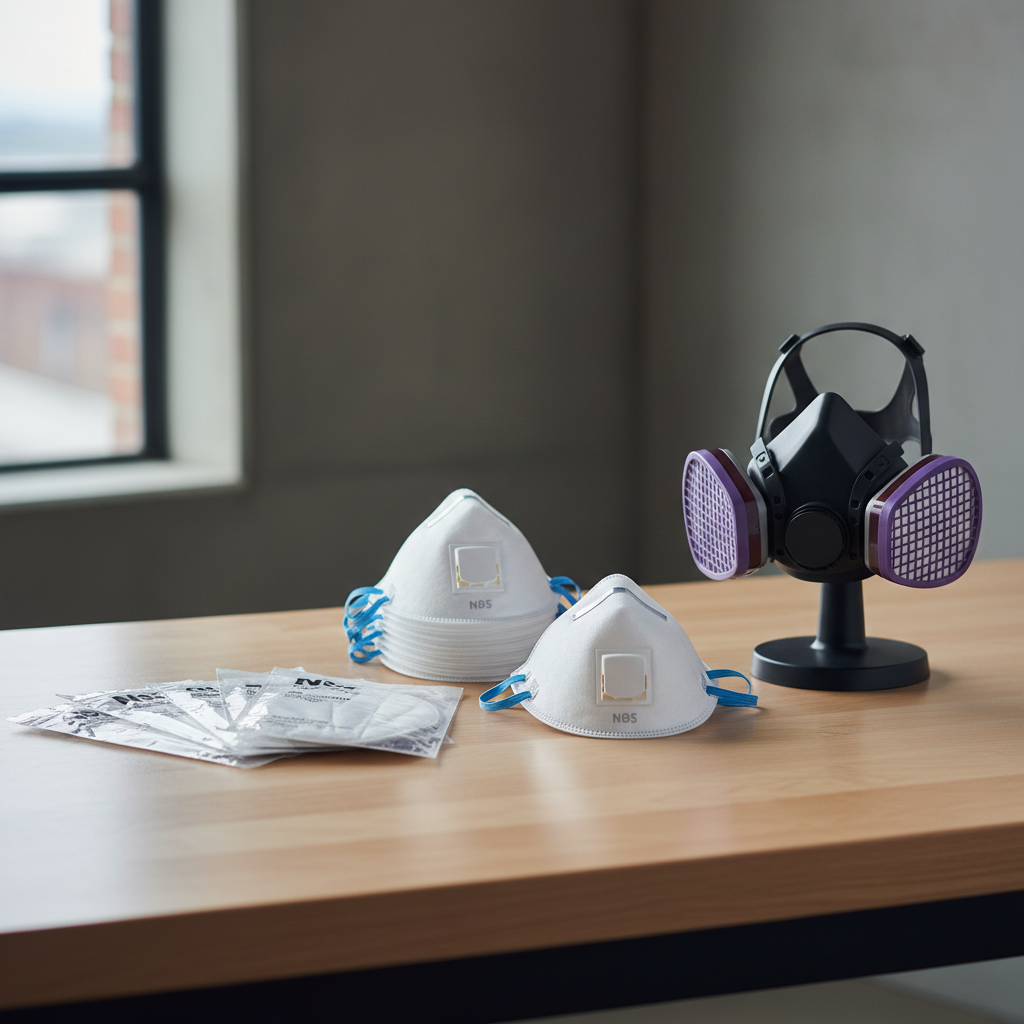
Use this quick table to decide what you likely need. If your worksite or product label specifies a standard, follow that over any general advice.
| Common situation | What usually works | What to watch for |
|---|---|---|
| Sanding drywall, sweeping a dusty garage | NIOSH-approved N95 disposable respirator | Seal around nose and cheeks, avoid gaps |
| Woodworking, cutting MDF, shop cleanup | N95 or higher; consider elastomeric for long sessions | Moisture buildup, strap tension over time |
| Mold cleanup or unknown particulate | Often higher protection (P100) plus eye protection | Consult a professional for larger remediation |
| Paint fumes, solvents, strong chemical odors | Not a dust mask; you may need an OV cartridge respirator | Wrong filter type can be useless for vapors |
Step-by-step: how to put on a dust mask so it actually seals
How to properly wear a dust mask starts with placement and strap order. Many fit problems come from rushing this part, especially when you’re already in the middle of a messy task.
1) Prep your face and the mask
- Check condition: torn material, bent nose clip, stretched straps, or dirt buildup usually means replace it.
- Facial hair matters: stubble and beards often break the seal. According to OSHA, tight-fitting respirators generally require a clean-shaven sealing surface for proper fit.
- Dry hands: sweaty hands can twist straps and deform the mask.
2) Place the mask and set the straps (order matters)
- Hold the mask in your hand with the nosepiece at fingertips, let straps hang below.
- Place it over nose and mouth, then pull the top strap over your head so it rests high on the back of the crown.
- Pull the bottom strap over your head and position it below ears, around the neck.
- Avoid crossed straps; twists often cause edge leaks.
3) Shape the nose clip with two hands
Pinching with one hand tends to create a sharp crease and tiny gaps. Use two fingertips on each side, pressing the nose clip to match your nose bridge and cheeks, then smooth outward.
Do a quick fit check (takes 10 seconds, saves a lot of guessing)
If you only do one “extra” thing, do this. According to CDC, a user seal check helps confirm the respirator sits correctly and reduces leakage.

- Negative pressure check: Cover the mask surface with your hands and inhale gently. The mask should pull slightly toward your face. If you feel air entering around edges, readjust.
- Positive pressure check: Exhale gently. You should not feel air leaking near eyes, nose, or cheeks. If you do, reshape the nose clip and re-seat straps.
Two small notes that save time: don’t crush the mask when you cover it, and don’t exhale hard, forceful breathing can create leaks that normal breathing would not.
Common leak points and quick fixes (real-world troubleshooting)
Most people assume “wrong size” right away, but a lot of issues come from small positioning errors. If you’re trying to figure out how to properly wear a dust mask and it still feels off, use these fixes before you throw it out.
Glasses fogging
- Move the top strap higher on the crown, it often stabilizes the nose area.
- Re-mold the nose clip with two hands, then press along the upper edges.
- If your mask has a foam nose cushion, make sure it sits flat and not folded.
Air blowing into your eyes
- Usually a nose bridge gap, reshape the clip and check for hair or skin oil at the seal.
- Try a different model, face shapes vary a lot, even within the same “N95” label.
Mask sliding when you talk
- Bottom strap may be too high, move it below ears around the neck.
- Check for twisted straps, they reduce tension where you need it.
Cheek gaps during movement
- Re-seat the mask higher on the nose, then tighten strap placement.
- If you’re doing active work for hours, an elastomeric half-face respirator may hold seal better.
Self-check checklist: is your dust mask “good enough” today?
You don’t need perfect, you need reliable. This checklist helps you decide whether to keep working, adjust, or switch gear.
- When you inhale, the mask pulls slightly inward and stays centered.
- No obvious leaks around nose bridge, cheeks, or chin during normal breathing.
- Straps stay put after you look down and talk for 30 seconds.
- Your nose clip holds shape and does not spring back.
- No facial hair in the seal area (or you accept reduced protection).
- You can breathe without needing to loosen straps, overly tight masks lead to constant touching and readjusting.
Practical wear tips for comfort and consistency (without ruining protection)
Comfort is not a luxury, it’s how people stay compliant. If wearing it feels miserable, you’ll lift it “for a second,” and that second often happens at the dustiest moment.
- Handle by straps, not the filtering surface: reduces contamination and helps the mask keep shape.
- Plan breaks: step away from dust, remove the mask safely, then hydrate or cool down.
- Keep spares: disposable respirators lose performance when damp or dirty.
- Pair with other controls: dust extraction, wet methods, and ventilation usually lower exposure more than “upgrading” a mask alone.

Mistakes that quietly reduce protection
These are the habits that make a mask “technically worn” but not very effective, especially for DIY work where you’re moving, sweating, and adjusting tools.
- Nose out or mask under the chin: obvious, but it still happens during quick conversations.
- Wearing a loose ear-loop face mask for heavy dust: many ear-loop styles do not seal well.
- Touching the front repeatedly: it shifts the seal and transfers dust to your hands.
- Reusing a disposable mask too long: clogged media increases breathing resistance, which can push people to loosen fit.
- Assuming “no smell” means safe: dust hazards are often odorless, and vapors require different filters.
When you should upgrade protection or ask a pro
How to properly wear a dust mask helps for many routine dusty tasks, but there are situations where the right move is stepping back and reassessing the hazard.
- Health symptoms: wheezing, chest tightness, dizziness, or persistent coughing during or after exposure, consider stopping work and consulting a clinician.
- Unknown materials: older homes may involve lead paint or asbestos-containing materials; testing and professional guidance can be safer than guessing.
- High concentrations: visible clouds, long-duration exposure, or confined spaces often call for better controls and a higher-grade respirator.
- Workplace requirements: if you’re on the job, follow your employer’s respiratory protection program and fit-testing rules.
Key takeaways and next steps
If you want the quick win, focus on seal and consistency. Pick a mask designed for the dust you’re making, place straps correctly, shape the nose clip with two hands, then do a fast seal check before you start the messy part.
Next time you suit up, spend 30 seconds on fit, then reduce dust at the source with a vacuum attachment or ventilation, your lungs will likely notice the difference.
FAQ
How do I know if my dust mask fits correctly?
A good fit usually feels stable and sealed: the mask pulls in slightly on inhale, and you don’t feel air leaking near your eyes or cheeks. A quick user seal check is the simplest confirmation.
Can I wear a dust mask with a beard?
Many tight-fitting respirators struggle to seal over facial hair. If you keep a beard, you may need to trim the seal area or consider alternatives that fit your situation, a workplace safety officer can advise.
Why do my glasses fog when I wear a dust mask?
Fogging typically means exhaled air escapes upward. Reposition straps, remold the nose clip using two hands, and try a different mask shape if the problem persists.
Is an N95 the same as a “dust mask”?
In casual speech people lump them together, but an N95 is a specific NIOSH-rated respirator. Many inexpensive “dust masks” are not rated and may not filter or fit the same way.
How long can I use a disposable dust mask?
It depends on humidity, dust load, and the manufacturer’s guidance. Many people replace it when it becomes damaged, dirty, hard to breathe through, or no longer holds a seal.
Do I need a dust mask for sanding wood indoors?
Often yes, especially for MDF or long sanding sessions. Pairing a respirator with dust extraction and ventilation usually improves comfort and lowers exposure.
Will a dust mask protect me from paint fumes or solvents?
Usually not. Vapors often require a respirator with the correct chemical cartridges, and the wrong choice can give a false sense of safety, check product SDS guidance or ask a qualified safety professional.
If you’re trying to reduce dust exposure without overthinking gear choices, it can help to standardize your setup: pick a NIOSH-approved respirator that fits your face, keep a few spares on hand, and build a simple habit around seal checks before each task.