
brad nailer manual hand tool is the go-to choice when you want clean, small fasteners without dragging out a compressor, hunting for an outlet, or listening to a loud motor. If you’ve ever tried finishing nails with a hammer and ended up with dented trim, a bent nail, or a “why does this look so messy” moment, a manual brad nailer can feel like a small upgrade that changes your whole workflow.
It’s also a tool category with a lot of confusion, people mix up brad nailers with staple guns, or assume “manual” means weak and unreliable. Reality is more nuanced, manual models excel in light-duty finish work, quick repairs, and punch-list jobs, but they’re not the right answer for everything.
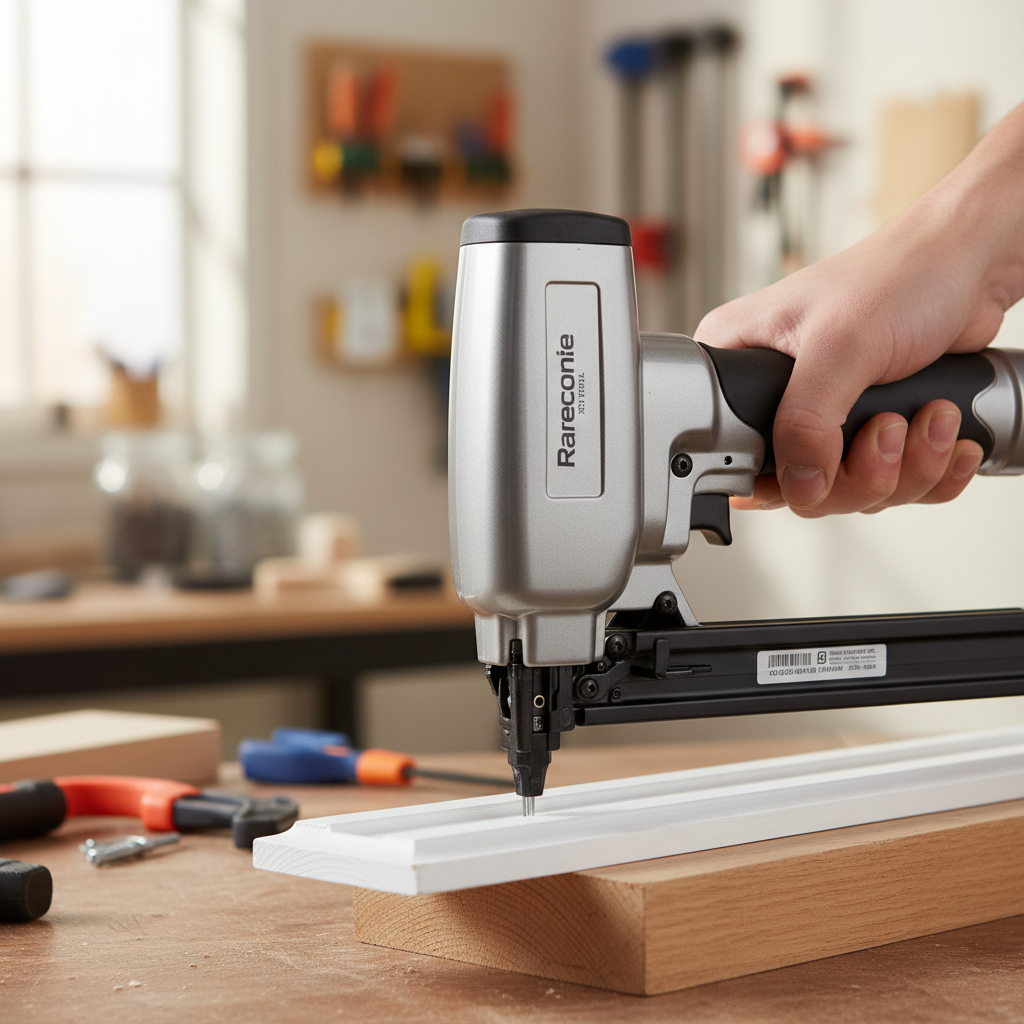
This guide breaks down what to look for, how to tell if your project is a good fit, and how to get consistent results without splitting delicate molding. I’ll also call out the common mistakes that waste nails and time, because most “this tool is junk” complaints trace back to setup, nail choice, or technique.
What a manual brad nailer actually is (and what it isn’t)
A manual brad nailer is a hand-powered nailer that drives brad nails, typically 18-gauge, using squeeze force, leverage, or an impact-style mechanism. No air hose, no battery, no cord. You load a strip of brads, position the nose, and fire.
What it isn’t: it’s not a framing nailer, and it’s not meant to replace an 18-gauge pneumatic nailer on production trim. It also isn’t the same as a staple gun, even if the body looks similar. Staples behave differently in wood and often telegraph more on thin trim.
Where it shines
- Small trim and molding where you want minimal holes
- Quick household repairs without setup time
- Jobs with limited access where hoses or cords get in the way
- Noise-sensitive areas where a compressor is a bad look
Where it struggles
- Long brads into dense hardwoods
- High-volume fastening, repeated runs of baseboard/crown
- Structural fastening where code or load matters
Why people pick a brad nailer manual hand tool in real projects
Most buying decisions come down to friction, not specs. A brad nailer manual hand tool removes friction: fewer parts, less setup, less stuff to maintain. That’s the appeal, especially for DIYers or pros who want a “grab-and-go” option.
- Setup time is near zero, load brads, test fire on scrap, start
- Portability, one tool in a tote is easier than nailer plus compressor
- Budget, manual nailers often cost less than battery platforms
- Control, many users feel they can be more deliberate on delicate trim
But it’s fair to say fatigue can be the tradeoff. If your hand strength or wrist comfort is a concern, plan for more test fitting, more pre-drilling in hard stock, or consider electric/pneumatic options.
Quick self-check: is your project a good fit?
If you answer “yes” to most of these, a manual brad nailer is usually a comfortable choice. If you’re mostly “no,” you may be fighting the tool instead of using it.
- Are you fastening thin trim, lattice, screen molding, or small craft lumber?
- Do you need short-to-medium brad lengths more than long ones?
- Is the material softwood, MDF, or pre-primed molding rather than oak/maple?
- Is this a small batch job, not an all-day install?
- Do you have a plan for adhesive when nails alone won’t hold?
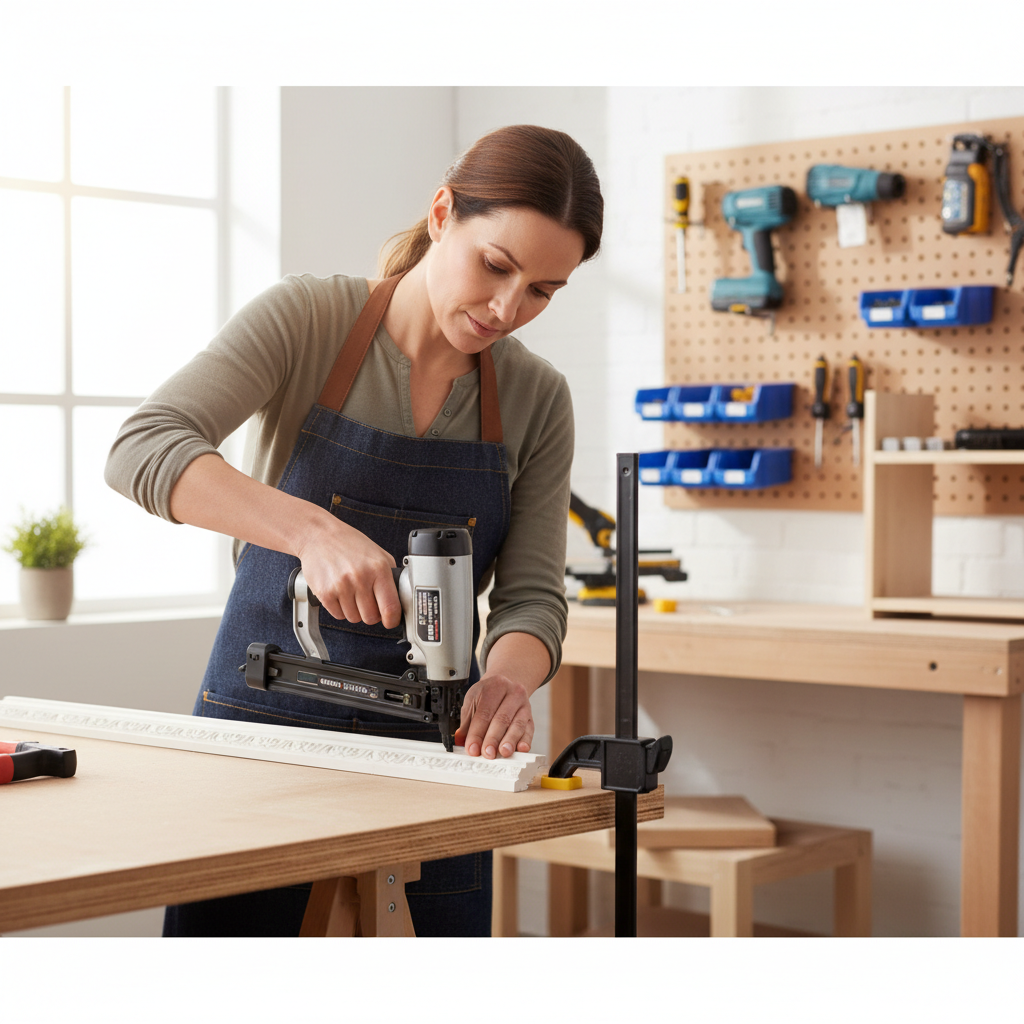
One more check that people skip: if the workpiece can’t be clamped or held steady, you might end up “chasing” the tool and leaving crooked brads. Stability matters more than power for clean finish work.
Manual vs pneumatic vs electric: a practical comparison
It helps to choose based on the job you actually do, not the job you imagine. This table is intentionally practical, not theoretical.
| Type | Best for | Pros | Tradeoffs |
|---|---|---|---|
| Manual brad nailer | Small trim, quick fixes, portability | No power source, quiet, low maintenance | Hand fatigue, may struggle in hardwoods |
| Pneumatic 18ga brad nailer | Production trim, consistent depth | Fast, strong, predictable set depth | Needs compressor/hoses, noisier, more setup |
| Cordless electric (battery) | Mobile trim work, medium volume | Convenient, decent power, no hose | Heavier tool, battery ecosystem cost |
| Corded electric | Bench work, steady indoor projects | No battery downtime, consistent power | Cord management, not as portable |
According to OSHA, pneumatic tools require specific safe-use practices around air pressure, disconnecting air supply, and trigger controls, which is part of why some people prefer a manual option for small jobs where the extra complexity feels unnecessary.
How to use a manual brad nailer for clean, flush results
The cleanest work usually comes from slowing down for the first five minutes, get the nail length right, test on scrap, and check depth. After that, it goes quickly.
Step-by-step that works in most homes
- Pick the right brad length: aim for the brad to penetrate the backing by enough to hold, but not so long it risks blowing out the side of thin stock.
- Dry-fit and mark: trim pieces should sit flat with no tension, nails won’t “pull” warped trim into place reliably.
- Clamp or brace: stability reduces angled brads and surface dents.
- Hold the nose flat: a tilted nose often causes the brad to exit at an angle.
- Test fire on scrap: check if the head sits slightly below the surface or needs a light nail set.
When to use adhesive along with brads
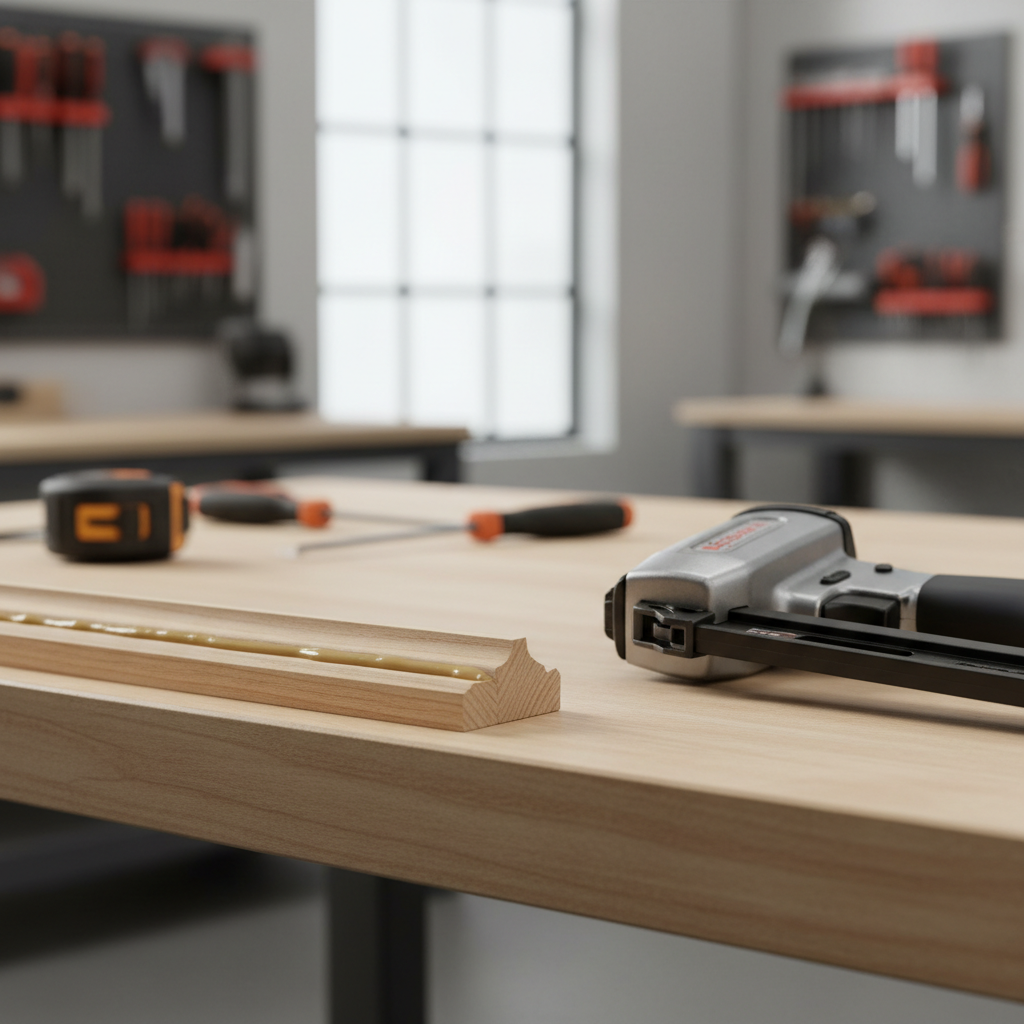
Brad nails are great for holding position while adhesive cures. For returns on baseboard, small trim corners, or light panels, a thin bead of construction adhesive or wood glue often makes the joint feel “finished” instead of temporary. If you’re unsure about adhesive choice for painted surfaces or humid spaces, it’s reasonable to ask a local hardware pro or read the manufacturer’s label guidance.
What to look for when buying (features that actually matter)
Manual nailers vary more than people expect. Two tools can look similar and feel totally different in the hand.
- Nail range compatibility: confirm it’s truly for brads, and check supported lengths and gauge.
- Jam-clearing access: a tool-free nose or quick-open channel saves frustration.
- Depth behavior: manual tools may not have the same depth dial as powered nailers, so look for predictable set depth in reviews and in-store demos.
- Comfort and leverage: grip shape and trigger effort matter if you’ll fire more than a dozen brads.
- Build and fastener quality: cheap brads bend easily, and users often blame the tool.
If you’re comparing a manual model to a small electric unit, be honest about your typical workload. A brad nailer manual hand tool is brilliant for “one room, one afternoon,” but if you’re doing whole-house trim, the saved money may come back as sore hands and slower progress.
Safety, mistakes, and the little fixes that prevent headaches
Most accidents happen during awkward positioning or when someone tries to “help” the tool by putting fingers too close to the nose. Keep your support hand well clear of the firing path, and treat every nailer as capable of unexpected discharge if it slips.
According to CPSC, consumer nail guns can cause serious injuries, and safe handling practices like keeping hands away from the discharge area and using the right tool for the job can reduce risk. If you have any uncertainty about safe operation, checking the tool manual and asking a knowledgeable retailer is a good use of five minutes.
Common mistakes that waste time
- Using brads that are too long, they curl, blow out, or split thin trim
- Nailing too close to an edge, especially on brittle primed molding
- Skipping scrap testing, then wondering why heads sit proud
- Expecting nails to pull joints tight, brads locate parts, they don’t clamp like screws
When it makes sense to ask for help
If you’re fastening near electrical runs, into unknown wall layers, or into hardwood that keeps bending brads, it may be worth consulting a contractor or experienced trim carpenter. And if pain or numbness shows up in your hand or wrist during use, consider switching tool type and, if needed, consult a medical professional.
Key takeaways and a simple next step
If your projects are light trim, quick repairs, and neat finish work, a manual brad nailer can be a satisfying tool because it’s quiet, portable, and uncomplicated. If you’re pushing thick hardwood or doing volume installs, you’ll probably be happier stepping up to pneumatic or cordless for consistent depth and speed.
Action step: list your top three projects, then match them to brad length and material hardness, that one minute of honesty usually tells you whether a manual tool fits your workflow or just sounds convenient.
FAQ
What is a brad nailer manual hand tool used for?
It’s commonly used for light-duty finish fastening like small trim, decorative molding, and craft builds where you want tiny holes and minimal surface damage. It’s less suited to structural work.
Can a manual brad nailer drive nails into hardwood?
Sometimes, especially with shorter brads and careful technique, but dense hardwood often increases misfires or bent nails. If hardwood is your routine material, a powered 18-gauge nailer may be less frustrating.
Do I still need wood glue if I use brads?
Often yes for joints that need lasting strength, brads hold alignment while glue cures. For trim into studs or backing, brads alone can be enough, but it depends on load and movement.
Why are my brads not going in flush?
Common causes include brads that are too long, a tilted nose, dense material, or a tool that doesn’t set as deeply by design. Test on scrap and adjust brad length before assuming the tool is defective.
Is a manual brad nailer safer than a pneumatic nailer?
It can reduce some risks tied to air pressure and rapid firing, but it still drives a fastener and can injure hands if misused. Basic practices like keeping fingers away from the nose and stabilizing the workpiece still matter.
What gauge brads does a manual brad nailer take?
Many are designed for 18-gauge brads, but not all models share the same compatibility. Check the tool label and the fastener packaging to avoid jams and poor driving.
How do I reduce splitting on thin trim?
Use shorter brads, avoid nailing near edges, and consider pre-drilling in brittle stock. It also helps to nail at a slight angle only when you’re confident about exit path, otherwise keep the tool square.
If you’re choosing between a manual nailer and a powered option, or you want help matching brad length to your trim and backing material, a quick checklist of your typical projects and materials usually makes the decision clearer without overbuying.