
how to change batteries in a flashlight sounds simple, until the tailcap won’t budge, the batteries look swollen, or the light still won’t turn on after you swap them.
This guide walks you through the real-world stuff that trips people up: different flashlight designs, different battery chemistries, corrosion cleanup, and the small checks that save you from thinking a good flashlight is “dead.”
You’ll also get quick checklists, a battery compatibility table, and a few safety notes worth taking seriously, especially with lithium-ion cells.
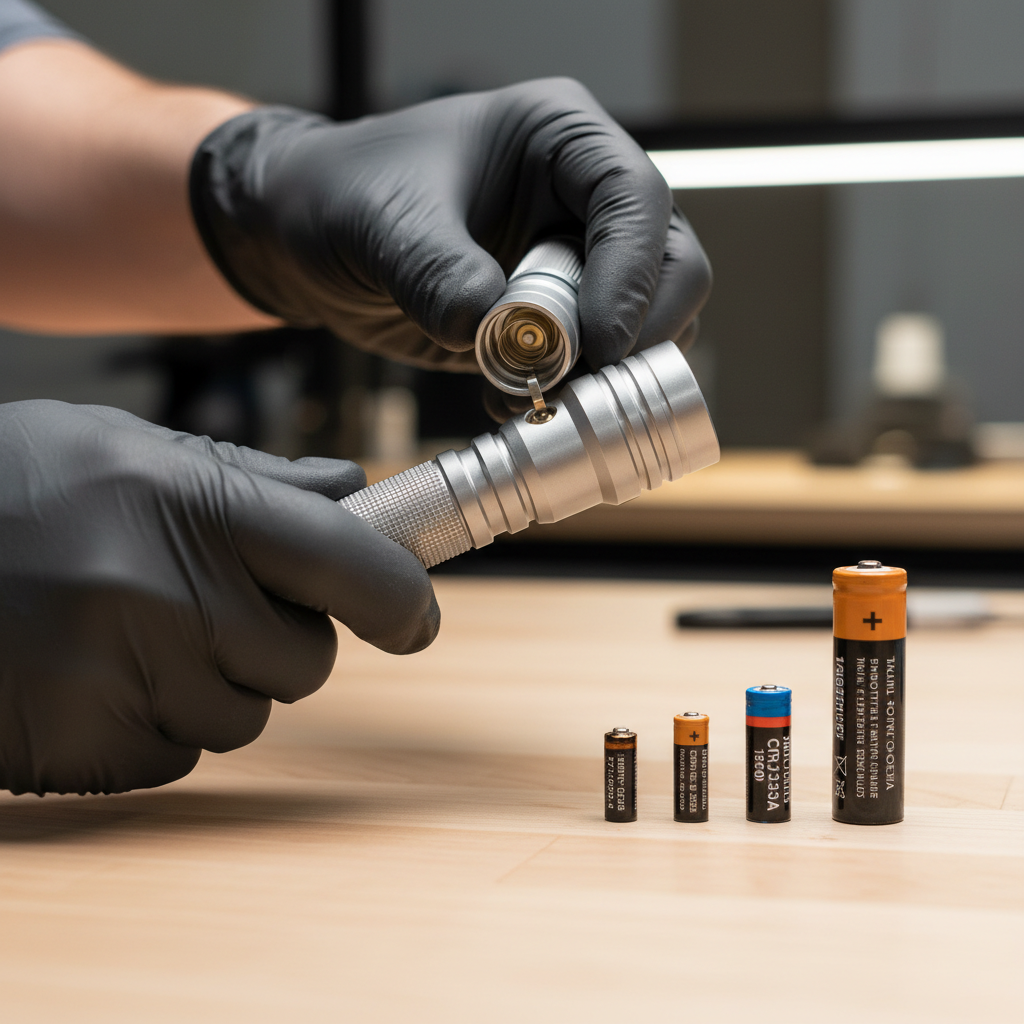
Before you start: identify your flashlight style and battery type
The right approach depends on what you’re holding. A twisty keychain light behaves nothing like a tactical light with a tail switch, and rechargeable models can add a charging port or battery carrier.
Common access points
- Tailcap: most common, unscrew the end cap opposite the lens.
- Head: some lights open near the lens bezel.
- Body tube: a mid-body coupling on longer lights.
- Battery carrier: a plastic cassette holding multiple cells (often in lanterns or bigger lights).
- Integrated pack: sealed or proprietary packs, sometimes not user-replaceable.
Battery types you’ll usually see
- AA / AAA alkaline or NiMH rechargeables
- CR123A lithium (primary, non-rechargeable)
- 18650 / 21700 lithium-ion (rechargeable)
- Button cells on tiny lights
If the label is missing, look inside the tube for markings, or check the manual. If you can’t find either, searching the model number is usually faster than guessing.
Step-by-step: how to change batteries in a flashlight (most models)
If you just want the clean, repeatable process, this is it. The details vary, but the order works for most flashlights.
- Power off and let the light cool if it was on high.
- Open the correct end (tailcap or head) by turning counterclockwise.
- Remove old cells carefully, don’t pry hard with metal tools.
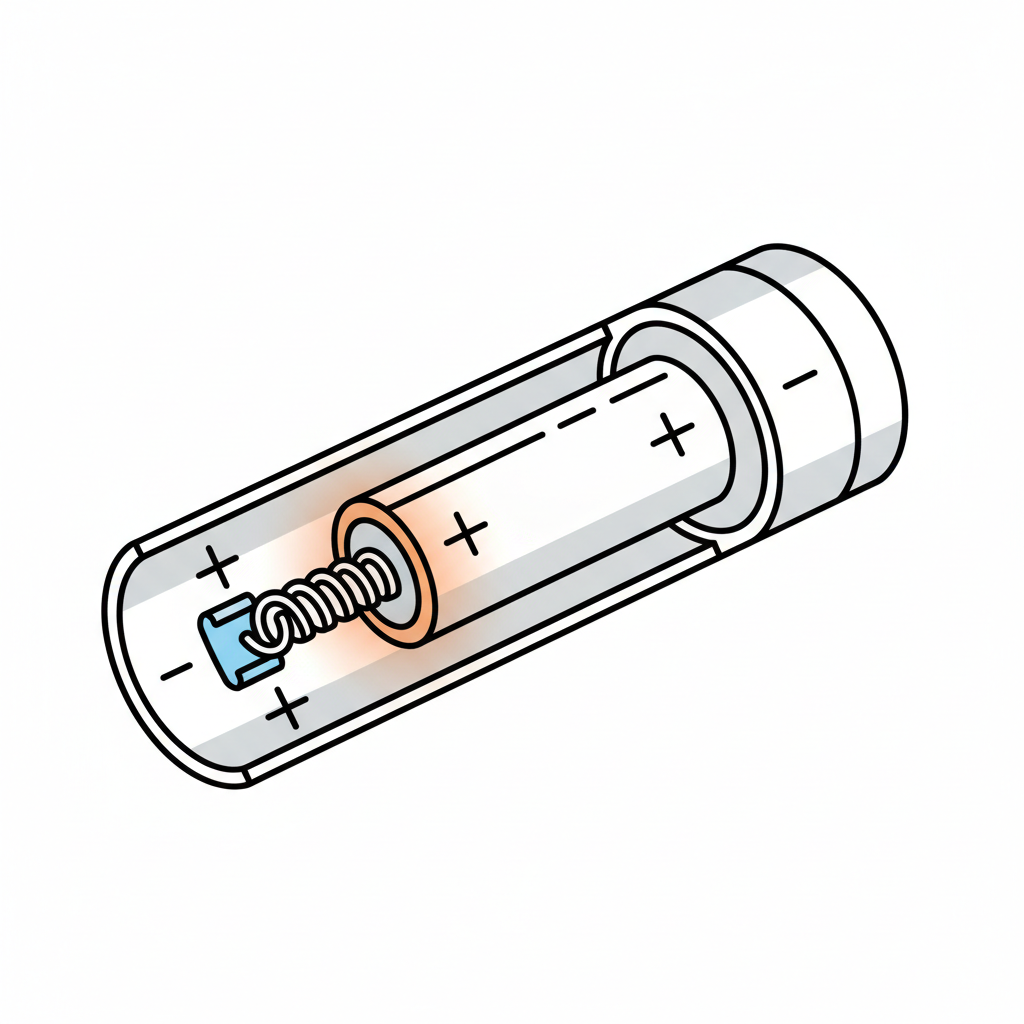
- Check polarity inside the tube: look for + and − markings, or note spring placement (springs often contact the negative end, but not always).
- Inspect for corrosion or moisture before inserting new batteries.
- Insert new cells with correct orientation, seated flat.
- Reassemble, snug but not over-tight.
- Test on a low mode first, then higher modes.
Key point: if the cap feels gritty, stops early, or cross-threads, back off and try again. Cross-threading can damage O-rings and ruin water resistance.
Quick compatibility table: what you can (and shouldn’t) swap
A lot of battery problems come from “it fits, so it must work.” Fit is not the same as compatibility. Voltage and chemistry matter.
| Battery type | Common flashlight use | Rechargeable? | Typical notes |
|---|---|---|---|
| AA / AAA Alkaline | Everyday lights | No | Easy to find, more leak risk if stored long-term |
| AA / AAA NiMH | Everyday lights | Yes | Lower voltage than alkaline, many lights still run fine |
| CR123A | Tactical/compact high-output | No | Good shelf life, higher cost, don’t recharge |
| 18650 Li-ion | High-output lights | Yes | Higher energy, needs correct charger and safe handling |
| 21700 Li-ion | Newer high-output lights | Yes | Often longer runtime, not always compatible with 18650 tubes |
According to UL Solutions, lithium-ion batteries require proper charging equipment and handling to reduce safety risks, which is why using the manufacturer-recommended charger and cells matters more than people think.
Self-check: which “battery change” problem are you actually dealing with?
When a flashlight fails after a swap, it’s usually one of a handful of issues. This quick check helps you stop guessing.
- The cap won’t open: likely overtightened threads, dirt, or a stuck O-ring.
- White/green crust inside: common alkaline leakage and corrosion.
- Batteries stuck: swelling, corrosion, or a tight tube tolerance.
- New batteries, still dead: polarity wrong, tailcap not seated, dirty contacts, or damaged switch.
- Flickering: loose cap, dirty threads, dented cell, or weak spring contact.
- Gets hot fast: wrong battery type, short risk, or driver issue.
If you’re unsure what cells the light expects, pause. Many issues start with using a lithium-ion cell in a light designed only for primaries, or mixing old and new batteries in multi-cell carriers.
Fixes for common scenarios (stuck caps, leaks, and “still not working”)
When the tailcap or head is stuck
- Try a rubber jar opener or a thick rubber band for grip.
- Wipe the threads area clean, grit can “lock” fine threads.
- If it’s water-resistant, a tiny amount of silicone grease on the O-ring can help next time, but don’t smear grease on electrical contacts.
Avoid pliers directly on the body unless you can protect the finish and you’re sure you won’t crush thin tubes.
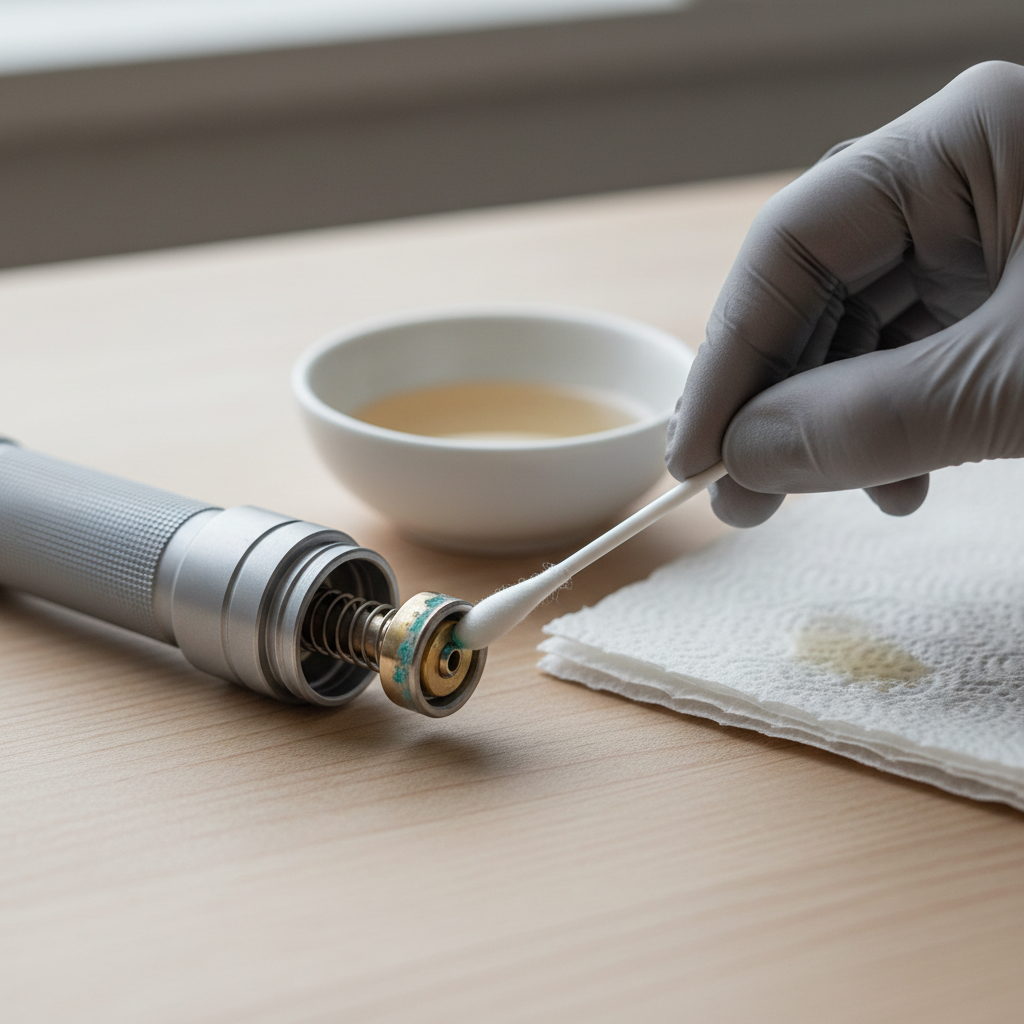
When you see corrosion from battery leakage
- Remove batteries, wear gloves if the mess looks heavy.
- For alkaline leakage, a small amount of vinegar on a cotton swab often helps neutralize residue, then wipe dry.
- For battery acid uncertainty or heavy buildup, consider having a repair shop handle it.
- Clean metal contacts gently with a swab, then let everything dry fully.
According to the U.S. EPA, household batteries should be handled and disposed of based on local guidance, and damaged or leaking batteries may need special handling.
When the flashlight still won’t turn on
- Re-check battery direction, then reseat the cap firmly.
- Inspect the tailcap spring and head contact for dirt, oxidation, or flattening.
- Wipe threads and contact surfaces with a clean dry cloth, then retest.
- Try a known-good set of batteries from a fresh package or a fully charged cell.
If you’re using a rechargeable lithium-ion cell and the light has built-in charging, make sure any insulating film on a new battery (some protected cells ship with a thin cover) is removed.
Safety notes that actually matter (especially with lithium-ion)
Most battery swaps are low-risk, but a few situations deserve extra caution.
- Don’t mix chemistries or brands in multi-battery lights. In many cases, mismatched cells discharge unevenly.
- Don’t mix old and new batteries, particularly in series setups (two or more cells together).
- Stop if a cell is swollen, hot, or smells strange. Put it in a non-flammable area and follow local disposal guidance.
- Use the right charger for lithium-ion cells, and avoid damaged wraps on 18650/21700 batteries since exposed metal can short.
- Water resistance depends on O-rings, so keep them clean and seated, and don’t over-tighten caps.
According to the National Fire Protection Association (NFPA), lithium-ion batteries can present fire risks when damaged, improperly charged, or short-circuited, so treating questionable cells as “do not use” is usually the safer call.
Practical tips to make battery changes faster next time
Once you know your light works, a little prevention saves a lot of frustration later.
- Store lights with alkalines removed if you won’t use them for months, leakage causes most “mystery failures.”
- Keep a small kit: spare cells, a microfiber cloth, and a rubber grip pad.
- Label your batteries if you run multiples, especially rechargeable sets that stay together.
- Use low mode to test after swapping, it’s an easy way to catch weak contact issues.
If you’re teaching family members how to change batteries in a flashlight, show them polarity and threading, those two details prevent most of the “it’s broken” moments.
Conclusion: a clean swap beats a rushed swap
Most people only look up how to change batteries in a flashlight after the light fails at the worst time, and that’s why it pays to slow down for 60 seconds: confirm the battery type, check polarity, and glance at the contacts before you close it up.
If you want one action to take today, check any rarely used flashlights for alkaline batteries that have been sitting too long, then swap to fresh cells or NiMH rechargeables if your model supports them.
FAQ
- How do I know which end of the flashlight opens?
Most open at the tailcap, opposite the lens, but some open at the head. Look for knurling, seam lines, or O-rings that hint at a removable section. - Why won’t my flashlight turn on after I replaced the batteries?
Polarity and contact issues are the big two. Re-seat the batteries, tighten the cap, then wipe threads and contacts. If it still fails, the switch or driver may be the culprit. - Can I use rechargeable batteries instead of alkaline?
Often yes for AA/AAA lights, especially with NiMH, but runtime and brightness can differ. For lithium-ion rechargeables, only use them if the flashlight is designed for that chemistry. - Is it safe to use 18650 batteries in any flashlight that “fits”?
Not necessarily. Many lights are not built for lithium-ion voltage, and the risk is higher if the cell wrap is damaged or the light lacks proper protection. - How do I remove batteries that are stuck inside the tube?
Tap the open end gently into your palm and try gravity first. If corrosion is visible, avoid sharp metal tools; a wooden dowel can help push from the other side if the design allows. - What should I do if there is white powder inside the flashlight?
That’s commonly alkaline leakage residue. Remove cells, clean carefully, and let it dry completely. If corrosion is heavy or contacts are eaten away, repair may be more realistic than cleaning. - Why does my flashlight flicker after a battery change?
Usually a loose cap, dirty threads, or a weak spring contact. Tighten, clean, and test again, flicker is often a connection problem rather than a battery problem.
If you’re changing batteries often, or you’re tired of dealing with leaks and half-dead spares, it may be worth switching to a flashlight setup that matches your routine, for some people that means NiMH AAs, for others it means a reputable rechargeable lithium-ion system with the right charger and storage habits.