
Best pry bar set for demolition work usually comes down to one thing: can you get leverage fast without bending tools, chewing up surfaces, or burning out your hands halfway through the day.
If you do demo even a few times a month, you already know the pain points, one bar that’s too short, another that slips, and suddenly you’re improvising with a hammer claw and wasting time. A good set solves the “right bar, right moment” problem, and it also reduces the sketchy moves that lead to smashed knuckles.
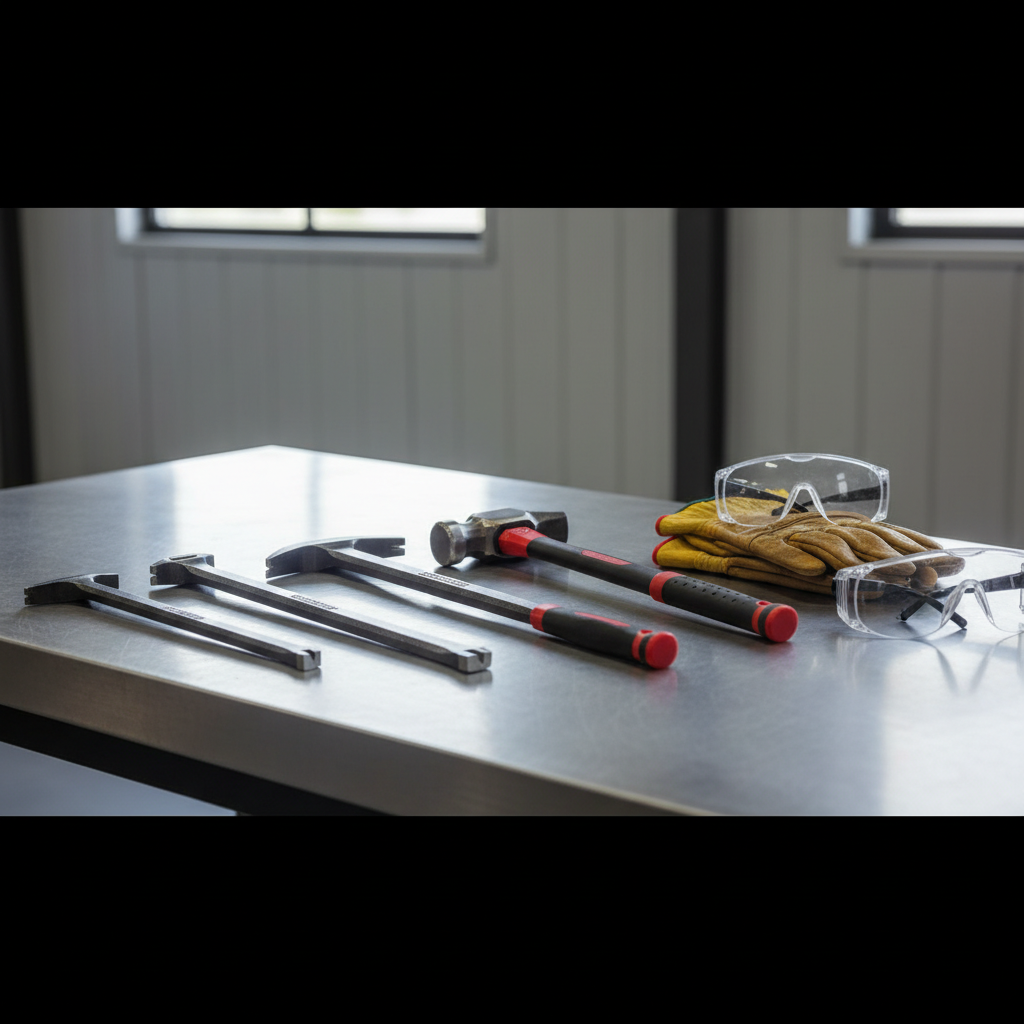
This guide focuses on what matters in 2026 buying decisions: bar geometry, steel toughness, nail-pulling features, and how many pieces you actually need. No hype, just how to choose a set that fits your demo style and the materials you beat up every week.
What “demolition work” demands from a pry bar set
Demo is different from “occasional prying.” You’re twisting, levering, and shock-loading metal against wood, concrete edges, tile, and fasteners that refuse to cooperate.
- High leverage at multiple angles: framing gaps, trim, subfloor seams, pallet boards, and stubborn nails all want different bar shapes.
- Tip durability: thin tips slide into tight seams, but cheap thin tips mushroom or chip.
- Comfort and control: in real jobs, hand fatigue matters almost as much as raw strength.
- Surface awareness: sometimes you’re saving material, sometimes you’re not, a set should cover both.
According to OSHA, hand and power tool injuries often come from misuse, poor maintenance, or using the wrong tool for the task, which is why matching the bar to the job is more than a convenience, it’s a safety habit too.
Quick checklist: are you buying the right set (or just another bar)?
Before you compare brands, check yourself against these, because the “best pry bar set for demolition work” for one crew can be overkill or under-specced for another.
- Material mix: mostly wood framing, mostly finish carpentry tear-out, mixed construction, or heavy masonry demo.
- Access: tight gaps behind baseboards and cabinets, or open framing where you can swing wide.
- Fastener reality: lots of ring-shank nails and screws, or older construction with brittle nails and lath.
- Do you salvage materials? If yes, you’ll care more about wide blades and controlled lifting.
- How you work: one-person jobs vs. crew work, “fast rip” vs. “careful peel.”
If you frequently end up grabbing a second tool to finish the job, that’s usually a sign your set lacks either length variety or the right tip styles.
Key features that actually matter (and what to ignore)
Marketing loves buzzwords. On a demo site, a few practical specs decide whether a bar earns its keep.
1) Length mix (you want at least three “working ranges”)
- ~8–12 in.: tight trim removal, staples, small leverage tasks, quick resets.
- ~15–24 in.: the daily driver range for doors, casing, cabinets, light framing.
- ~30–48 in.: subfloors, deck boards, heavy framing, when leverage beats brute force.
A lot of sets look complete but stop at 24 inches, that’s fine for light tear-out, but it’s where people start “cheating” with awkward body weight moves.
2) Tip geometry: thin is good, but only if it stays straight
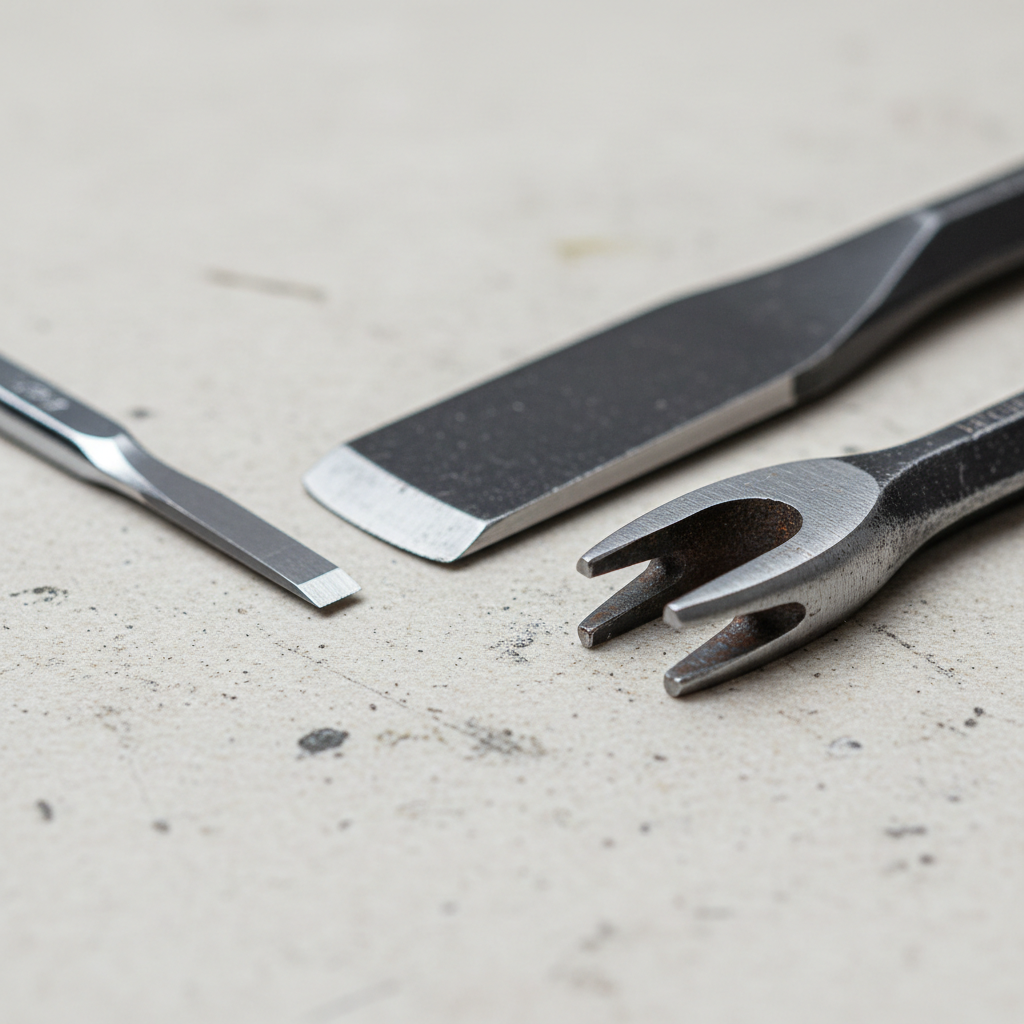
- Chisel tip: slides into seams, great for trim and sheathing starts.
- Cat’s paw / nail puller notch: grabs embedded nails, but can chew wood if you’re salvaging.
- Wide blade: spreads force, reduces denting, better for delicate removal.
If you want one “do-it-most” profile, a flat bar with one thin chisel end and one slightly wider lifting end tends to cover the most real-world demolition work.
3) Steel and heat treat (the boring part that matters)
You don’t need to memorize metallurgy, but you do want a bar that’s heat-treated well so it resists bending and tip mushrooming. Premium bars often advertise alloy steel and heat treatment, that can be meaningful, but the real tell is how the tip holds up after repeated prying and striking.
Also, if you’ll strike the bar, look for designs intended for that kind of abuse. According to ANSI (American National Standards Institute), striking tools and practices have safety considerations around chipping and impact use, so don’t assume every pry bar is happy being a chisel substitute.
How many pieces you actually need (and a practical “best set” sizing)
Most people either buy too small a set and keep improvising, or buy a giant kit where half the bars never leave the box. For demolition, a tight, useful lineup often looks like this:
- 12-inch flat bar (trim, shims, quick pops)
- 18–24 inch flat/pry bar (general removal, cabinetry, doors)
- 36-inch wrecking/pry bar (framing, subfloor, deck boards)
- Nail puller bar (optional but nice if you see lots of embedded nails)
If you’re doing heavier structural demo, a 48-inch option can earn its place fast, but in small residential tear-outs it can feel like too much tool in tight rooms.
Comparison table: what to look for by job type
Use this as a buying shortcut. It won’t pick a brand for you, but it will keep you from buying the wrong style for the work you actually do.
| Demo scenario | Best bar styles | Recommended lengths | What to prioritize | Common mistake |
|---|---|---|---|---|
| Interior trim + cabinets | Flat bar, wide blade | 12 in, 18–24 in | Thin entry tip, surface control | Only buying long bars |
| Framing tear-out | Wrecking bar, curved pry | 24 in, 36–48 in | Leverage, steel toughness | Using short bars and over-swinging |
| Subfloor + deck boards | Long pry, wide blade | 36 in, 48 in | Lift angle, stiffness, grip | Too-thin tips that bend |
| Salvage/reuse lumber | Wide blade, nail puller | 18–24 in, 36 in | Controlled lift, less gouging | Using aggressive notches everywhere |
| Mixed remodel (wood + light masonry) | Flat bar + wrecking bar | 12 in, 24 in, 36 in | Versatility, replaceable value | Buying specialty bars only |
Practical buying tips for 2026 (what I’d check in the aisle)
When you can handle tools in person, you learn more in 30 seconds than from a spec sheet.
- Look at the tip grind: smooth, even bevels usually mean better control and fewer “skips” under load.
- Check stiffness: a little flex can be normal, but obvious bend in a long bar is a red flag for heavy demo.
- Feel the grip: rubber overmold can help, but some grips twist or tear over time, bare steel can be fine with gloves.
- Strike surfaces: if you plan to hit it, the bar should have a defined striking area and look built for impact use.
- Storage matters: a simple roll pouch or rack keeps tips from banging together and dulling.
Also, think about replacement. In many crews, smaller flat bars become semi-consumable, you’ll grind tips, chip edges, or lose them. Paying premium for every piece may not match your reality.
How to use a pry bar set more effectively (less damage, less pain)
The tool choice is half the story, the other half is how you load it.
- Create a starting gap: a thin bar, putty knife, or shim can prevent you from forcing a thicker tip and blowing out material.
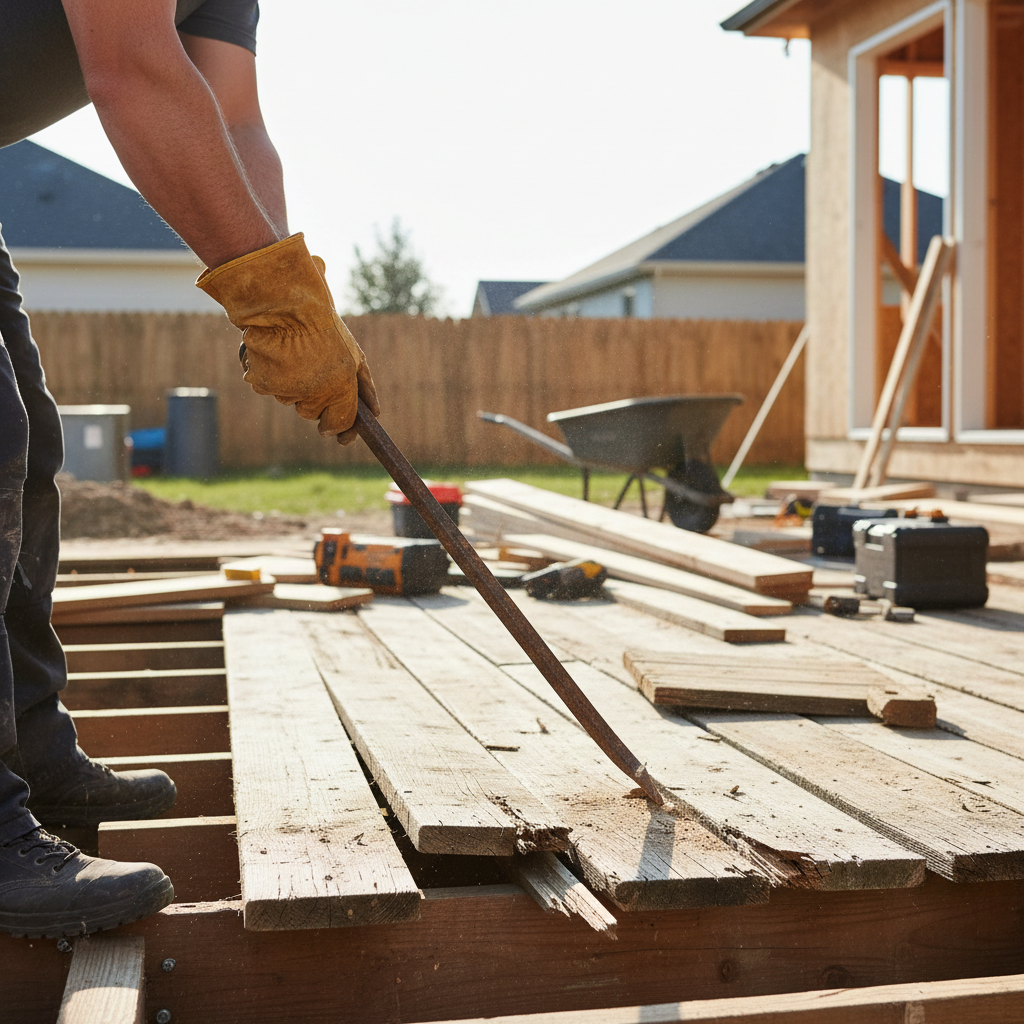
- Use a fulcrum: a small wood block under the bar reduces surface damage and increases lift.
- Step up lengths: start short for access, then switch to longer leverage once the joint opens.
- Pull nails with intention: grab, rock, reset, rushing the angle tends to snap heads or tear chunks.
If you’re working around brittle plaster, tile edges, or painted trim you’re trying to save, slow down and use wider contact points. When in doubt, a sacrificial shim saves more time than it costs.
Safety notes and common mistakes (this is where injuries happen)
Pry bars look simple, which is why people get casual with them. A few habits reduce risk on demolition work.
- Eye protection: metal chips and nail heads can pop unexpectedly. According to NIOSH, eye protection helps reduce the risk of eye injuries in work environments where flying debris exists.
- Don’t strike tools not meant for striking: if the bar isn’t designed for impact, mushrooming and chipping become more likely.
- Watch your line of fire: plan where your body goes if the tip slips, most busted knuckles come from surprise releases.
- Retire damaged bars: bent shafts and heavily mushroomed tips are warning signs, not “character.”
Any time you’re dealing with load-bearing elements, unknown wiring, or structural changes, it’s smart to consult a qualified professional. Demo can hide surprises behind walls, and a pry bar can open something you didn’t intend to open.
Conclusion: choosing the best set without overthinking it
The best pry bar set for demolition work is the one that gives you quick access, a true mid-length workhorse, and at least one long bar for real leverage, with tips tough enough to survive daily abuse. If you buy around your most common materials and add one specialty piece only when your jobs demand it, you’ll move faster and replace less.
If you’re shopping this week, pick a 3–4 piece set with 12-inch, 24-inch, and 36-inch coverage, then judge everything else by tip quality and stiffness. That combo solves most demo problems without turning your toolbox into a museum.