
Best scratch awl for marking wood shopping gets confusing fast, because many awls look similar but behave very differently once you start laying out joinery, hinge lines, or drill points on real lumber.
If your pencil line keeps getting lost in open grain, or your drill bit likes to “walk” off the mark, an awl is usually the missing link, it gives you a physical reference the tool can register into.
This guide focuses on what matters in day-to-day woodworking, tip geometry, steel, comfort, and control, plus a practical shortlist for choosing one awl that fits how you work, not how a catalog describes it.
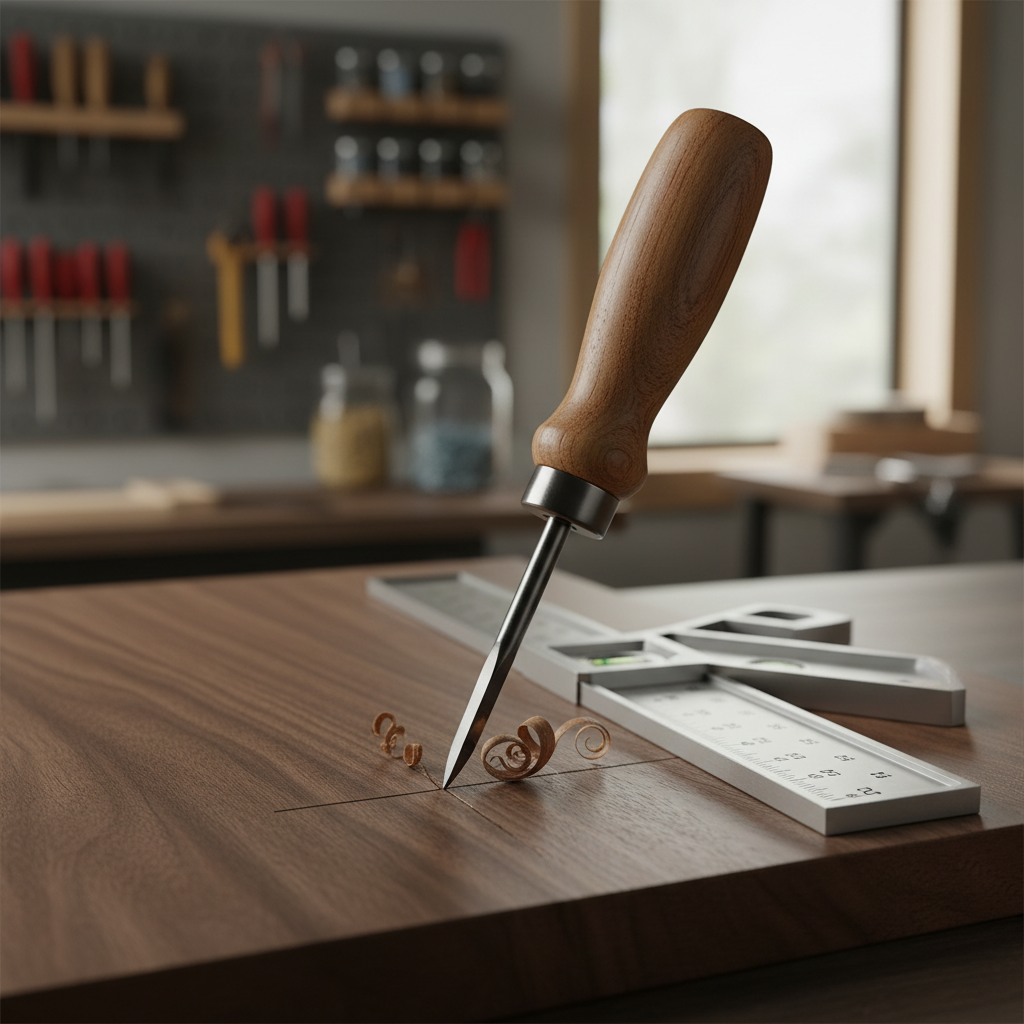
What a scratch awl does (and why pencils often fail)
A scratch awl is a hardened, pointed tool that scratches a fine groove into wood. That groove is the point, it stays visible under changing light, and it gives a saw tooth or chisel edge something to “fall into” rather than skate across.
For marking wood, the real advantage is consistency, you can scribe the same line, in the same place, multiple times, even after handling the workpiece.
- Layout accuracy: a scribed line can be thinner than most pencil points.
- Tool registration: chisels and knife walls start cleaner when the edge has a reference.
- Drilling control: a small dimple helps keep bits centered.
One caution: a scratch awl is not a marking knife. It can leave a V-shaped groove that may telegraph through finish on softer woods if you press too hard.
Quick comparison table: what to look for in the best scratch awl for marking wood
Before brands, it helps to decide what “best” means for you, cabinet work, rough carpentry, leather-and-wood mixed projects, or shop layout.
| Feature | What it affects | What to prefer |
|---|---|---|
| Tip shape | Line width, control | Fine, centered point for layout; slightly blunter for general shop use |
| Steel hardness | Edge holding, durability | Hardened tool steel; holds a point without frequent regrinds |
| Handle | Comfort, twist control | Non-slip, palm-filling shape; no sharp seams |
| Ferrule | Handle cracking resistance | Metal ferrule (especially if you tend to press hard) |
| Overall length | Reach vs finesse | Medium length for bench work; longer for deep recesses |
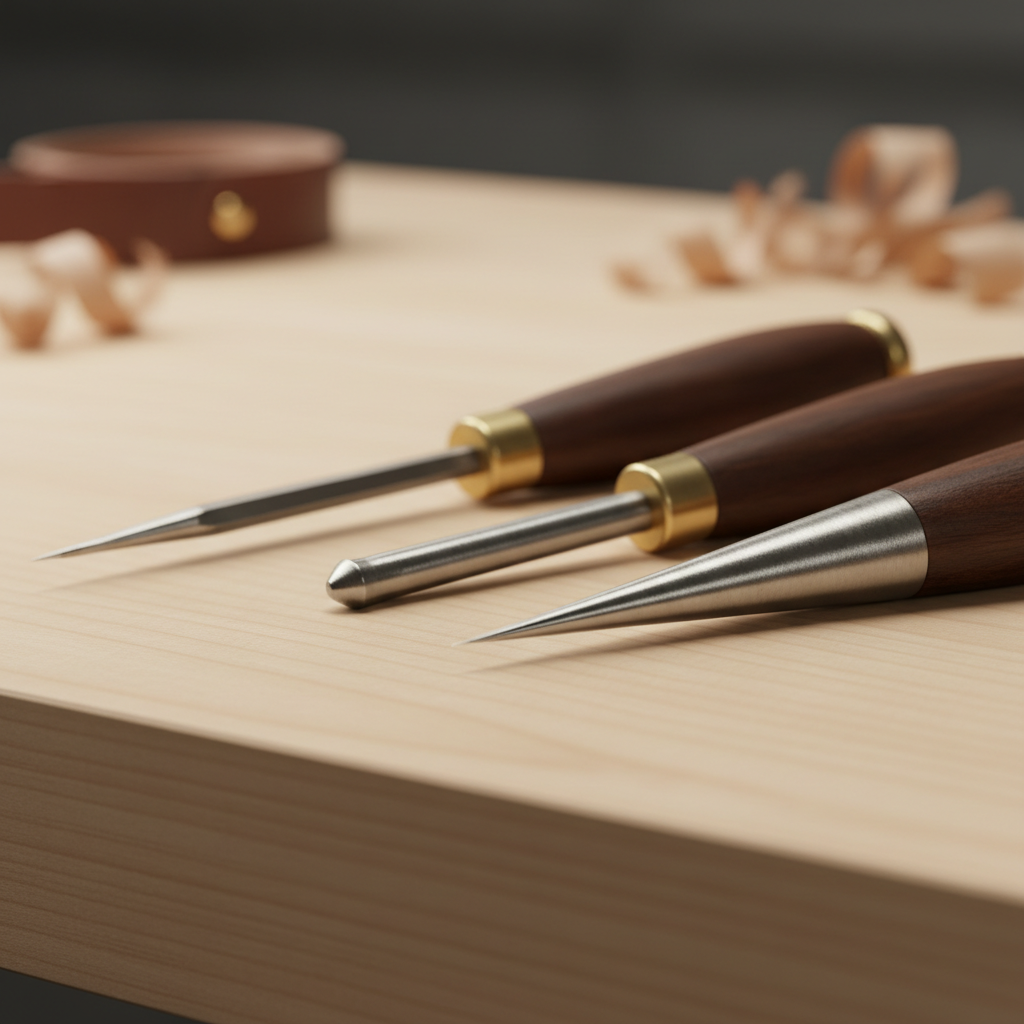
Choosing the right tip: fine point vs. stout point
Tip geometry is where most people feel the difference immediately. A super-fine point excels at delicate layout on hardwoods, but it can be fragile if you use it like an ice pick.
Fine-point awl (layout-first)
- Best for dovetail baselines, tenon shoulders, hinge gains, and crisp reference lines.
- Pairs well with a square or marking gauge when you want a repeatable track.
- May need touch-ups if you frequently hit knots, staples, or abrasive plywood glue lines.
Stouter point (shop/general use)
- Better for starter dimples for drilling, marking hardware holes, and rough stock.
- Less likely to snap or bend if you torque the handle.
- Leaves a wider mark, which can be a downside for fine joinery.
If you want one “do most things” option, many woodworkers land on a medium-fine point that can scribe cleanly yet survive occasional drilling layout.
Handle comfort is not a luxury, it changes accuracy
It’s tempting to focus on steel only, but handle shape decides whether your point goes exactly where your eye thinks it went. Small, slick handles encourage death-grip pressure, and that’s when the tip skates.
- Palm swell: helps you push with control instead of stabbing.
- Texture: light knurling or grippy plastic can outperform glossy wood when your hands are dusty.
- Indexing feel: flats or subtle facets make it easier to keep the point aligned to a square edge.
For people who mark a lot of cabinet parts in one session, a comfortable handle often matters more than tiny differences in steel.
Sharpening and maintenance: keeping your marks clean
Even the best scratch awl for marking wood won’t feel “best” if the point rounds over. The good news is maintenance is simple, but the trick is not overdoing it.
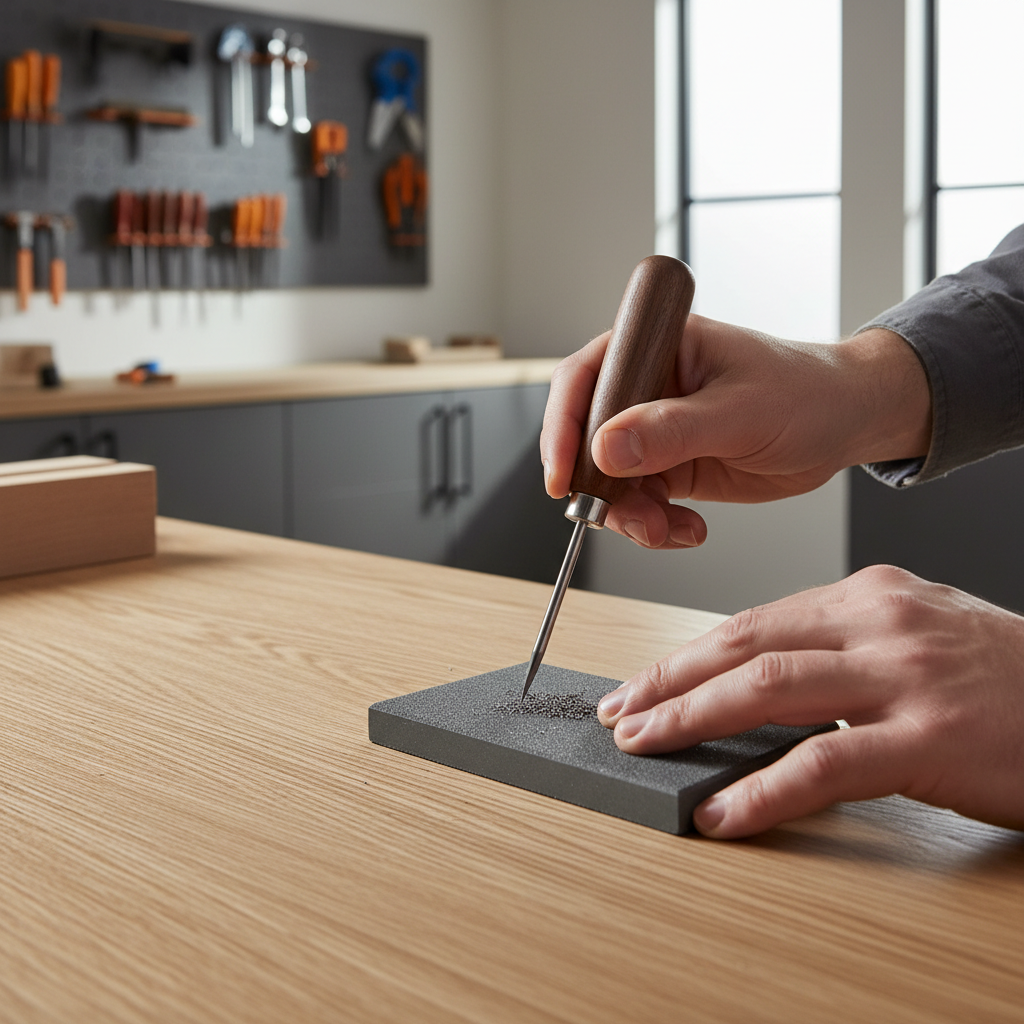
- Light touch-up: a fine stone or diamond plate can restore the point with a few controlled strokes.
- Keep it centered: rotate the awl as you sharpen so the point stays symmetrical.
- Strop if needed: a quick strop can smooth micro-burrs that tear softwood fibers.
According to OSHA, sharp tools can be safer than dull ones because they require less force, but only if you keep good control and protect the point when not in use.
Self-check: which awl do you actually need?
If you’re stuck deciding, this quick checklist usually clarifies it in under two minutes.
- You do mostly furniture joinery (dovetails, mortise and tenon): favor a finer point and a handle you can steer precisely.
- You install hardware often (hinges, pulls, slides): prioritize a stable tip and comfortable palm pressure for repeat hole marking.
- You build with construction lumber or reclaimed stock: choose a tougher point, since the wood fights back and surprises happen.
- You work with plywood/MDF a lot: consider a point that’s durable, adhesives and dense fiber can wear tips faster.
- Your hands fatigue easily: pick the handle first, accuracy drops when your grip gets tense.
Most people who search “best scratch awl for marking wood” are really looking for fewer slipped marks and cleaner starts, the checklist above maps directly to that.
How to use a scratch awl for cleaner layout (step-by-step)
This is the part that changes results immediately, even with a budget tool.
For straight layout lines
- Set a square or straightedge firmly, then plant the awl tip lightly at the start point.
- Pull the awl along the guide with moderate pressure, aiming for a shallow groove, not a trench.
- Make a second pass only if you need more visibility, two light passes usually beat one heavy pass.
For drill starter points
- Mark the crosshair lightly, then press a small dimple straight down.
- Test with the drill bit tip before drilling, if it “clicks” into place, you’re centered.
For hinge and hardware layout
- Use the awl to mark screw locations through the hinge leaf, but avoid levering side to side.
- If the wood is prone to splitting, consider a pilot hole and appropriate screw sizing, and when in doubt, consult the hardware manufacturer guidance.
Common mistakes that make a good awl feel bad
A lot of frustration comes from technique and expectations, not from picking the “wrong” product.
- Pressing too hard: can bruise fibers, especially in softwoods, and the line may show under finish.
- Using it like a punch: an awl is for scribing and light dimples, not for aggressive prying.
- Skipping a reference edge: freehand scribing invites drift; use a square, gauge, or template.
- Letting the tip dull: a rounded point tears fibers, which looks messy and reduces accuracy.
If you do a lot of fine work, it can be worth owning both a scratch awl and a marking knife, they overlap, but they’re not interchangeable in every scenario.
Conclusion: the “best” choice in 2026 is the one that matches your work
The best scratch awl for marking wood is usually the one with a tip fine enough for your layout style, sturdy enough for your materials, and comfortable enough that you don’t rush the mark. If you’re doing joinery, lean fine and controllable, if you’re doing hardware and drilling layout, lean tougher and palm-friendly.
Your next move can be simple: check your current pain point, drifting lines or wandering drill starts, then choose tip style and handle shape around that. Once you have it, keep the point sharp and your pressure light, most of the “magic” is just repeatability.