
How to drive a nail straight every time comes down to three things you can control: how you start the nail, how you support the work, and how you swing the hammer. If any one of those is off, the nail “walks,” bends, or the wood splits, even if you feel like you hit it clean.
The good news is this is more technique than talent. A few small habits, like setting your stance and “setting” the nail with light taps before you commit, usually fix most crooked-nail frustration in one afternoon. And once you understand why nails deflect, you can adjust fast when the wood fights back.
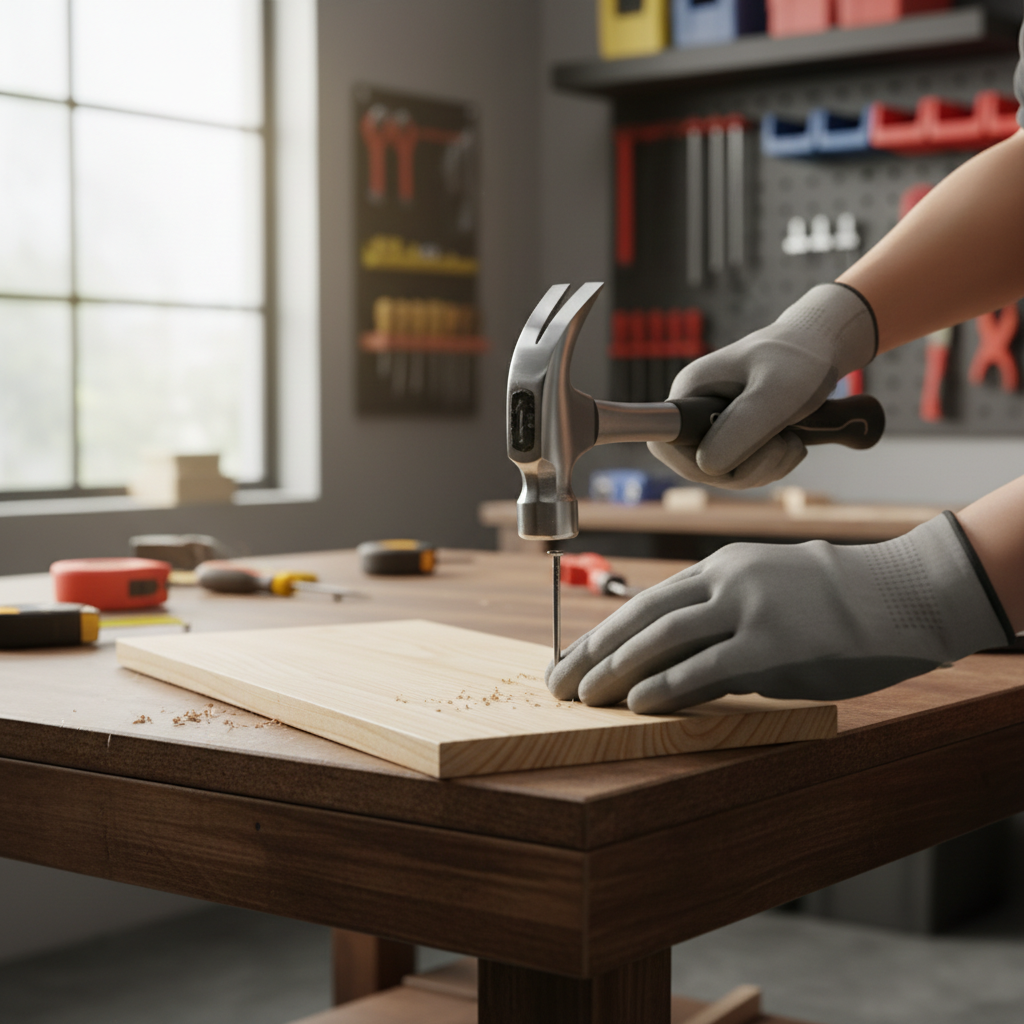
One quick note before we get into steps: if you’re regularly bending nails, it’s rarely because you’re “bad at it.” It’s often the wrong nail, dull/cheap nails, wood that isn’t supported, or swinging with your wrist instead of your shoulder. We’ll cover all of that, plus a couple of “cheat codes” pros use when precision matters.
Why nails go crooked (and why it keeps happening)
Nails don’t magically choose a direction, they follow forces. When your hammer face hits off-center, or the board flexes, the nail tip can deflect along the wood grain or a harder growth ring. That’s when it starts leaning, and from there it tends to keep leaning.
In real projects, these are the usual culprits:
- Not setting the nail with light taps, you jump straight to full swings and the nail tilts early.
- Poor support, the board bounces, so the nail loses alignment on impact.
- Wrong nail type or size for the wood, thin brads in dense lumber bend easily, oversized nails split boards.
- Bad angle of approach, your wrist flicks and the hammer face lands slightly sideways.
- Grain and knots, the tip hits dense areas and “tracks” around them.
According to OSHA, hand tool safety includes keeping tools in good condition and using the right tool for the job, which matters here because a damaged hammer face or wrong nail style increases slips and glancing blows. If you’re working overhead or near wiring/plumbing, slow down and consider asking a qualified professional, since mis-hits and blow-throughs can create real hazards.
A fast self-check: what’s causing your crooked nails?
If you want to fix this quickly, diagnose first. Use this checklist while you’re driving the next 5–10 nails and you’ll usually spot a pattern.
- Nail starts straight, then leans after 2–3 hits: your board is flexing, or your hammer is landing off-center.
- Nail leans immediately: you’re not setting the nail, or you’re holding it at a slight angle.
- Nails bend halfway in: nail is too thin/soft for the material, or you’re hitting too hard too soon.
- Wood splits near the nail: nail is too large, too close to the edge, or no pilot hole.
- It happens mostly in hardwood or near knots: you need a pilot hole or a different fastener.
Key point: if your nail is consistently leaning in the same direction, it’s usually your swing path, not “random wood behavior.”
Tool and nail choices that make “straight” easier
Yes, technique matters most, but your setup can make the learning curve way shorter. Here’s a practical comparison for common situations.
Quick nail and tool match table
| Situation | Better choice | Why it helps |
|---|---|---|
| General framing / 2x lumber | 16 oz framing hammer + common nails | Enough mass to drive without wild swings |
| Trim, small parts | Brad nailer or finish nails + light hammer | Reduces bending and surface damage |
| Hardwood (oak, maple) | Pre-drill + finish nails or screws | Hard fibers deflect tips and bend thin nails |
| Near board edge | Smaller nail + pilot hole | Lowers splitting risk |
| Hanging hardware into studs | Structural screws (often) instead of nails | More control, less deflection |
If you’re using a hammer, a 16 oz hammer is a sweet spot for many homeowners: heavy enough to drive cleanly, not so heavy you lose control. Also check the hammer face, if it’s chipped or mushroomed, glancing blows become more common.
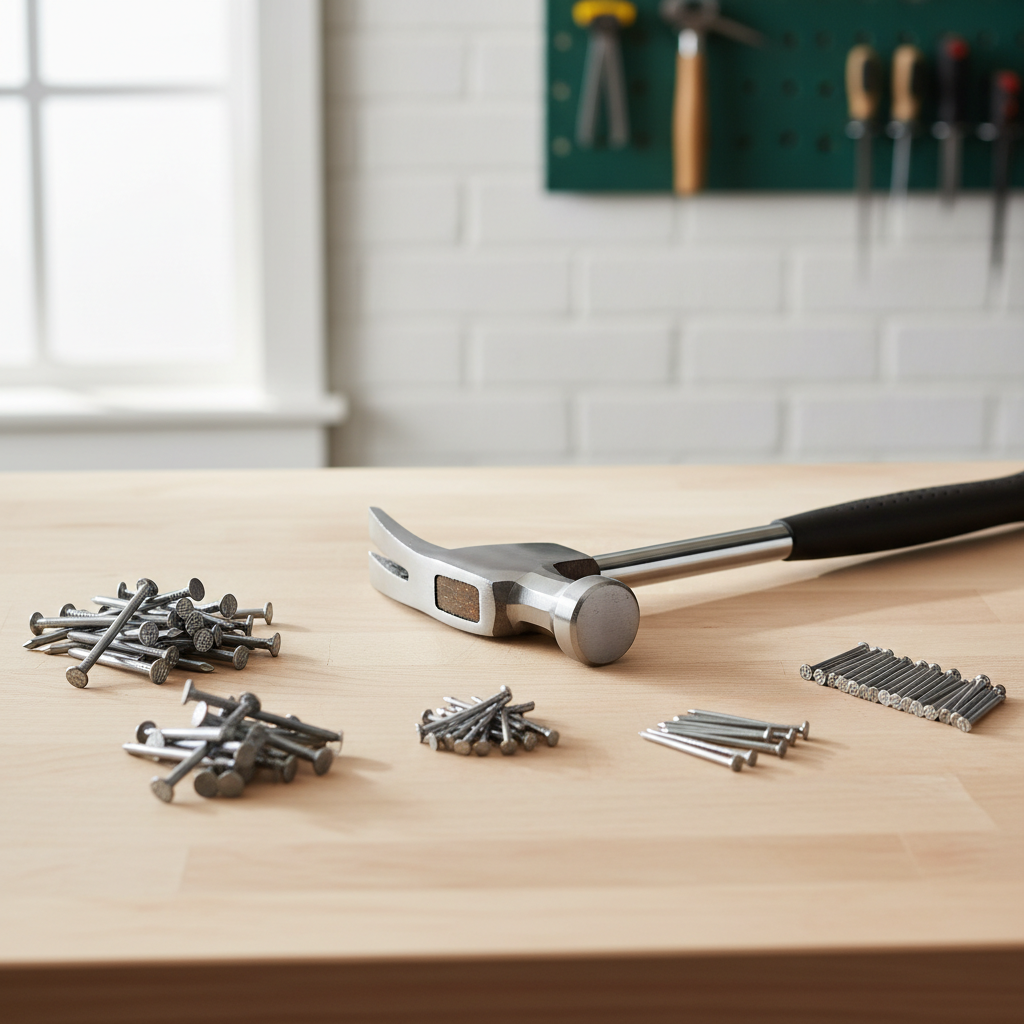
For nails, avoid ultra-cheap assortments if you keep seeing bends. Some budget nails are softer, and thin shanks deform easily in dense wood. This isn’t always the issue, but when it is, it’s maddening because your technique looks right and the nail still folds.
The core technique: start, stabilize, then drive
This is the sequence that usually delivers the “straight every time” feel. It looks simple, but the order matters.
1) Mark and place with intention
Put the nail where you actually want it, and aim for consistent spacing from edges. If you’re close to an edge, plan for a pilot hole or a smaller nail, don’t “hope it won’t split.”
2) Support the work so it can’t bounce
Clamp the board, use a bench, or back it with scrap wood. A springy board steals energy and adds wobble. If you’re nailing two pieces together, make sure they’re tight and not rocking against each other.
3) Set the nail with light taps
Hold the nail near the head, keep your fingers safe, and tap lightly 2–4 times until it stands on its own. This stage is where straightness is “locked in.” If it’s leaning, fix it now with a tiny nudge before you start swinging harder.
4) Use a controlled swing path
Think shoulder and elbow, not a wrist flick. Keep your eyes on the nail head, and let the hammer face land flat. If you miss and hit the nail at an angle, stop and reset, since the next hit tends to amplify the lean.
5) Finish with smaller, accurate hits
Near flush, reduce force and increase accuracy. Many dents and crooked finishes happen because people keep full-power swings all the way to the end.
Practical “cheats” when the nail won’t behave
Even with good form, certain woods and angles fight you. These tricks are common in shops and on jobsites because they save time without pretending the material is perfect.
- Pre-drill a pilot hole (especially hardwood or near edges). The nail stays straighter and splitting risk drops.
- Blunt the nail tip by tapping it against your hammer face once, a slightly blunted tip can cut fibers instead of wedging them apart, which may reduce splitting.
- Start with a nail set or a scrap block if you hate holding tiny nails, drive the first few taps through a small piece of cardboard or thin scrap, then remove it.
- Angle for holding power, not for “fixing crooked”. If you need toe-nailing, set the angle deliberately at the start; trying to “steer” mid-drive often bends the shank.
- Switch to a screw when precision matters (cabinet shims, tight corners). Sometimes the best fix is choosing a fastener you can control.
If your goal is truly how to drive a nail straight every time across different materials, pilot holes and better nail selection do a lot of heavy lifting, especially for DIY trim work.
Step-by-step practice drill (10 minutes, low frustration)
This mini drill is boring in a good way, it trains your hands fast.
- Grab a scrap 2x4 and draw two straight pencil lines, about 1 inch apart.
- Drive five nails on the first line using only light starter taps until each nail stands.
- Drive them home with medium swings, focus on flat hammer contact.
- On the second line, repeat, but clamp the board tighter and notice how much easier it feels.
- Pull the nails, repeat once more, you’ll feel the difference in your swing path.
Keep your non-hammer hand out of the strike zone and consider safety glasses, since nails can glance, especially near knots. According to the CDC, eye protection can reduce the risk of eye injuries during activities that create flying debris, and hammering absolutely qualifies.
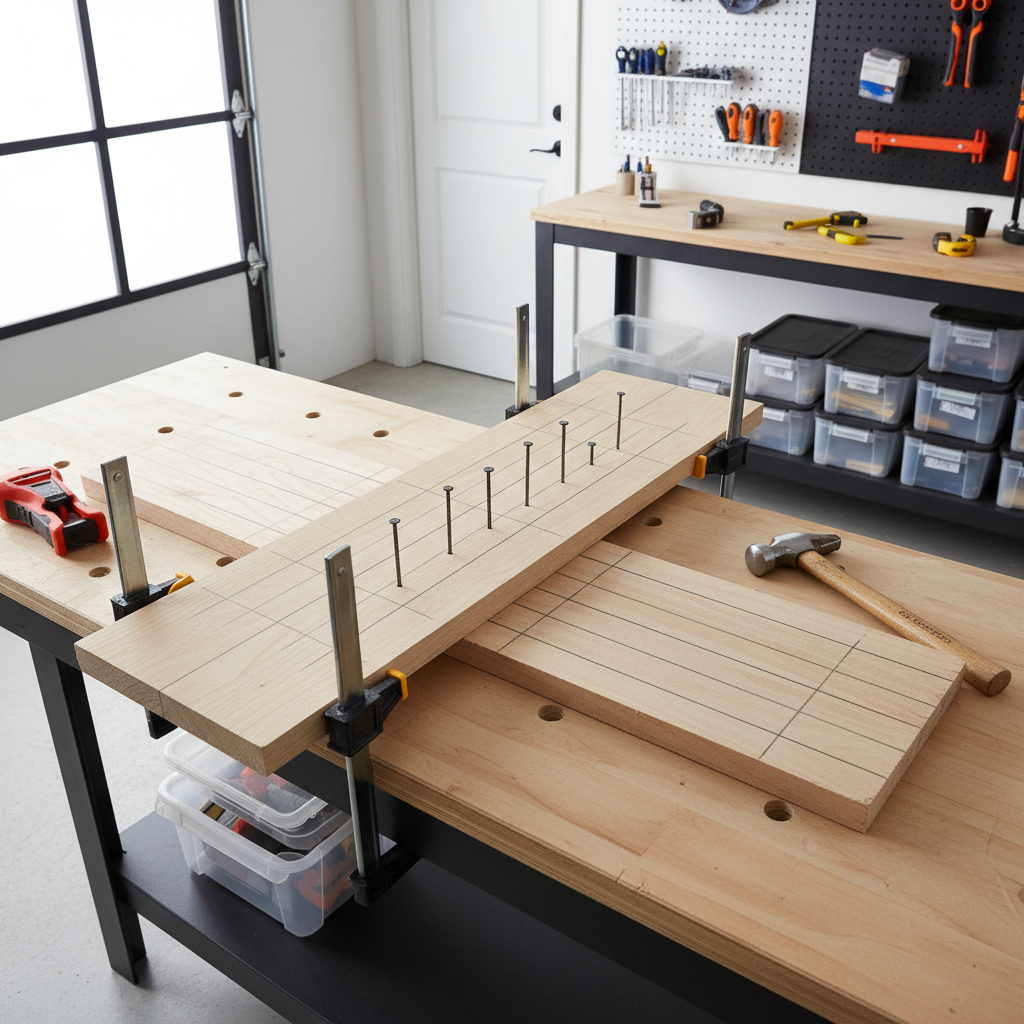
Most people notice within two rounds that their “misses” happen at the same part of the swing, usually the transition from light taps to heavier hits. That’s where you slow down, not speed up.
Common mistakes (that look right, but cause crooked nails)
A few errors are sneaky because they feel like “more effort,” and more effort seems like it should help.
- Chasing speed: rushing turns accuracy into luck, especially in the first three hits.
- Holding the nail too low: it’s safer to hold near the head, and it reduces wobble during starter taps.
- Hammering with a loose grip: you want relaxed, not sloppy, the hammer should track straight.
- Trying to straighten mid-drive: if a nail is leaning, back it out early and restart, forcing it often bends it.
- Ignoring the substrate: hidden knots, old nails, or dense latewood rings can deflect tips; a pilot hole is faster than fighting it.
If you keep bending nails in the same material, that’s useful feedback, it usually means your nail choice is mismatched more than your strength is lacking.
When to switch tactics or ask for help
If you’re nailing into structural framing, working overhead, or fastening anything safety-critical (handrails, ledger boards, load-bearing connections), it’s smart to verify local code expectations and consider a licensed contractor. Nails, screws, and connectors each have specific uses, and the “straight nail” problem can be a symptom of using the wrong fastener for the job.
Also consider stepping up to a nailer for repetitive work. Pneumatic or cordless nailers reduce deflection from inconsistent hits, though they introduce their own learning curve with depth setting and angle control.
Conclusion: the repeatable formula for straight nails
If you want how to drive a nail straight every time to feel automatic, focus less on hitting harder and more on starting clean: support the board, set the nail with light taps, then drive with a flat hammer face and a steady swing path. When the wood is dense or close to an edge, a small pilot hole is not “cheating,” it’s just choosing fewer problems.
Your next action is simple: clamp a scrap board, drive 10 nails using the start-stabilize-drive sequence, and note where the first lean begins. Fix that one moment, and the rest gets easier fast.