
Self adhesive wire clip clear options solve a very specific headache: cables that won’t stay put, especially when you don’t want to drill holes or leave obvious hardware on the wall.
If you’ve tried tape, zip ties, or random hooks, you already know the usual failure points, adhesive lets go, clips look messy, or the “fix” makes cable swaps annoying. A clear clip can look almost invisible, but only if you match it to the surface and install it the right way.
This guide breaks down why these clips fall off, how to choose the right style for your cable size, and a step-by-step install that holds up better in real homes, offices, and rentals.
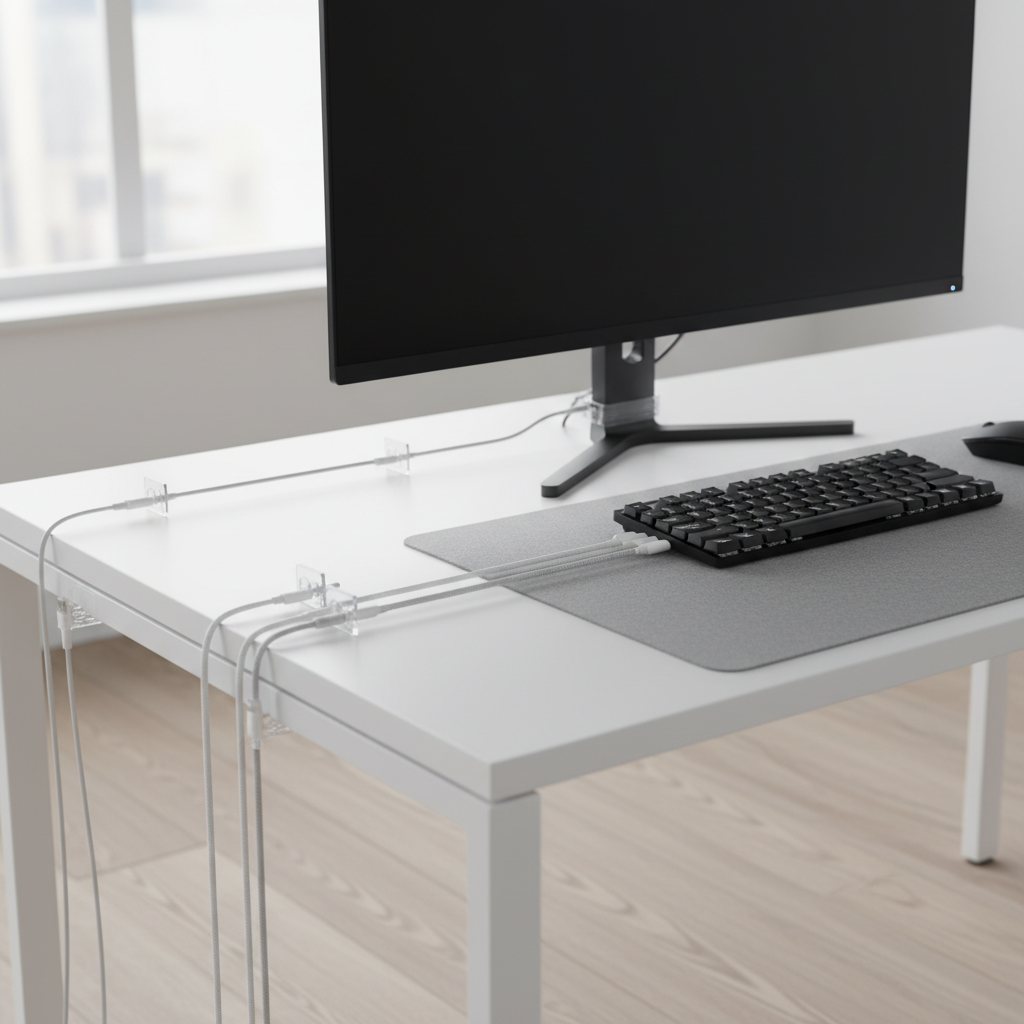
Why clear self-adhesive wire clips fail (and how to prevent it)
Most “it fell off overnight” stories come down to a mismatch between adhesive and surface, not the clip itself. Clear clips often use acrylic foam tape or gel-like adhesive, which behaves differently depending on temperature, texture, and cleanliness.
- Dust, skin oil, or cleaner residue: Even a thin film blocks adhesion. Many desks feel clean but still carry oil where hands rest.
- Low-surface-energy plastics: Some plastics (common in cheap monitor stands, power strips, certain cable raceways) resist bonding.
- Textured paint or porous walls: Adhesive touches only the “peaks,” so the real contact area stays small.
- Humidity and heat: Bathrooms, kitchens, sun-facing windows, and warm electronics shorten adhesive life.
- Immediate load: Hanging a heavy cable bundle right away can peel tape before it fully sets.
According to 3M (a major adhesive manufacturer), many pressure-sensitive adhesives build strength over time and typically perform better after proper surface prep and dwell time. That’s why installation matters as much as product choice.
Choosing the right clear clip: what actually matters
“Clear” is the aesthetic, but the practical differences are in the clip shape, cable capacity, and adhesive footprint. Buying the wrong size is the quiet reason people end up doubling up clips or forcing cables in, both increase peel force.
Quick comparison table
| Clip style | Best for | Typical cable size | Trade-off |
|---|---|---|---|
| Open-slot (push-in) | Frequent plug/unplug | Small to medium cords | Can pop out if cable is stiff |
| Closed ring / loop | Permanent routing | Thin cords, LED wires | Harder to swap cables later |
| Multi-channel strip | Desk cable bundles | Several small cables | Needs flatter, cleaner surface |
| Heavy-duty clear base | Thicker cords, power bricks nearby | Medium cable with strain relief | More visible, stronger adhesive can mark surfaces |
- Cable thickness: Measure the outer diameter, not the conductor size. A stiff braided cable “acts” thicker than it measures.
- Load direction: Clips hold best when cables pull straight down with minimal sideways tugging.
- Adhesive pad size: Bigger pad usually means better hold, especially under desks.
- Removability: If you rent, look for stretch-release tabs or removable acrylic tape, but expect slightly lower holding power.
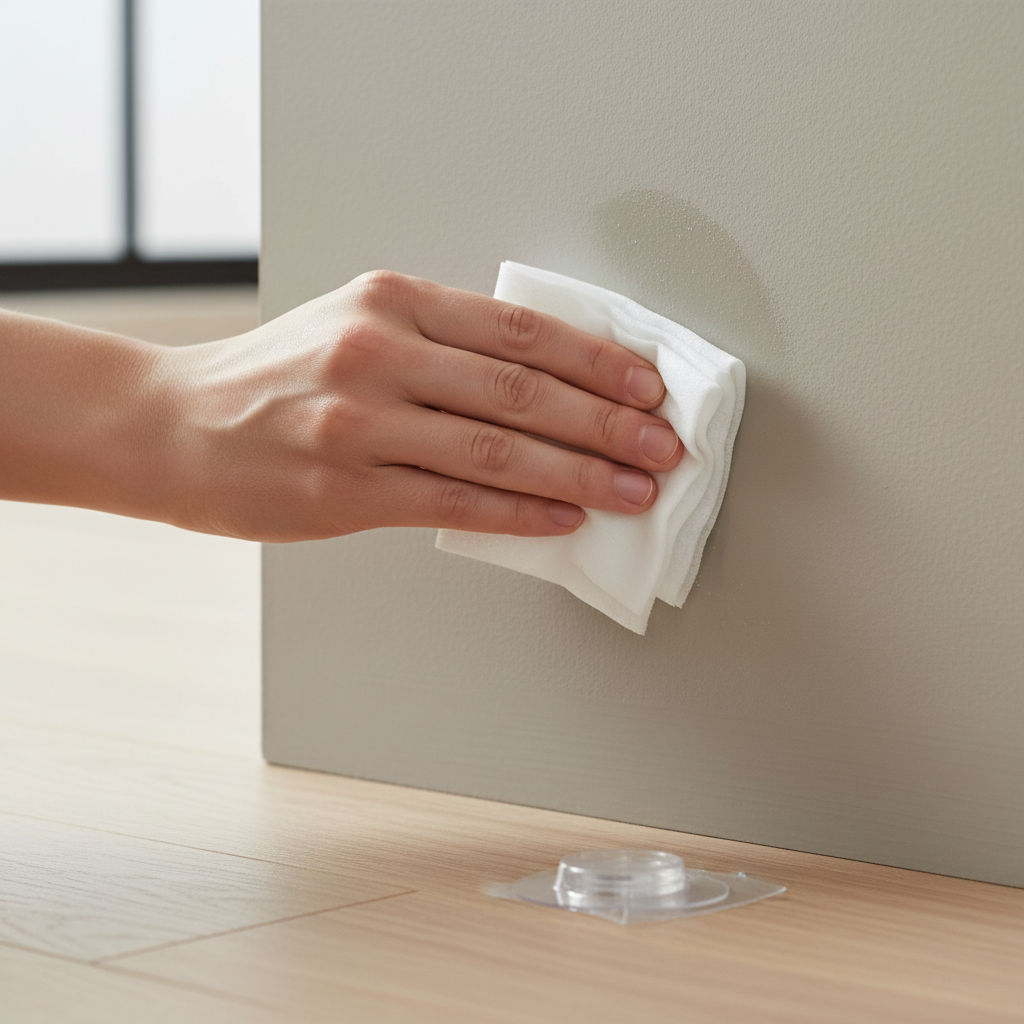
Fast self-check: are clear adhesive clips right for your situation?
Before you commit, it helps to be honest about the environment and how often you’ll touch the cable. Use this as a quick go/no-go list.
- Good fit: Smooth painted wall, sealed wood, glass, tile, metal, laminate desk surfaces.
- Maybe: Slight texture, warmer area near electronics, cables that get pulled often.
- Usually not: Brick, raw wood, dusty concrete, very textured wall paint, surfaces that get wet or steamy daily.
- Also tricky: Silicone-coated surfaces, some powder-coated metals, and certain plastics that feel “waxy.”
If your setup includes pets, kids, or a rolling chair snagging cords, a self adhesive wire clip clear solution can still work, but you’ll want more clips, shorter spans, and better strain relief so a single yank doesn’t peel the pad.
How to install clear self-adhesive wire clips so they actually stick
Self adhesive wire clip clear products are simple, but the “simple” steps are where most installs go wrong. Give yourself 10 minutes and you’ll usually get a much cleaner result.
Step-by-step (practical version)
- Plan the path: Dry-fit the cable route, check where the cable naturally wants to bend, and mark clip spots with painter’s tape.
- Clean the surface: Wipe with 70% isopropyl alcohol (common in the US), then let it air-dry completely. Avoid household cleaners that leave residue.
- Warm matters: If the room is cold, warm the surface slightly (not hot). Adhesives bond better around typical room temperature.
- Press correctly: Apply firm pressure on the adhesive base for 20–30 seconds. Focus pressure on the pad, not just the plastic clip.
- Wait before loading: If you can, wait a few hours before routing heavier cables. Overnight is even safer for higher-stress spots.
- Add strain relief: Leave a small slack loop near ports so plugging/unplugging doesn’t tug the clip.
For under-desk routing, place clips so cables pull down with gravity instead of sideways. Side load is the quiet enemy of adhesive pads.
Real-world setups: what works best in common US homes and offices
Most people aren’t organizing a lab bench, they’re dealing with a standing desk, a TV mounted over drywall, or a kitchen counter with smart speakers. Here are setups where clear clips tend to shine.
Desk and home office
- Run a line of clips along the back edge of the desk, then drop cables down one “spine” to the power strip.
- Use smaller clips for USB-C/Lightning cords, and a larger base clip for the main power cable.
- Keep one clip as a “parking spot” for a charger head so it stops falling behind the desk.
TV and media wall
- Place clips behind the TV where they’re hidden, then route one clean vertical line down to a console.
- If you have textured paint, consider fewer but larger-base clips, or switch to a paint-safe raceway.
Kitchen and bathroom (higher humidity)
- Prefer smooth tile, sealed cabinet sides, or metal appliance panels over painted drywall.
- Use more attachment points with shorter distances between clips to reduce pull.
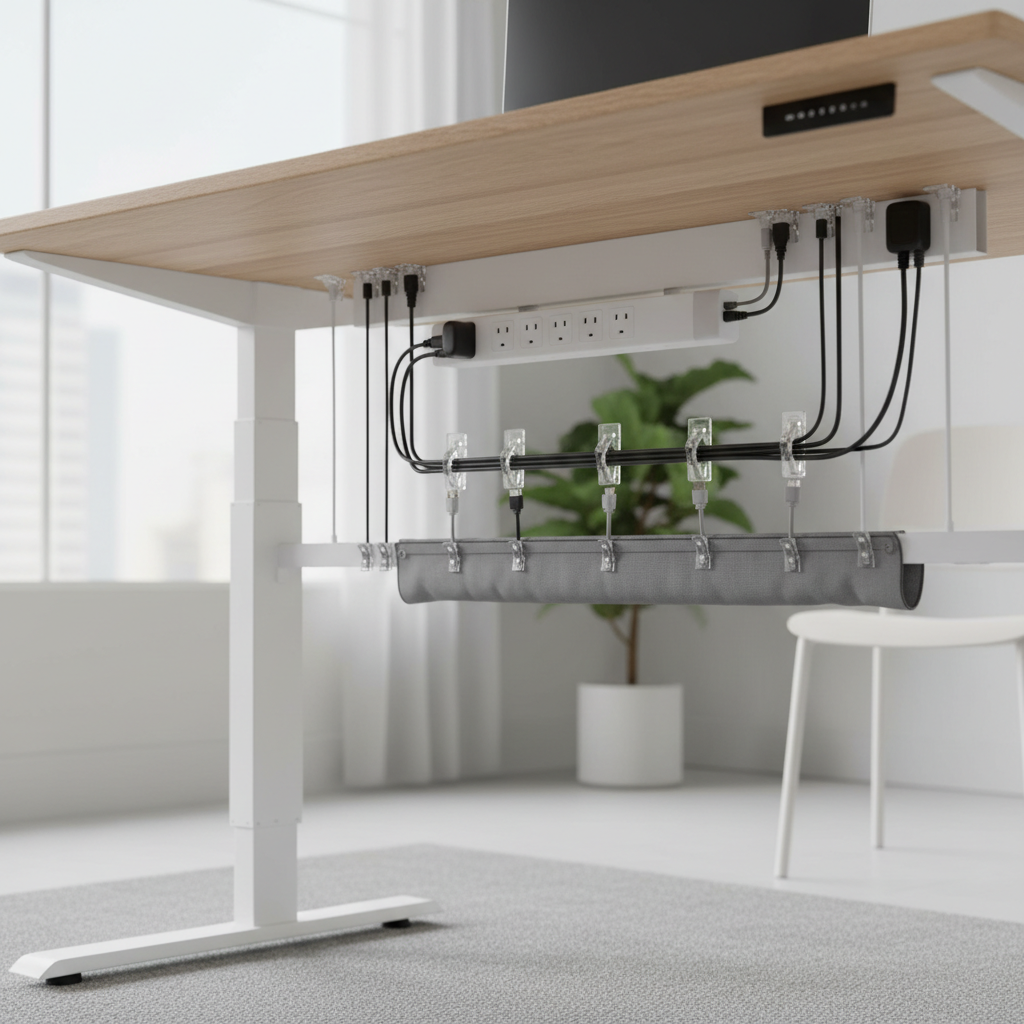
Mistakes to avoid (these waste the most time)
When clips fail, people often blame the product and buy a different pack, then repeat the same install habits. A few small changes usually beat switching brands.
- Sticking to dusty “hidden” areas: The underside of desks can be linty. Wipe it anyway.
- Routing one long, heavy span: Add intermediate clips so weight doesn’t concentrate on a single pad.
- Using on fresh paint: If paint is new or still curing, adhesion and removal both get unpredictable. If you’re unsure, wait longer or test a small spot.
- Peeling off and reusing the same pad: Once adhesive picks up dust, performance drops fast.
- Overloading with power bricks: Clips manage cables; they’re not meant to suspend adapters unless labeled heavy-duty.
Safety note: avoid routing power cords where they can pinch under furniture or get walked on. If you’re managing cords near heat sources or appliances, it may be worth asking an electrician for advice, especially in older homes.
When you should switch to another solution
A self adhesive wire clip clear setup is great for light to medium cable management, but it’s not the answer for every surface or load.
- Use screw-in clips if you need long-term hold on walls, baseboards, or areas that get bumped a lot.
- Use cable raceways if you want a single clean channel and your wall has texture.
- Use hook-and-loop ties if you constantly change cables and need flexibility.
- Use conduit if you’re protecting cables in a garage or workshop environment.
If you’re routing anything that affects safety or code compliance, such as permanent wiring or in-wall runs, it’s smarter to consult a qualified professional rather than improvising with adhesive accessories.
Key takeaways and a simple next step
If you want a cleaner look without tools, clear adhesive clips work best on smooth, clean surfaces, with the right clip size and enough attachment points to avoid side pull. The biggest upgrade is boring: alcohol wipe, firm pressure, and giving the adhesive time to set.
Pick one area to fix today, a desk edge or the TV drop, install a short test run, and see how it holds for a week before you commit to the whole room.
FAQ
Do clear self-adhesive wire clips damage paint when removed?
They can, especially on weak paint, textured walls, or if you pull quickly. If removability matters, choose removable adhesive and peel slowly, keeping the force parallel to the wall.
How long should I wait before putting cables into the clip?
Many pressure-sensitive adhesives grip immediately but strengthen over time. In practice, waiting a few hours helps, and overnight is a safer habit for heavier cords or under-desk installs.
Will a self adhesive wire clip clear product stick to textured walls?
Sometimes, but reliability drops as texture increases. For noticeable texture, larger adhesive bases or a raceway tends to be less frustrating.
What’s the best way to clean the surface before installing?
Isopropyl alcohol and a lint-free cloth usually works well, then let it dry fully. Avoid oily cleaners or “shine” sprays because they often leave residue.
Can I use these clips for outdoor cables?
Some can work under covered areas, but sun, temperature swings, and moisture often weaken adhesives. For outdoor runs, look for outdoor-rated cable clamps or mounting methods designed for weather exposure.
Why do my clips hold for a day and then fall off?
That pattern usually points to side load, heat, or a surface that looked clean but wasn’t. Reduce tension with more clips, add slack near connection points, and reapply on a properly wiped surface.
Are clear clips safe for managing power cords?
They’re typically fine for organizing cords to reduce tangles, but avoid tight bends, pinched cords, or routing near heat sources. If anything looks damaged or overheats, stop using it and consult a professional.
If you’re setting up a cleaner desk or media area and want a more “set-and-forget” result, it can help to map your cable route and choose clip sizes as a small kit instead of guessing from one mixed pack, it saves time and avoids the usual rework.