
How to cut metal pipe with a hacksaw comes down to three things: the right blade, a solid clamp, and a patient, straight stroke that does not rush the first few passes.
If you have ever ended up with a cut that wanders, or a pipe end so burred it will not thread, you already know why this matters, small mistakes here cascade into leaks, poor fit, and wasted time.
This guide focuses on practical shop-floor habits: how to choose teeth-per-inch, how to mark a true line around the pipe, how to keep the saw tracking, and how to finish the edge so parts actually go together.
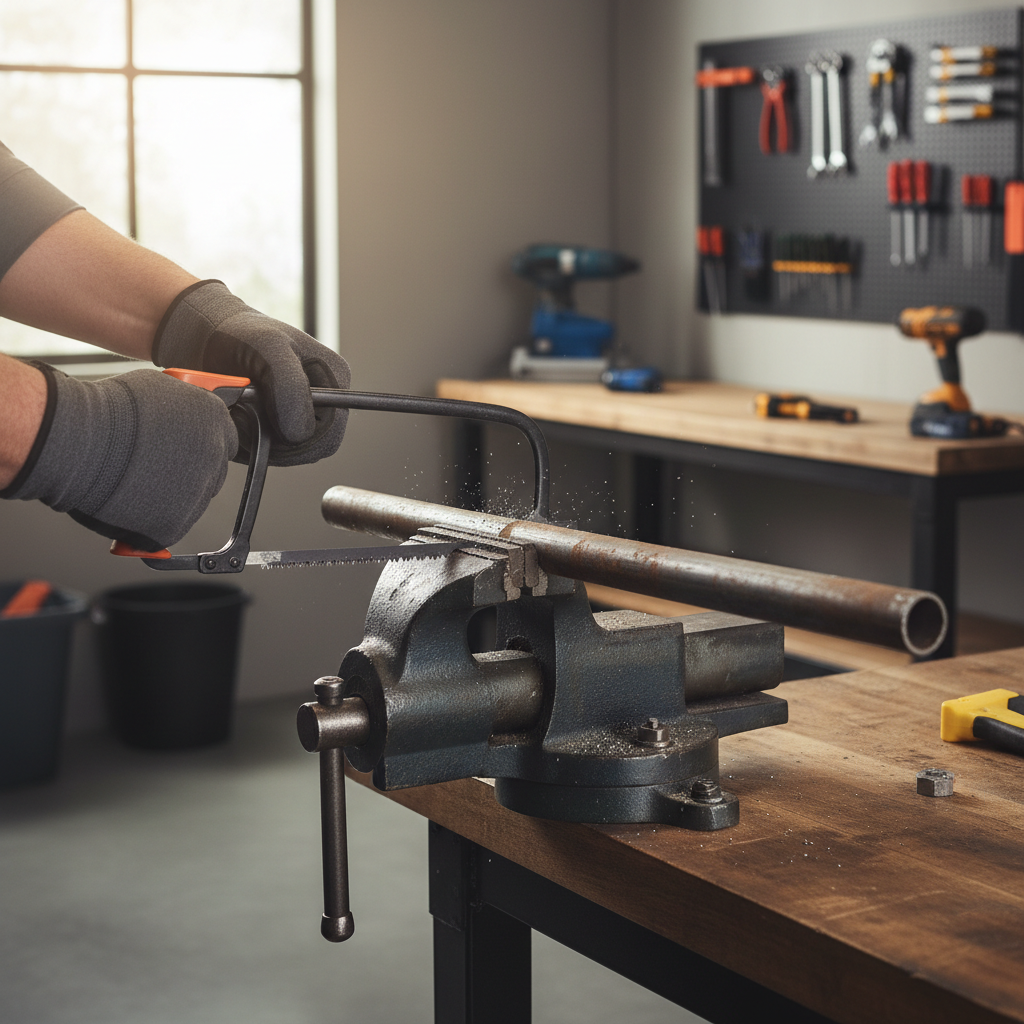
Pick the right hacksaw blade (this is where clean cuts start)
A hacksaw frame is mostly personal preference, the blade choice is not. If the teeth are too coarse, the saw chatters and grabs, if they are too fine, the cut can feel slow and heat up.
- 18 TPI: Often works for thicker wall pipe and heavier stock, but can feel rough on thin tubing.
- 24 TPI: A common “all-around” choice for many steel pipes and EMT.
- 32 TPI: Better for thin-wall tubing where coarse teeth might snag and bend the edge.
According to OSHA, hand and power tool safety starts with using the tool correctly and keeping cutting edges in good condition, which applies directly to a dull hacksaw blade that forces you to push harder than you should.
Quick blade rule of thumb
Try to keep at least 2–3 teeth in contact with the metal at all times. If the pipe wall is thin and the teeth are big, the blade tends to hook and jump.
Set up the pipe so it cannot move or ring
If the pipe flexes, rotates, or vibrates, the blade will drift. A steady setup is what makes a straight cut feel almost boring, which is exactly what you want.
- Best: Bench vise with the pipe clamped close to the cut line.
- Also works: Pipe vise or V-block in a bench vise for round stock.
- In a pinch: Clamp the pipe to a workbench with two clamps and a scrap wood “saddle” to stop rolling.
Protect finished surfaces with thin scrap wood, rubber jaw pads, or even cardboard. For copper or softer metals, over-clamping can oval the pipe, so clamp firmly but not brutally.
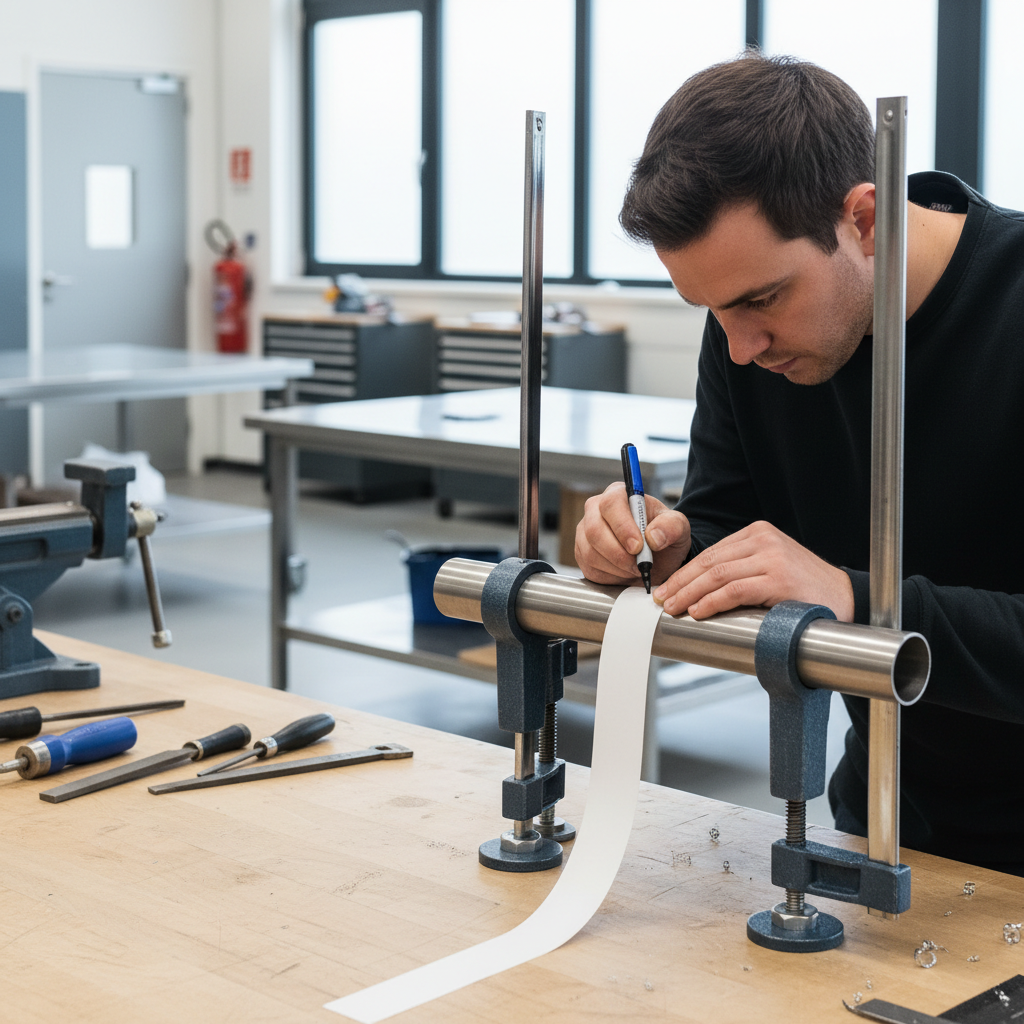
Mark a straight cut line all the way around
Eyeballing a single line on the top of a round pipe is how angled cuts happen. Giving yourself a reference that wraps around the pipe makes it much easier to correct the saw early.
Three reliable marking methods
- Wrap-around paper strip: Wrap a straight-edged strip of paper around the pipe, align the edges, then trace around.
- Combination square + rotate: Hold the square at your measurement and rotate the pipe, marking as you go.
- Hose clamp guide: Tighten a hose clamp at the cut location and use its edge as a visual guide.
Use a fine marker or a scribe, then add a small “waste side” reminder so you do not cut on the wrong side of your line.
Cutting technique: let the teeth do the work
The most common problem is pushing too hard in the first ten strokes. The blade has not formed a track yet, so it skates, bites unevenly, and the cut starts wandering.
Step-by-step for a straighter cut
- Install blade correctly: Teeth point forward for standard cutting on the push stroke, tension it so it “rings” when plucked.
- Start with short strokes: 1–2 inch strokes to establish a shallow groove right on your line.
- Use the full blade: Once the groove exists, use long, smooth strokes to distribute wear.
- Light pressure, steady pace: Increase pressure slightly only after the cut path stays stable.
- Watch both sides: Glance at the line on the near side, then the far side, and correct early.
If the blade starts pulling off-line, do not “muscle it back” mid-cut. Ease up, take a few lighter strokes in the direction you need, and let the kerf guide you back.
Key point for thin-wall pipe
Thin conduit and tubing can collapse near the end of the cut. Support the off-cut side with your hand, or reposition the clamps as you get close so the pipe does not pinch the blade.
Material-specific tips (steel, copper, aluminum, galvanized)
People ask how to cut metal pipe with a hacksaw as if all metals behave the same, but the feel changes a lot, and adjusting to that makes cuts cleaner and safer.
- Steel pipe: 24 TPI usually behaves well, cutting oil can help reduce friction and keep the blade from loading up.
- Galvanized pipe: Same approach as steel, but expect a little more abrasion; wash hands after handling, and avoid breathing dust.
- Copper pipe: Finer tooth blades reduce grabbing, go lighter on clamping pressure to avoid deforming the tube.
- Aluminum tube: Teeth can clog, so clear the blade periodically and consider a little wax or suitable lubricant.
Ventilation is a smart default when cutting metal indoors, and if you are working around old coatings or unknown materials, it can be worth asking a pro about safe handling.
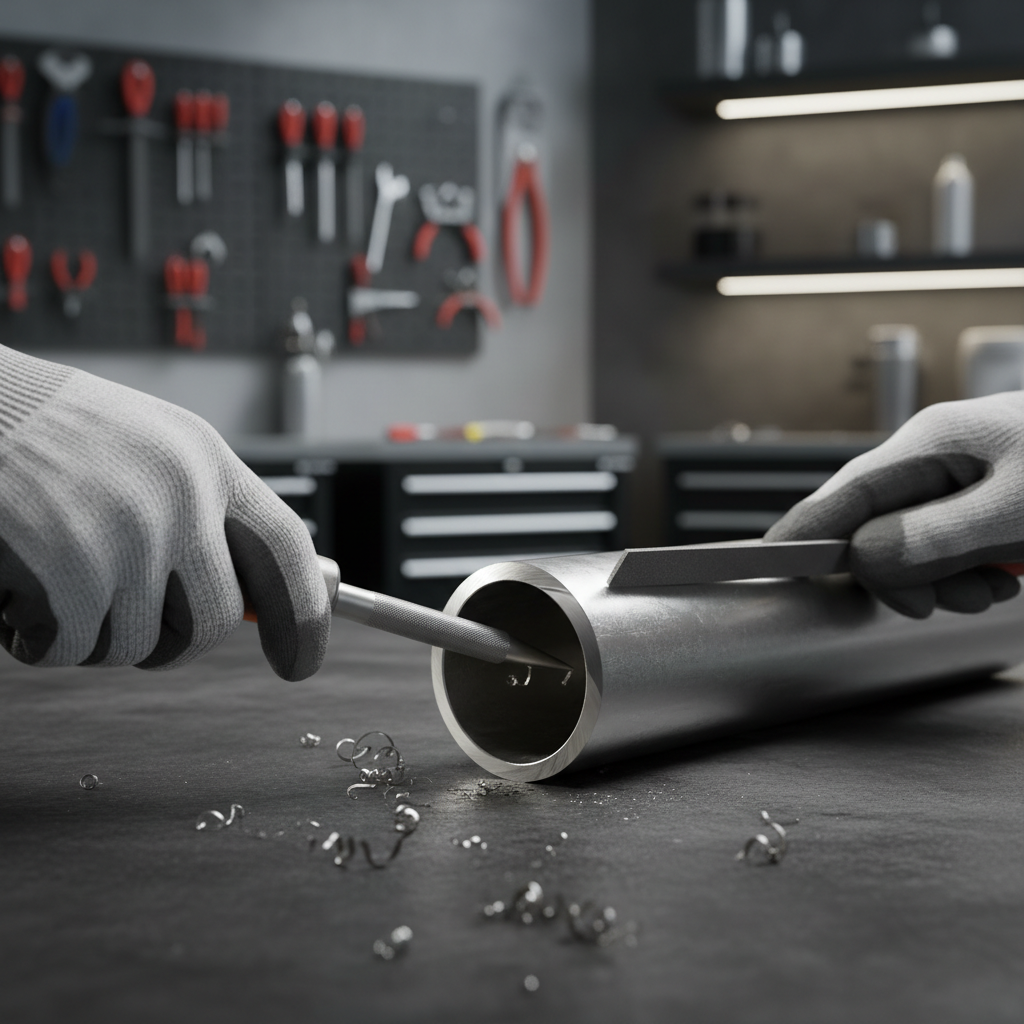
Deburr and square the end so fittings actually work
Even a straight cut can fail at the next step if you skip deburring. Burrs can keep a fitting from seating, damage O-rings, or make threading feel gritty and inaccurate.
Simple finishing sequence
- Outside edge: Use a file to knock off the sharp lip, then add a small chamfer.
- Inside edge: Use a deburring tool, reamer, or a round file to remove the inner burr.
- Check for square: Hold a small square to the end or test-fit into a coupling, correct high spots with a file.
If the pipe will carry water or gas, a clean edge is not just “nice,” it reduces the chances of leaks caused by poor seating. For gas work, many situations call for a licensed professional, so treat that as a safety boundary, not a DIY challenge.
Quick reference table: blade, setup, and finishing
| Pipe type | Suggested blade | Clamping/setup | Finish step |
|---|---|---|---|
| Steel (schedule pipe) | 24 TPI (18 TPI for very thick) | Bench vise close to cut | File + deburr inside |
| EMT / thin-wall tubing | 32 TPI | Support off-cut to avoid pinching | Ream inside, light file |
| Copper | 32 TPI | Clamp gently, avoid ovaling | Ream thoroughly for flow |
| Aluminum | 24–32 TPI | Clamp with pads, prevent chatter | Clear chips, smooth chamfer |
Common mistakes that waste the most time
- Dull blade “because it still cuts”: It will, but it increases force, heat, and wandering.
- Cutting with a loose blade: Low tension makes the blade flex and track off-line.
- Starting too fast: The first strokes decide the path, so treat them like layout work.
- Letting the pipe vibrate: If it rings, it also steers the blade.
- Skipping deburring: You only notice later, when a fitting refuses to seat.
When it makes sense to get extra help or switch tools
If you need repeatable cuts for a batch, or the pipe is large diameter, a hacksaw still works but your results depend heavily on patience and setup. A pipe cutter, recip saw with the right blade, or an abrasive chop saw can be more consistent, though each introduces its own safety and accuracy tradeoffs.
According to CDC guidance on workplace safety, controlling dust and using appropriate personal protective equipment helps reduce exposure risks, which is relevant if cutting generates fine particles or you are unsure what coatings are present.
If your project involves pressurized gas lines, fire sprinkler systems, or any code-regulated installation, checking with a licensed plumber or contractor is usually the safer move than guessing.
Conclusion: the clean cut is mostly preparation
Getting better results is less about brute force and more about slowing down the setup, choosing a blade that matches the wall thickness, and finishing the edge so the next step goes smoothly. If you want one action to take today, swap in a fresh 24 or 32 TPI blade and practice starting the cut with short strokes on a scrap piece, that small habit fixes a lot of frustration.