
A cordless rotary tool for DIY sounds like a simple upgrade, until you buy one and realize it bogs down on thicker material, eats batteries, or the accessories don’t fit the work you actually do.
If you’re doing crafts, light repairs, upcycling, or model work, the right tool can save time and clean up your results, but only if you match power, speed control, and accessories to your projects.
This guide breaks down what matters in real use, how to pick without overbuying, and a few practical setups that work well for common DIY and craft tasks.
What a Cordless Rotary Tool Is Best At (and Where It Struggles)
Think of a cordless rotary tool as a high-speed “detail tool.” It shines when the job needs control, light pressure, and the right bit.
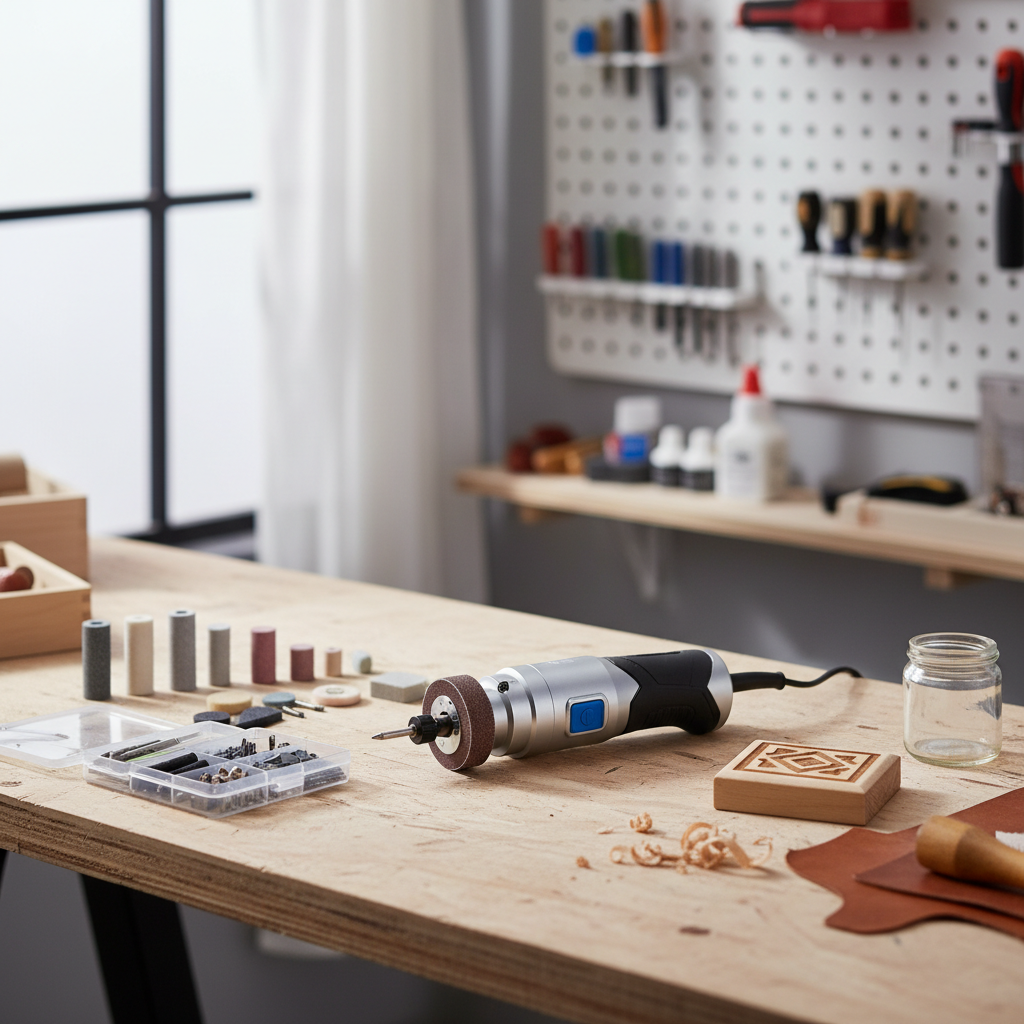
Best uses usually include light cutting, trimming plastic, sanding edges, polishing metal, engraving wood, cleaning rust spots, or deburring a drilled hole.
Common struggle points show up when people treat it like an angle grinder or a saw, thick steel and long continuous cuts tend to overwhelm small motors, and battery heat becomes the hidden limiter.
According to OSHA..., rotating tools can create flying debris and dust, so eye protection and dust control matter even for small “quick” jobs.
- Great match: detail work, short bursts, finishing steps
- Risky match: extended cutting on hard metal, heavy grinding, forcing the tool
Key Buying Factors That Actually Affect DIY Results
A spec sheet rarely tells you how the tool feels when it’s half a battery down and you’re trying to keep a straight line. These factors tend to show up in real projects.
Speed control and stability
Variable speed is not just “nice,” it’s how you avoid melting plastic, scorching wood, or flinging polishing compound. Many craft tasks prefer mid-to-low speed with steady torque, not max RPM.
Battery system and runtime
If you already own a battery platform, staying in that ecosystem can be the most practical move. Otherwise, look for realistic runtime: a cordless rotary tool for DIY often runs in bursts, but sanding or polishing can drain a small battery quickly.
Accessory compatibility
Collet sizes and quick-change systems decide whether you can use common bits without frustration. If the tool needs proprietary accessories, your long-term cost often climbs.
Ergonomics and noise
For crafts, you’ll notice grip comfort and vibration more than raw power. A slightly larger body can still feel better if the balance is right.
Quick Self-Check: Which Tool Setup Fits Your Projects?
If you’re unsure what to buy, start by being honest about what you do most weekends. This quick checklist helps narrow the right configuration.
- Mostly paper, thin plastic, vinyl, foam: prioritize low-speed control, lighter weight, smaller bits
- Wood crafts, small dowels, engraving, resin: prioritize stable mid-speed, good sanding drums, engraving bits
- Model kits, minis, detail cleanup: prioritize precision, fine burrs, comfortable pen-like grip (or flex shaft support)
- Light metal cleanup, rust spots, deburring: prioritize torque at medium speed, wire brushes, quality cut-off wheels
- Jewelry polishing: prioritize lower speed, polishing felt, compounds, and a tool that runs smoothly without wobble
If you see yourself in two or three categories, aim for versatility: variable speed, standard collets, and a starter kit of sanding, cutting, and polishing accessories.
Accessory Picks That Make a Bigger Difference Than the Tool
Many DIY frustrations aren’t “bad tools,” they’re mismatched consumables. A decent rotary tool with the right bits often beats a premium tool with the wrong kit.
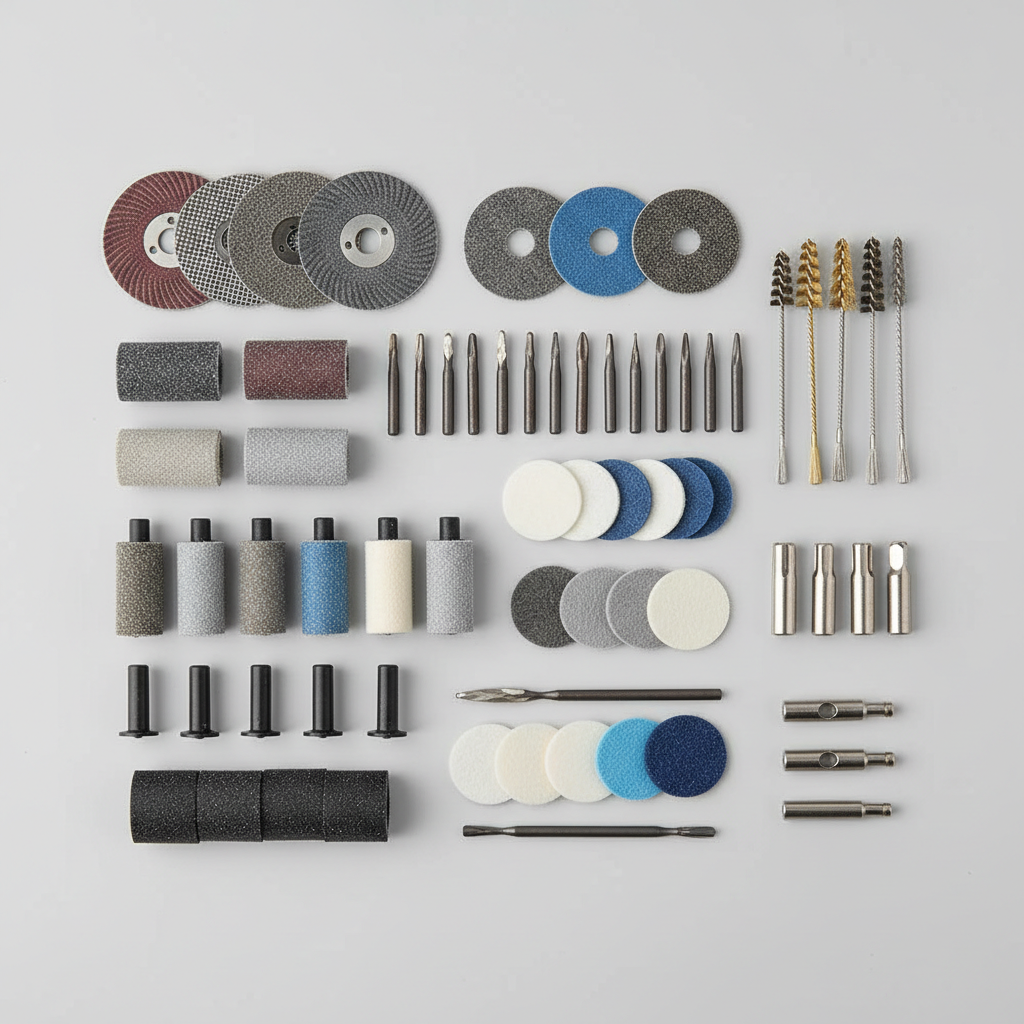
- Reinforced cut-off wheels: more forgiving, fewer shatters than thin basic discs
- Sanding drums in multiple grits: rough shaping, then finish sanding without burning edges
- Carbide burrs: for controlled material removal on wood, plastics, some metals
- Felt polishers + compound: the “wow” finish step for small metal parts
- Small wire brushes: cleaning, but use gentle pressure to avoid throwing bristles
Key point: keep expectations realistic about cut-off wheels. For straight, long cuts, a different tool may be safer and cleaner. For short trimming, they’re perfect.
Practical How-To: Better Results in 20 Minutes
Here are quick setups that consistently improve outcomes with a cordless rotary tool for DIY and craft work.
1) For clean sanding on wood or resin
- Start at medium speed, use light pressure, let the grit do the work
- Move constantly, staying in one spot invites heat marks
- Step through grits instead of trying to “finish” with a coarse drum
2) For trimming plastic without melting
- Use lower speed than you think, pause often
- Make multiple shallow passes, not one deep cut
- Switch to sanding to refine the edge rather than forcing the wheel
3) For engraving and lettering
- Practice on scrap, mark your line, then “trace” lightly
- Stabilize your hand by bracing your wrist on the bench
- Use consistent speed, changing speed mid-stroke often causes chatter
According to CDC..., some dusts can irritate lungs, so ventilation and a dust mask may be worth it, especially when sanding resin, painted surfaces, or unknown materials. If you’re unsure what a surface contains, err on the cautious side.
Safety and Common Mistakes That Waste Bits (and Patience)
Small tools still bite. The most common “why did this go wrong” moments tend to be predictable.
- Forcing the tool: stalls the motor, burns material, destroys accessories faster
- Wrong speed: too fast melts plastic, too slow can grab and jump on some bits
- Poor clamping: holding tiny parts by hand invites slips and uneven results
- Using damaged wheels: cracked cut-off discs can break under load
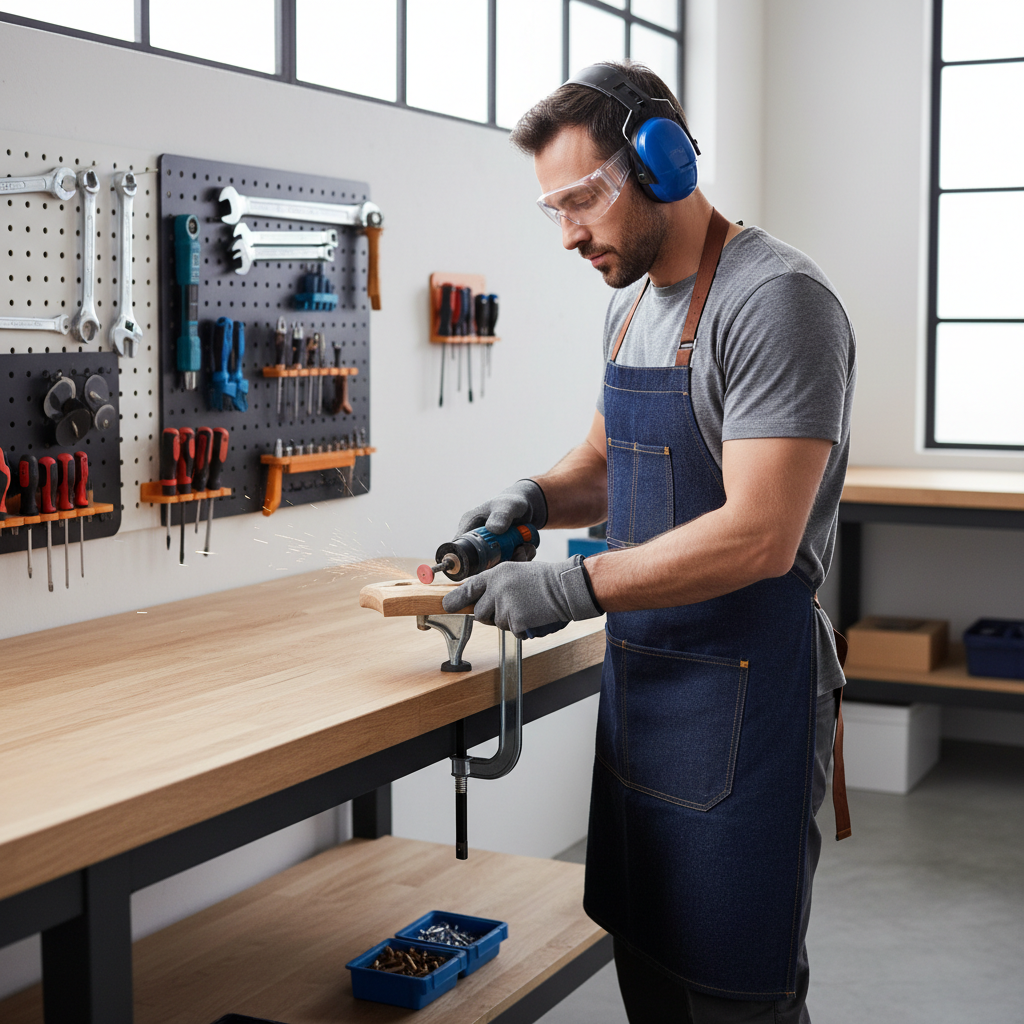
- No eye protection: debris travels farther than you expect
If you’re cutting, brushing, or sanding, consider eye protection and hearing protection, and if a job creates unknown dust, it’s reasonable to consult a professional about safe handling.
Comparison Table: Match Projects to Features
This table is a quick way to map what you do to what you should pay for.
| DIY/Craft Task | Feature to Prioritize | Accessory Must-Haves | What to Avoid |
|---|---|---|---|
| Wood sanding & shaping | Stable mid-speed, low vibration | Sanding drums, flap wheels | High pressure, coarse-only sanding |
| Plastic trimming | Low-speed control | Reinforced cut-off wheels, sanding bits | Max RPM for long cuts |
| Engraving/etching | Fine speed control, comfortable grip | Engraving bits, fine burrs | Wobbly collet, cheap dull bits |
| Light metal cleanup | Torque at medium speed | Wire brushes, abrasive stones | Extended grinding sessions |
| Polishing small parts | Smooth operation, lower speed | Felt pads, polishing compound | Overheating thin metal |
When It’s Worth Getting Help or Switching Tools
A cordless rotary tool for DIY is a multi-tasker, but it’s not always the safest option. If you’re cutting structural metal, doing electrical work near live wiring, or working on items that affect safety, it may be smarter to pause and consult a qualified professional.
Also, if you notice the tool overheating, smoking smells, or repeated stalling even with light pressure, that can signal a mismatch between the project and the tool’s capacity, or a worn accessory. Swapping to a different tool category often fixes the problem faster than “trying harder.”
Key Takeaways and Next Steps
If you want cleaner craft cuts and smoother finishes, focus less on headline RPM and more on speed control, accessory compatibility, and comfort. For most homes, a cordless rotary tool for DIY works best as a detail and finishing tool, not a heavy-duty cutter.
Pick two projects you do most, build a small accessory kit around them, and practice on scrap for ten minutes before the “real” piece. That’s the boring step that saves the expensive material.
FAQ
What should I look for in a cordless rotary tool for DIY and crafts?
Prioritize variable speed, comfortable grip, and standard accessory compatibility. Those three tend to matter more than max RPM for typical craft work.
Is a cordless rotary tool strong enough to cut metal?
Often yes for small, thin metal and short cuts, especially with reinforced cut-off wheels, but thick steel or long cuts can be frustrating and may be better with a different tool.
Why does my rotary tool burn wood when sanding?
Usually it’s too much pressure, staying in one spot, or using too high a speed with a coarse grit. Lighter touch and stepping through grits usually fixes it.
How do I keep plastic from melting while cutting?
Lower speed, shallow passes, and frequent pauses help. If the edge starts to smear, stop and switch to sanding to finish the shape.
Do I need a flex shaft for crafts?
Not always, but it can help for detailed engraving or long sessions because it improves control and reduces hand fatigue. If you do fine work more than occasional trimming, it’s worth considering.
Can I use any brand of rotary tool bits?
Many tools accept common shank sizes, but not all. Check the collet sizes and whether the tool uses proprietary quick-change accessories before you buy a big set.
What safety gear is reasonable for small DIY rotary tool jobs?
Eye protection is the baseline, and hearing protection can be smart in enclosed spaces. For dusty materials, a mask and ventilation help, and if the material is unknown, caution is warranted.
If you’re trying to choose a cordless rotary tool for DIY based on your specific projects, or you want a simpler “buy once” accessory shortlist, share what materials you work with most and the tasks you repeat, and I can help narrow a setup that won’t feel overkill.