
Carpet knee kicker installer questions usually come up right when the job starts going sideways, ripples won’t flatten, seams feel stressed, or the carpet looks “tight” for an hour then relaxes.
The knee kicker is simple on paper, but it sits in that annoying middle zone: too “basic” for many guides to explain well, yet easy to misuse in ways that create buckles, seam gaps, or knee pain. If you’re installing in a bedroom, a small hallway, or doing a repair where a power stretcher feels like overkill, getting the kicker right can be the difference between a clean finish and a call-back.
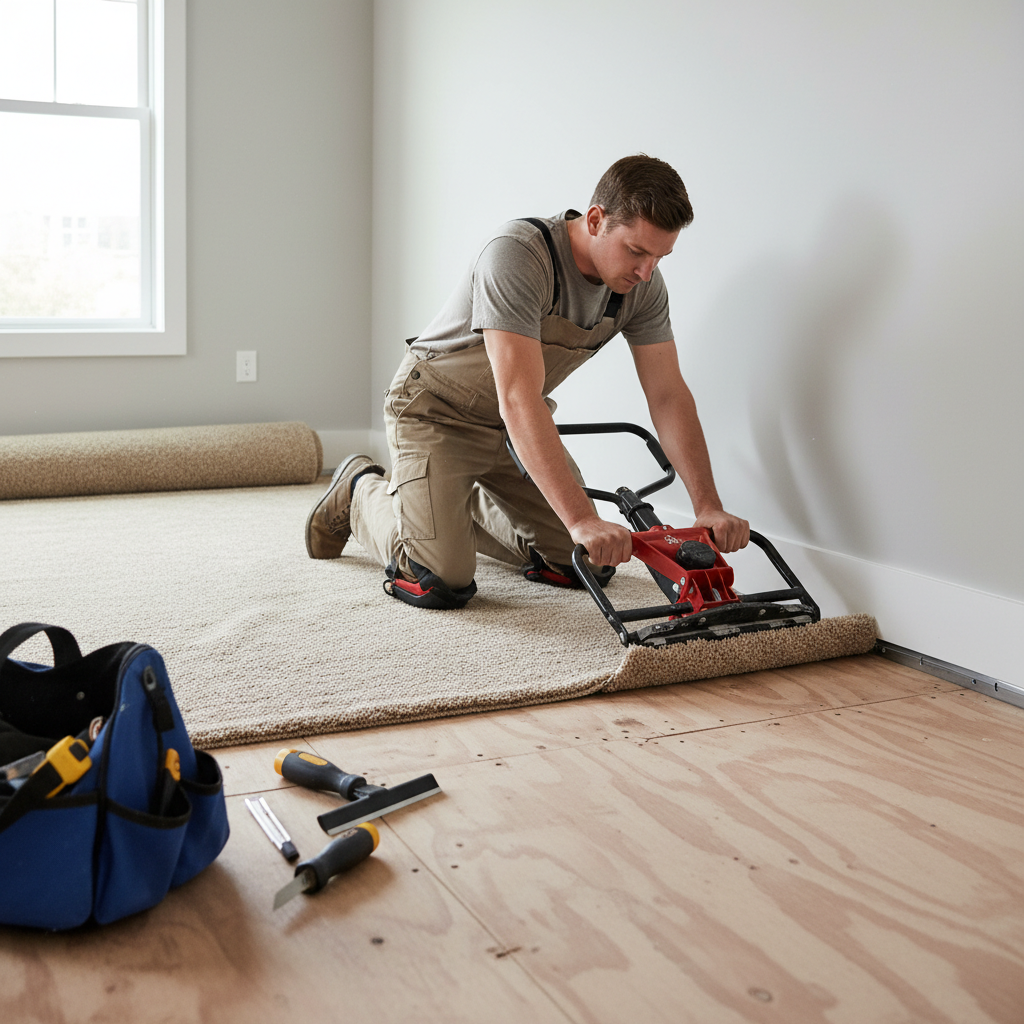
This guide breaks down what a knee kicker can realistically do, when it’s the wrong tool, how to set it up, and how pros avoid the common traps, especially around tack strip, seams, and transitions.
What a knee kicker actually does (and what it doesn’t)
A knee kicker is a short-range stretching tool. It uses a padded “knee block” and a toothed head to push carpet a small distance so you can hook it onto tack strip and set the edge before trimming.
Here’s the line most people miss: it’s designed for positioning and finishing tension, not for creating full-room stretch in larger areas.
- Good at: setting carpet onto tack strip, tightening small rooms, working closets, tweaking alignment at walls, finishing around doorways.
- Not great at: stretching big spans, correcting major wrinkles across a room, fixing carpet that was never properly stretched in the first place.
According to the Carpet and Rug Institute (CRI), proper carpet installation practices help reduce issues like wrinkling and buckling; in many cases, that points back to adequate stretching methods and conditions, not just “kicking harder.”
Why carpet jobs fail when the knee kicker seems “fine”
Most failures aren’t from the tool being cheap, they’re from the setup and sequence. A carpet knee kicker installer can do everything “normally” and still end up with slack if a few fundamentals are off.
- Wrong length setting: too short makes you over-kick and lose control, too long makes you slide and under-tension.
- Head teeth set wrong: too aggressive can damage pile or pull loops, too mild can slip and polish the backing.
- No real anchoring: if the opposite side isn’t anchored on tack strip yet, you’re pushing carpet around instead of stretching it.
- Seam timing errors: stretching against a fresh seam can “open” it, especially on patterned goods.
- Environment problems: cold carpet, high humidity swings, or a wet slab can change how the backing behaves.
Also, there’s the human factor: people protect their knee by kicking softer, then compensate by doing more kicks. That often creates uneven tension, which shows up later as diagonal ripples.
Quick self-check: are you using the right tool for this room?
If you’re debating knee kicker versus power stretcher, this is the fastest way to decide without guessing.
| Situation | Knee kicker ok? | Better choice |
|---|---|---|
| Closet, small hallway, short runs | Usually yes | Knee kicker + solid anchoring |
| Bedroom or living room with wide open span | Often not enough | Power stretcher for primary stretch |
| Wrinkles across the middle of the room | Rarely fixes root cause | Re-stretch with power stretcher |
| Patterned carpet alignment | Risky if overused | Power stretcher + careful seam plan |
| Stairs | Not the main tool | Stair tool, tackless method, stapling as specified |
If your room falls in the “power stretcher” column and you try to muscle through with a kicker anyway, you can sometimes make it look okay for a day, then it relaxes and the callback shows up.
How to set up a knee kicker so it bites cleanly
Setup feels boring, but it’s where your control comes from. A carpet knee kicker installer who takes 90 seconds here usually saves 30 minutes of rework.
1) Dial in length
Set the tool so the padded end hits just above your kneecap when you’re in a stable kneeling position. If you’re reaching or cramped, tension becomes inconsistent.
2) Set the teeth depth
Start conservative. You want the head to grab the backing without shredding fibers. Berber and loop pile often need extra caution because snagging can travel.
3) Prep the tack strip zone
Vacuum debris near tack strip, check strip height and gaps, and confirm the strip direction faces the carpet. If strip is loose, you’re stretching into failure.
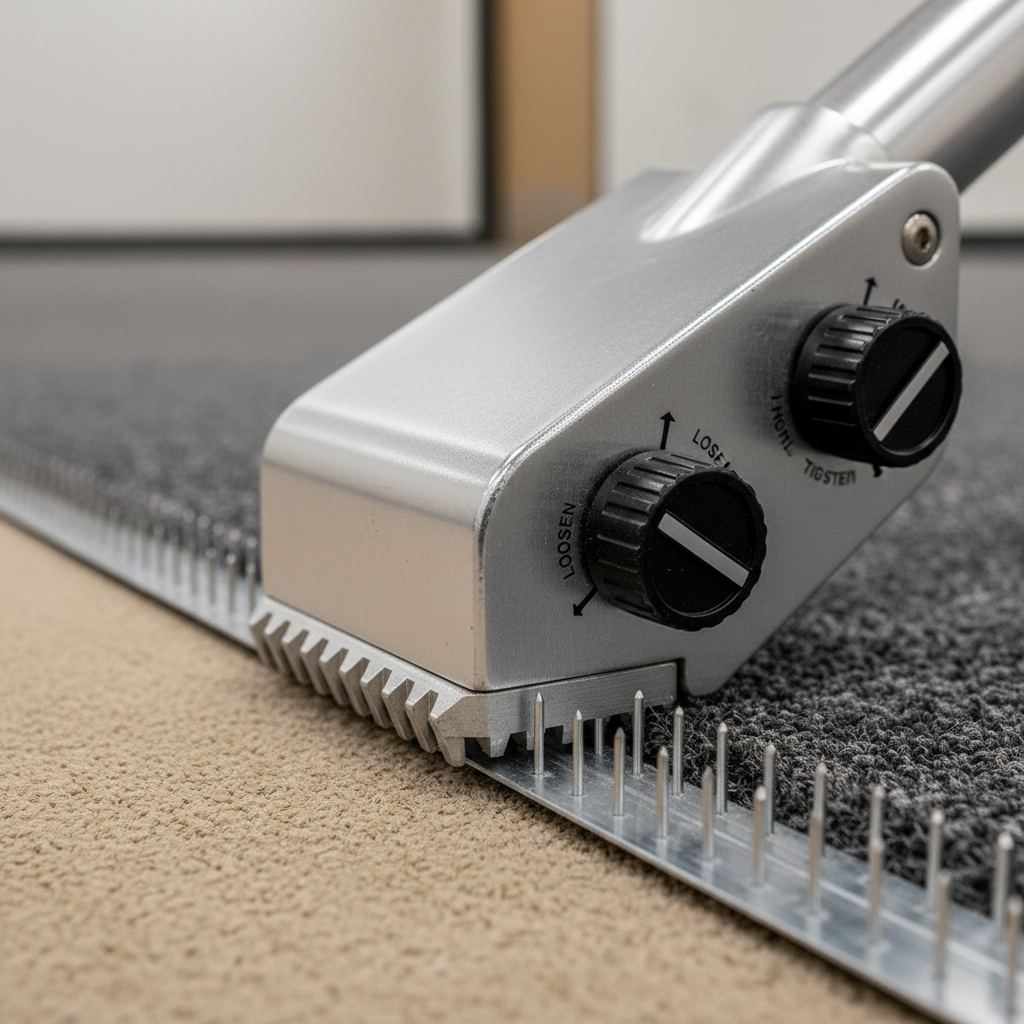
4) Use a controlled “bump,” not a running kick
The motion is more like a firm bump from a stable base. Big swings tend to make the head jump, scuff walls, or tear at the backing.
A practical step-by-step for stretching and setting the edge
This sequence is what keeps tension even. Adjust as needed for room shape, but keep the logic intact.
- Anchor one side first: set carpet onto tack strip on one wall so you have a fixed reference.
- Work from the center out: kick toward the opposite wall in small sections, then set onto tack strip as you go.
- Set, then tuck: after hooking, use a stair tool or wall trimmer area tool to tuck into the gully.
- Trim last: trim after the edge is properly set so you don’t cut yourself short and create a gap.
If you’re chasing a wrinkle, don’t just attack the wrinkle. Find where slack originates, often it’s an unanchored edge, a doorway transition, or a spot where the carpet never fully engaged the pins.
Seams, doorways, and transitions: where mistakes get expensive
These areas punish overconfidence. You can make a room look tight and still fail at the seam or threshold.
Seams
- Try not to stretch aggressively directly against a seam line that’s still cooling, it may cause peaking or opening.
- If the seam is on the “receiving” side of your push, keep the kicker force lighter and set in smaller increments.
- Confirm seam tape and adhesive match the carpet type; if you’re unsure, the manufacturer guidance matters more than habit.
Doorways
- Set the doorway area deliberately, because traffic and vacuuming forces concentrate there.
- For metal transitions, confirm height and clearance so carpet isn’t pinched and forced to ripple.
According to OSHA, using the right tools and body positioning reduces jobsite injury risk; with knee kickers, that’s a reminder to prioritize control and knee protection over brute force.
Safety and comfort: protecting your knee without losing tension
Knee kickers can irritate joints, especially if you “slam” the tool or work on hard slab. If you have prior knee issues, consider consulting a medical professional before doing repetitive impact work.
- Use knee pads and a stable kneeling stance, slippery pants on slick subfloor cause uncontrolled hits.
- Keep your core engaged and drive from hips, not from a snapping knee motion.
- Limit repeats in the same spot; if it takes 20 hits, something else is off.
- Watch your hands near tack strip, it’s easy to hook carpet and then slice a finger on pins.
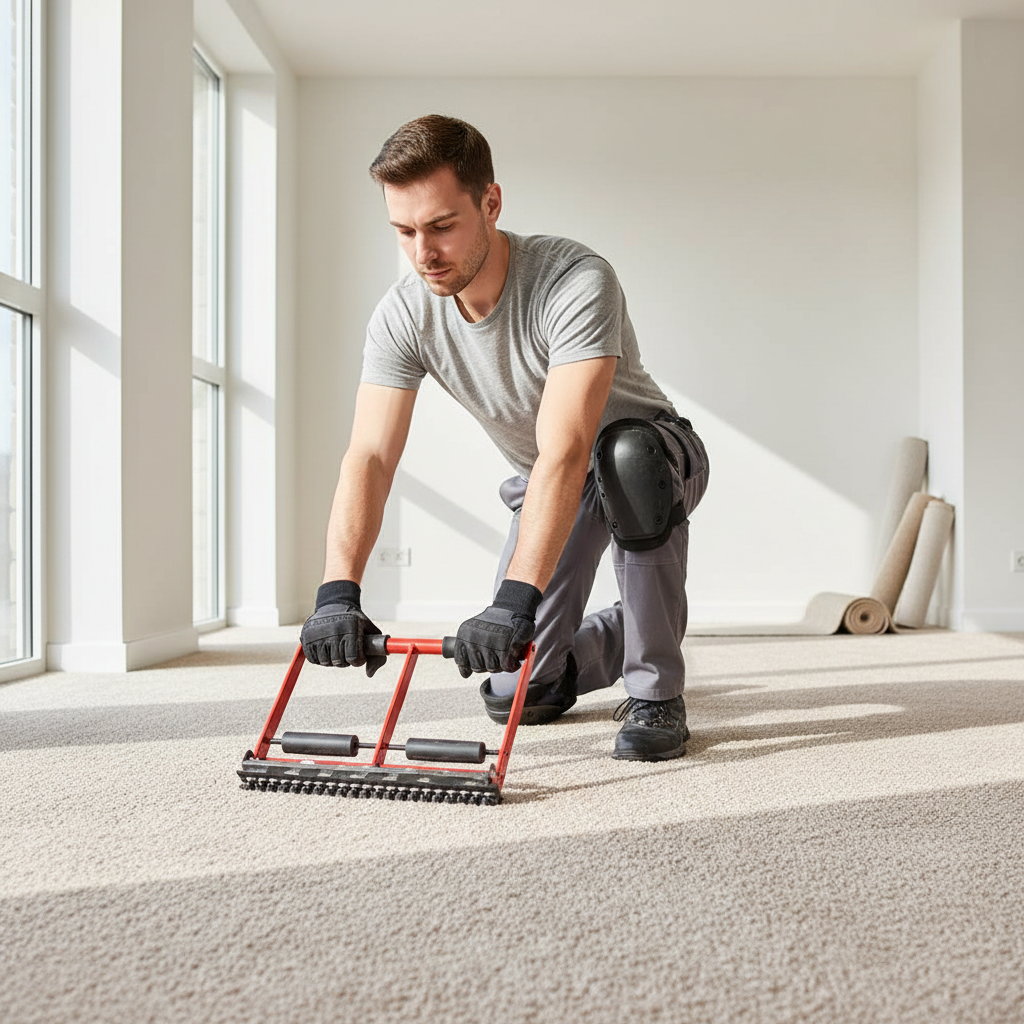
Key takeaway: if you feel like you must kick harder to get results, pause and re-check anchoring, length setting, tack strip condition, and room size suitability.
When to call a pro (and what to ask so you don’t get vague answers)
Sometimes the honest move is outsourcing the stretch, especially when the carpet is expensive, patterned, or already showing buckling.
- Large room re-stretch: pros usually bring a power stretcher, which can apply consistent tension across distance.
- Moisture or slab concerns: if you suspect moisture, ask about testing and correct pad/adhesive choices.
- Seam repair: if a seam is opening, the fix may involve re-seaming and re-stretching, not just “pushing it back.”
Questions worth asking a contractor: “Will you power-stretch or knee-kick this area,” “How do you handle seams near doorways,” and “What warranty covers wrinkles or buckling.” You’re listening for specifics, not confidence.
Conclusion: getting a tight finish without fighting the tool
A carpet knee kicker installer gets the best results when the tool is used for what it does well: short-range positioning, edge setting, and controlled finishing tension. If you match the tool to the room, set it up carefully, and avoid stretching battles near seams and transitions, the install looks cleaner and tends to stay that way.
If you want one action step today, check your anchoring and tack strip condition before you kick again, then decide if the room really needs a power stretcher. That single judgment call prevents a lot of rework.
FAQ
Can a knee kicker replace a power stretcher?
In small areas, often yes, but across larger rooms it usually can’t create the same consistent tension. If wrinkles span the middle of the room, a power stretcher tends to be the more reliable fix.
How tight should carpet feel after using a knee kicker?
It should feel flat with no visible ripples and the edge should stay engaged on tack strip. If it looks tight but “walks” loose in a day or two, tension was likely uneven or the room needed a different stretching method.
Why does my knee kicker keep slipping off the carpet?
Common causes include teeth set too shallow, pushing at too steep an angle, or dust on the backing. Sometimes the carpet style simply needs a different tooth setting to grab without damaging fibers.
Is it normal for my knee to hurt after using a knee kicker?
Some soreness can happen, but sharp pain or swelling isn’t something to ignore. Knee pads, better stance, and fewer high-impact strikes help, and if pain persists it’s smart to consult a medical professional.
What’s the most common mistake DIY installers make with tack strip?
Not securing it well, setting the wrong gap to the wall, or stretching before an edge is properly anchored. The kicker can’t compensate for tack strip that moves or sits at the wrong height.
Can I use a knee kicker on loop pile or Berber carpet?
You can, but you’ll want conservative tooth depth and careful placement to avoid snagging loops. When in doubt, test in an inconspicuous area or follow the manufacturer guidance.
How do I avoid opening a seam while stretching?
Keep aggressive stretching away from fresh seams, set tension in smaller increments, and confirm seam materials match the carpet. If a seam keeps opening, a re-seam plus proper re-stretch may be needed.
If you’re trying to get a cleaner finish without tearing up seams or beating up your knee, a quick tool check and a tighter process usually beat buying another gadget. And if your room clearly needs a power stretch, hiring that part out can be the most cost-effective choice.