
screw organizer bin wall mount setups are one of the fastest ways to stop “where did that screw go?” moments, especially in a garage, shed, or small workshop where every inch matters.
If you keep buying duplicates because your hardware disappears, or you waste time digging through mixed containers, a wall-mounted bin system usually pays back in pure convenience, and it’s easier to maintain than most people expect.
This guide helps you pick the right bin style, plan a layout that makes sense, mount it safely into studs or a rated wall system, and keep it organized without turning it into another clutter magnet.
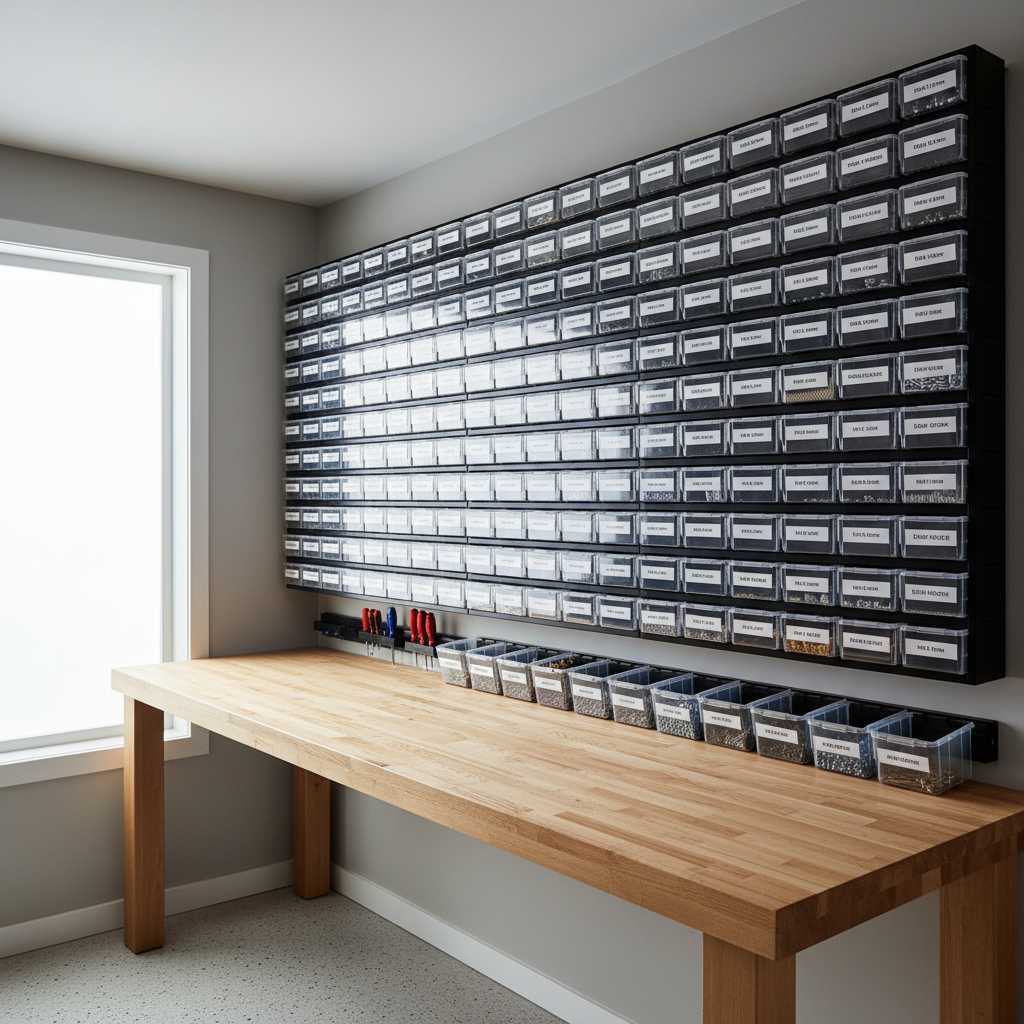
Why wall-mount screw bins work (and where they can fail)
The main win is simple, visibility and repeatability. You see what you have, you put it back in the same spot, and the system doesn’t drift every time you clean the bench.
Where a screw organizer bin wall mount can fail is usually not the bins, it’s the plan. Too many tiny categories, labels that don’t match how you actually work, or mounting into drywall with the wrong anchors leads to sagging, cracked rails, or bins that pop off when you grab them fast.
According to OSHA, good housekeeping and keeping floors and work areas clear helps reduce slip, trip, and fall risks, so getting hardware off benches and out of random floor-level boxes is more than “being neat.”
- Best fit: garages, makerspaces, maintenance rooms, mobile workstations with a fixed “home base.”
- Questionable fit: constantly changing projects, rentals where drilling is limited, walls with unknown structure.
Quick self-check: what kind of organizer do you actually need?
Before you buy anything, decide what problem you’re solving. This is where people overspend, or buy bins that look great but don’t match their fasteners.
- Do you sort by size, or by project? Size-based works for general repair, project-based works for builds with repeat BOMs.
- How many “active” sizes do you touch weekly? If it’s under 15, don’t build a wall of 60 bins.
- Do you store long items? Wood screws and lag screws need deeper bins than small machine screws.
- Do you need portability? If yes, consider removable bins or a hybrid with a carry case for jobsite.
- What wall do you have? Stud wall, masonry, metal studs, pegboard, French cleat, each changes the mounting approach.
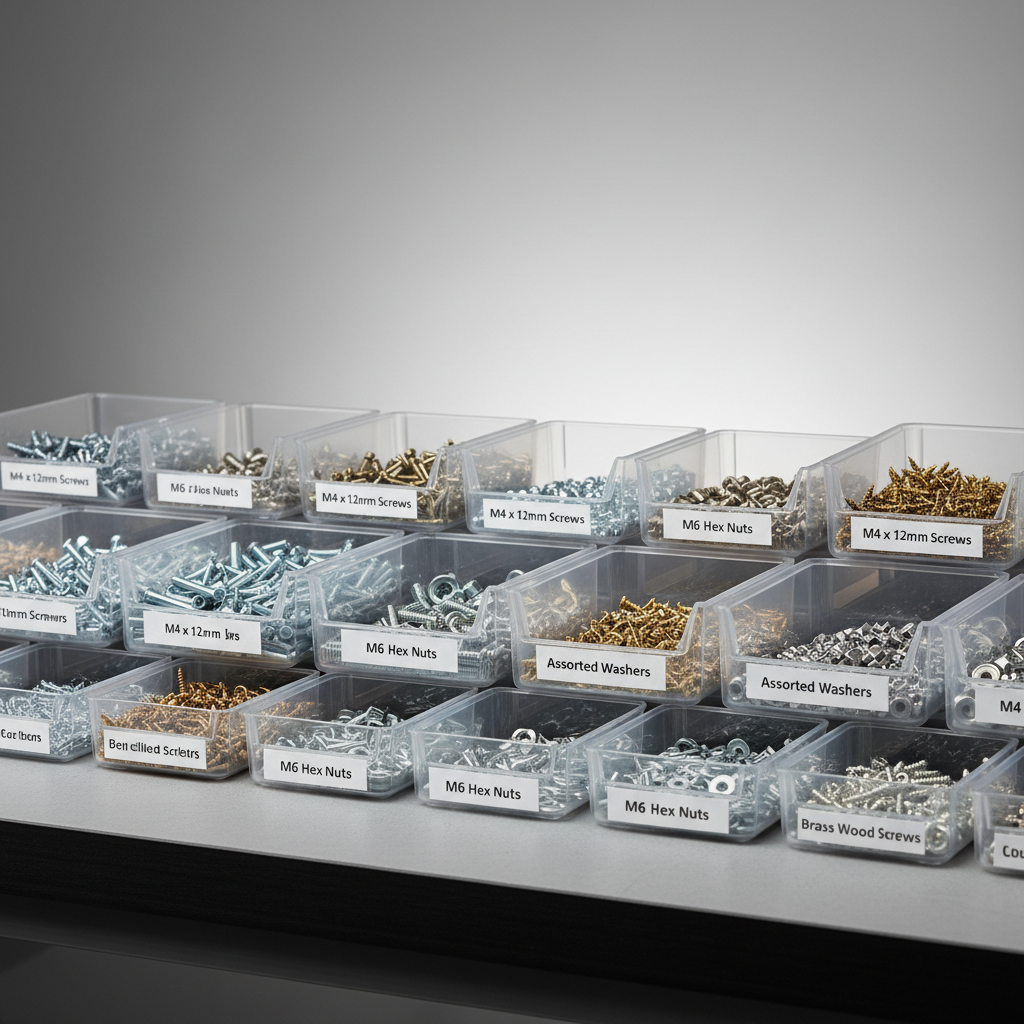
Choosing the right wall-mount system: bins, rails, and backers
Most systems come down to three components, the bin itself, the rail (or track) that holds bins, and whatever that rail mounts to. You can mix and match, but staying within one ecosystem often reduces “this doesn’t quite fit” headaches.
Bin material and shape
- Clear plastic: easiest inventory checks, but some plastics can crack if overloaded or hit in cold garages.
- Opaque plastic: hides visual clutter, often slightly tougher, but labels matter more.
- Steel bins: durable, heavier, usually pricier, often used in industrial maintenance areas.
Mount style
- Rail/track systems: bins hook onto a rail, easy to expand, usually stable if rail is well mounted.
- Pegboard bins: flexible, but can shift if the pegboard flexes, quality varies.
- French cleat walls: very strong and modular, great if you already run cleats for tools.
What “good” looks like in practice
A practical screw organizer bin wall mount keeps heavy items low, puts your top 10 fasteners at chest height, and leaves room to grow by about 20% so you don’t re-do the whole wall after one new project.
Planning a layout that stays organized (not just pretty)
Real talk, the prettiest layout on day one is rarely the best layout on month three. Build around how you reach, how you restock, and how you label.
- Group by type, then by size: wood screws together, machine screws together, anchors together.
- Keep “pairs” near each other: screws next to washers next to matching nuts, your hands will thank you.
- Reserve a quarantine bin: one bin for “mystery hardware” so it stops contaminating everything.
- Leave a blank strip: empty rail space avoids the domino effect when you add new sizes.
Key point: labels should match how you ask for parts in your head. If you always think “#8 x 1-1/4 deck screw,” label it that way, not “Deck A-3.”
Installation: studs, anchors, and weight (the safe way)
This is where a lot of DIY installs go wrong. The bins might be light, but screws add up fast, and the wall sees dynamic load when you pull bins off and slap them back on.
Step-by-step mounting approach
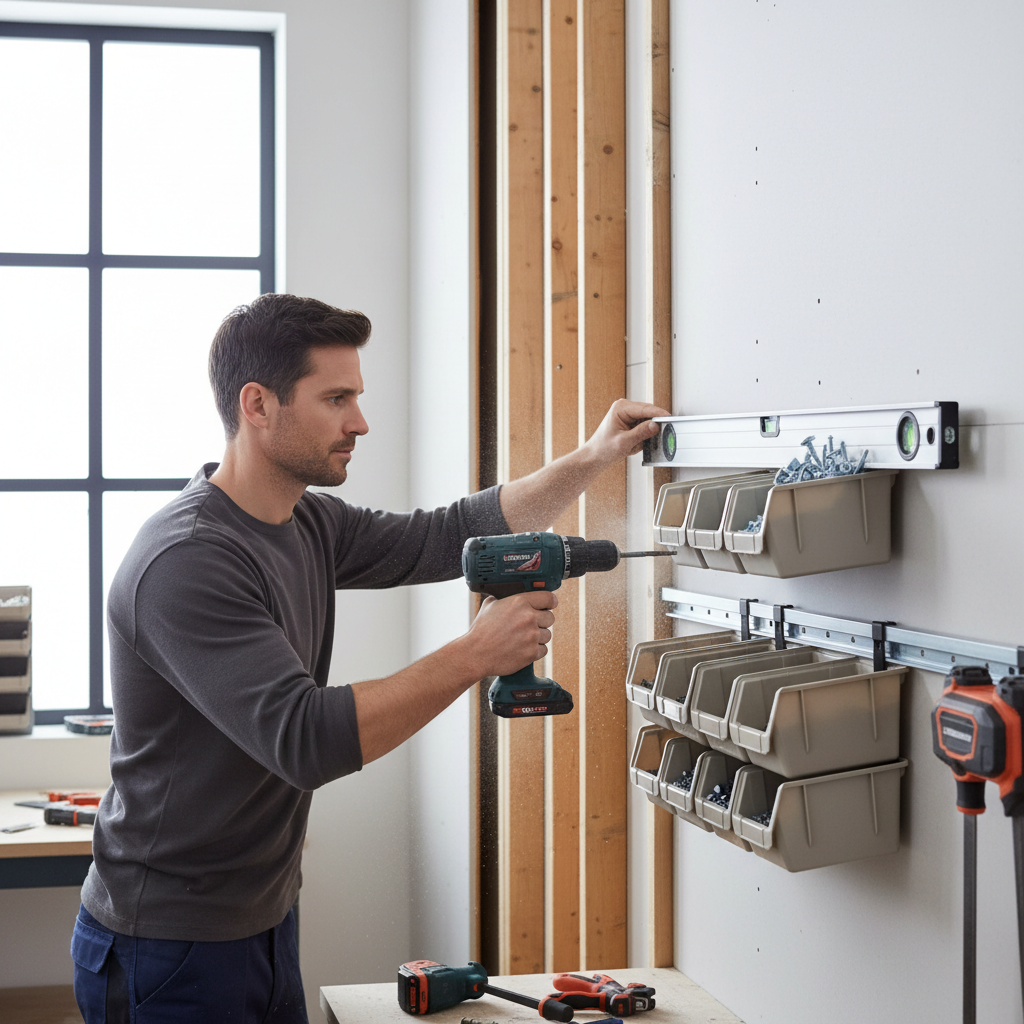
- Find structure: for drywall walls, hit studs when you can, or use a plywood backer anchored to studs, then mount rails to the plywood.
- Level once: level the first rail carefully, everything else references it.
- Use appropriate fasteners: match screw length to stud depth, and match anchors to the wall type if studs aren’t available.
- Test load gradually: start with empty bins, then add hardware and watch for flex or rail creep.
According to CPSC, using products as intended and following manufacturer instructions helps reduce injury risks at home, so if your rail system has a stated capacity or specific fasteners, treat that as the default. If your wall is unusual, like old plaster or masonry, you may want advice from a qualified contractor.
Organizing screws like a pro: labeling, sizing, and restock habits
Once the wall is up, the “system” is the routine, not the plastic. If you don’t set a minimum baseline for restocking and labeling, any screw organizer bin wall mount turns into a random parts shelf.
A simple labeling system that scales
- Format: diameter + length + drive + finish, example “#10 x 2" Torx exterior.”
- Add a second line only if needed: pilot bit size, drill/tap note, or where you buy it.
- Color code sparingly: one color for wood screws, one for machine screws, one for anchors.
Restock without overthinking
- Set a reorder point: when a bin hits “two handfuls,” add it to a list.
- Keep a small intake area: new hardware comes in, gets labeled, then earns a bin spot.
Common mistakes (and what to do instead)
Most mistakes come from treating hardware storage like decor. It’s a workflow tool, so durability and retrieval speed matter more than symmetry.
- Mistake: putting the heaviest bins at eye level. Do instead: heavy low, daily-use mid, light high.
- Mistake: 50 micro-categories. Do instead: start broad, split only when a bin gets crowded.
- Mistake: mixing similar lengths. Do instead: separate by length first for the sizes you grab quickly.
- Mistake: skipping a backer board on weak walls. Do instead: mount a plywood backer to studs, then mount rails.
- Mistake: unlabeled “temporary” bins. Do instead: label immediately, even if it’s painter’s tape.
Comparison table: which setup fits your space?
If you’re choosing between common approaches, this quick table usually gets you to a confident decision without spending a weekend researching.
| Setup | Best for | Pros | Watch-outs |
|---|---|---|---|
| Rail-mounted bins on studs | Most garages, long-term storage | Strong, expandable, clean look | Needs stud finding and careful leveling |
| Rail-mounted bins on plywood backer | Drywall walls, uneven stud spacing | Flexible placement, spreads load | Takes more wall depth, extra step |
| Pegboard bin system | Lightweight parts, frequent changes | Highly configurable | Can wobble, hooks vary by brand |
| French cleat wall with bin holders | Tool + parts wall, modular shops | Very strong, easy rearrange | More build time, needs accurate cleats |
Conclusion: a wall-mount bin system should feel boring (in a good way)
A good screw organizer bin wall mount fades into the background, you reach, grab, refill, and move on. If you’re constantly re-sorting, the categories are too granular or the layout fights your habits.
Action ideas: pick 10 fastener types you use most, set up those bins first, then add capacity only when a new size proves it belongs on the wall.
If you want, sketch your wall width and tell me what fasteners you store most, and I can suggest a layout that fits common bin sizes and realistic reach zones.
FAQ
- How many bins do I need for a typical home garage?
Many people do fine starting with 12–24 bins, focused on the fasteners they actually use, then expanding after a few weeks once patterns are obvious. - Can I mount a screw bin rail system into drywall only?
It’s possible with the right anchors, but weight adds up quickly. In many cases, a plywood backer anchored into studs is the safer, more forgiving option. - What’s the best way to label screw organizer bins?
Use the naming you naturally say out loud: diameter and length first, then drive and finish. Keep it readable from arm’s length, not tiny “inventory codes.” - Should I sort screws by length or by diameter?
If you frequently confuse similar-looking screws, sorting by length within each diameter reduces mistakes. For casual use, grouping by type and then rough size often stays simpler. - Do clear bins cause screws to rust faster?
The bin material usually isn’t the cause. Rust is more about humidity and condensation; in damp garages, consider desiccant packs or sealed containers for sensitive hardware. - How do I keep bins from getting mixed up over time?
A “quarantine” bin helps, and so does a rule that anything unlabeled doesn’t go on the wall. When a bin gets messy, it’s often a sign to split that category.
If you’re building out a cleaner garage corner or a small shop wall and you want a more turnkey approach, look for a screw organizer bin wall mount kit with matching rails, consistent bin sizes, and label options, it’s usually the smoother path than piecing together mismatched parts.