
Tack hammer small upholstery work sounds simple until you start bending tacks, bruising fabric, or fighting tight corners where a full-size hammer feels clumsy. If you’re here, you probably want a small tack hammer that sets fasteners neatly without leaving marks, and you want to know what actually matters when shopping and using one.
In upholstery, small tool choices change the finish more than people expect. A hammer that’s slightly too heavy, a face that’s too sharp, or a handle that’s too slick can turn clean trim into a wavy line of dents. The good news is you can avoid most of that with the right head style, a few setup habits, and a light technique.
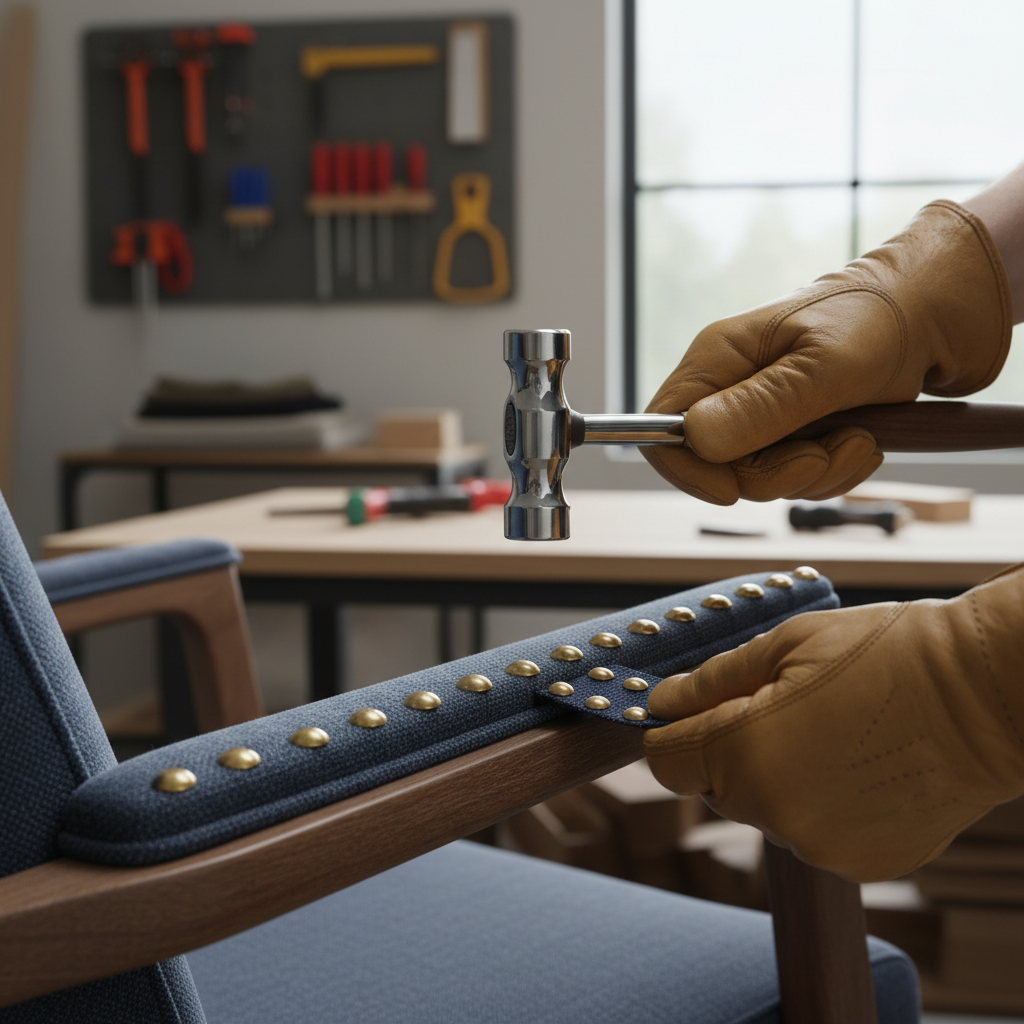
This guide breaks down why a small upholstery tack hammer helps with fabric work, how to pick one that fits your project, and a practical routine you can follow so your tacks go in straight. I’ll also point out the common mistakes that waste the most time, because they’re usually not obvious until you’ve already dented your panel.
Why a small tack hammer matters for fabric upholstery
A smaller hammer is not only about comfort, it’s about control. Upholstery fabric and padding compress, shift, and rebound, so your tool needs to deliver a light, repeatable tap rather than a heavy strike that drives too deep.
- Tight access: Inside arms, corners, and along welt cord, a compact head clears the work surface without you changing your wrist angle every hit.
- Cleaner placement: A small tack hammer makes micro-adjustments easier, especially when you’re aligning a row of decorative nails or setting a tack close to a seam.
- Less surface damage: Smaller faces can be finished smoother, and they’re easier to keep perfectly clean, which reduces accidental marks on light fabric.
- Reduced fatigue: You’ll usually work longer with better accuracy, which matters on trim runs where consistency shows.
One nuance: “small” isn’t automatically “safe.” If the face is rough, or the head is too hard and sharp-edged, a small hammer can still leave shiny spots or dents on fabric.
What to look for in a small upholstery tack hammer
If you only remember one thing, make it this: for fabric, the hammer face finish and the magnet strength matter as much as the size. Here’s a practical checklist that matches how upholstery work actually feels in-hand.
Key features that pay off
- Magnetized tack slot or magnetized face: Helps you start tacks one-handed without pinched fingers, especially on vertical surfaces.
- Polished, slightly domed face: A smooth face reduces the chance of imprinting the weave or scuffing vinyl.
- Balanced head weight: Too light and you over-tap, too heavy and you bruise padding; many people prefer a moderate weight that still feels nimble.
- Comfortable handle with grip: Wood can feel natural, fiberglass and steel can be durable, but grip texture matters most when your hands get dusty.
- Compact overall length: Better for chairs and headboards; longer handles can be fine on benches where you have room to swing.
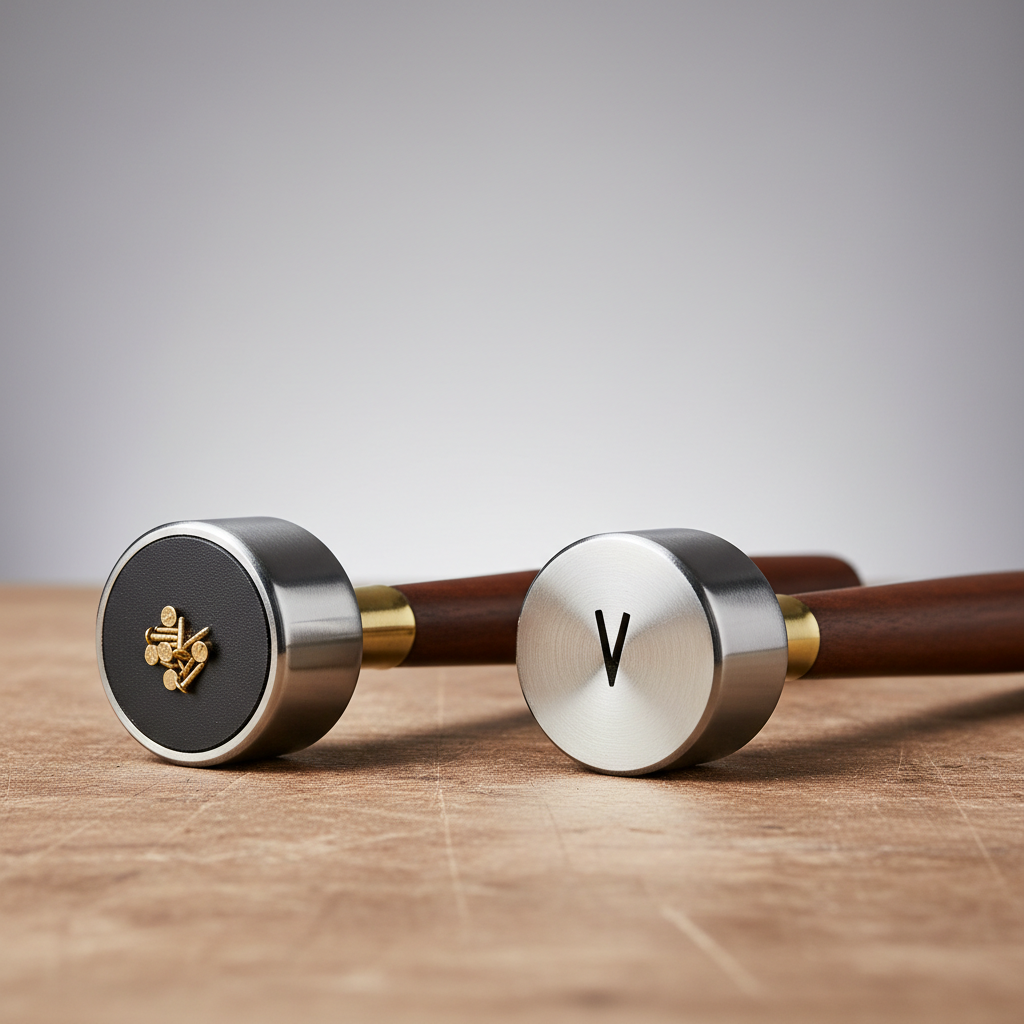
Also, pay attention to what you’re actually fastening. Lightweight decorative nails on trim want a different touch than upholstery tacks going into hardwood. A tack hammer small upholstery setup that feels perfect on pine can feel unforgiving on maple.
Quick comparison table: choose the right setup for your project
This table is a simple way to match hammer style and accessories to common upholstery fabric situations. Brands differ, but the logic usually holds.
| Project situation | What to prioritize | Helpful add-on | Common risk |
|---|---|---|---|
| Decorative nail trim on a chair | Magnetized start + polished face | Nail spacer strip / layout tape | Crooked spacing, shiny marks |
| Light fabric over soft padding | Moderate weight + gentle technique | Scrap fabric test piece | Dents, puckering around tacks |
| Vinyl or leather upholstery | Very smooth face, clean tool | Protective tapping block | Scuffs, surface gloss changes |
| Hardwood frame, stubborn tacks | More head weight, sturdy handle | Pre-punch awl (carefully) | Bent tacks, split wood |
Self-check: are you using the right tack hammer and technique?
If your results look messy, it’s usually one of these patterns. Run this quick self-check before you buy another tool or redo the whole line.
- Tacks bend on the first tap: tack starts at an angle, wood too hard, or you’re striking with the edge of the face.
- Fabric shows little circles or shiny spots: face not polished, tool dirty, or you’re finishing directly on the fabric instead of setting into trim.
- Spacing drifts over the run: you’re eyeballing instead of marking, or you’re correcting too late rather than nudging each tack as you go.
- Your hand feels beat up: poor grip shape or you’re over-swinging, a small hammer should feel more like tapping than hammering.
- Trim looks wavy: fabric tension inconsistent, tacks driven with uneven depth, or padding compressing differently along the edge.
If two or three of these hit home, changing technique will often help more than switching to a different tack hammer small upholstery model.
How to use a small upholstery tack hammer on fabric (step-by-step)
This is the routine that tends to produce clean results, even if you’re not doing upholstery every week. The goal is to start straight, keep tension consistent, then finish with minimal impact to the surface.
1) Prep the surface so the fabric behaves
- Pull fabric snug and smooth, then hold it in place with temporary pins or a few starter tacks in hidden spots.
- If you’re working near piping or a seam, set alignment marks so you’re not constantly re-checking visually.
- Do a test run on scrap fabric over similar padding, it reveals whether your hammer face leaves marks.
2) Start each tack safely and straight
- Use the magnet to hold the tack, place the point where it should enter, then give one light tap to stand it up.
- Check the tack is vertical before committing, this is where most bends begin.
- If you don’t have a magnetized hammer, consider needle-nose pliers for the first tap instead of your fingers.
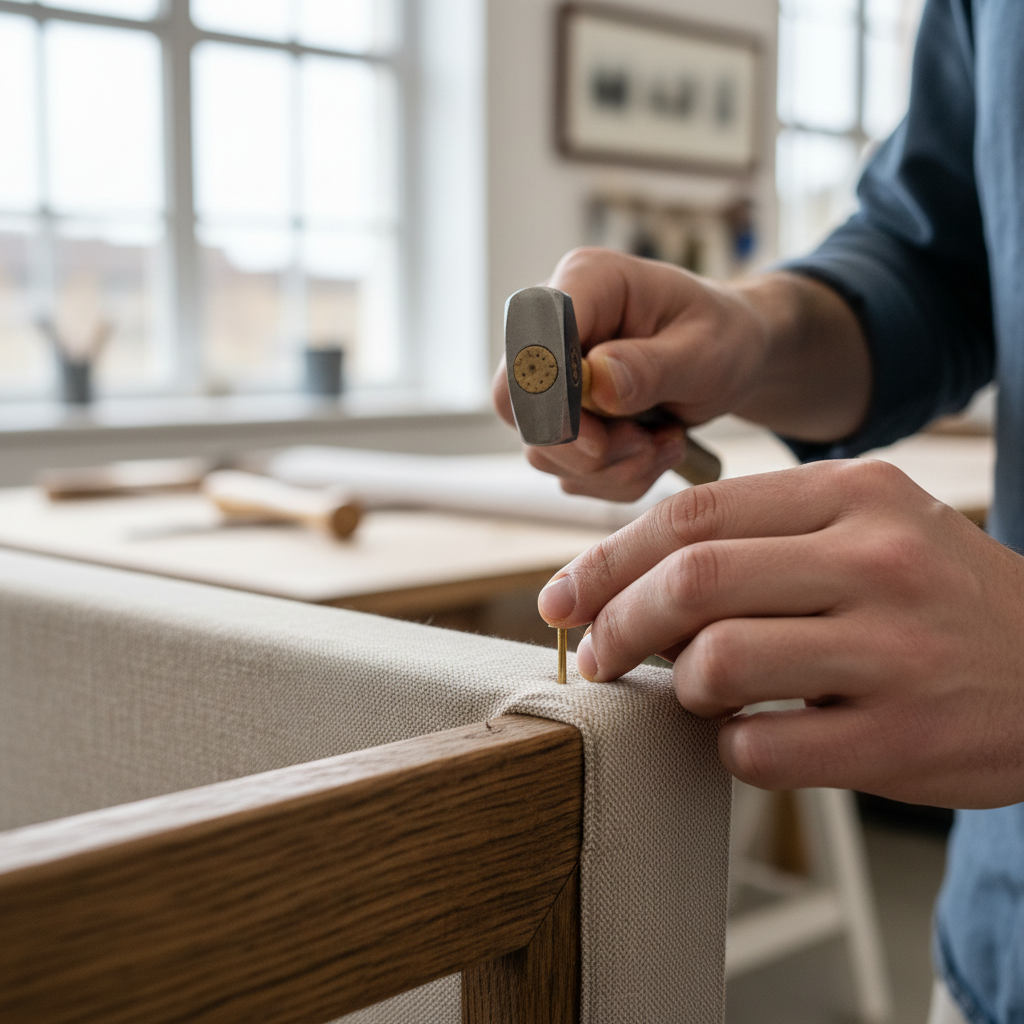
3) Drive to depth without bruising the fabric
- Switch from tapping to controlled strikes, still small, but a bit firmer.
- Stop as soon as the tack head sits where you want it, over-driving is what makes padding look “sucked in.”
- For decorative nails, consider a non-marring punch for the last millimeter if the surface is delicate.
4) Keep your line straight as you go
- Mark a reference line with low-tack tape, then set each tack to that line rather than to the previous tack.
- Step back every 6–10 fasteners, you catch drift early when it’s still easy to correct.
According to OSHA, hand tools should be kept in safe condition and used as intended, especially in tasks where striking could cause slips or flying fasteners. If you’re working with brittle tacks or hard frames, eye protection is a reasonable precaution.
Practical fixes for common problems (without redoing everything)
Most upholstery mistakes feel expensive because they show, but some are fixable if you catch them early. Here are a few adjustments that often save the project.
- Bent tack: pull it immediately, don’t “straighten it in place,” it usually tears fabric fibers. Re-start with a lighter initial tap, or pre-punch very lightly in hard wood.
- Hammer marks on fabric: stop and clean the face, then test on scrap. For delicate materials, shift to a tapping block or a punch for finishing.
- Uneven depth: use a consistent number of taps per tack as a rhythm, it sounds fussy, but it keeps pressure even across padding.
- Spacing drift: remove only the last few tacks and re-align, trying to “correct” by changing spacing later tends to look worse.
If you’re using a tack hammer small upholstery tool on decorative nailheads, don’t underestimate how much a simple spacing guide helps. Eyeballing works for two feet, then your brain gets tired and the line starts to wander.
Safety, care, and what not to do
Upholstery looks gentle, but it’s still sharp fasteners plus repeated striking. A few habits keep you safer and keep the tool performing.
- Don’t strike at an angle: glancing blows cause slips, and slips are where fabric gets damaged.
- Don’t use a marred face: even a small nick can print into vinyl or satin-like fabrics, polish or replace if needed.
- Keep magnets clean: metal dust reduces grip, and weak grip means more dropped tacks and rushed starts.
- Mind your fingers: if you’re not confident starting by hand, use pliers or a tack holder, it’s slower but safer.
If you have repetitive strain pain, numbness, or hand swelling from frequent hammering, it may be worth adjusting your grip, changing hammer weight, or checking with a healthcare professional, especially if symptoms persist.
Key takeaways before you buy or start your next trim run
- A polished face and a magnetized start tend to matter more than chasing the smallest head size.
- Start every tack with one light tap, confirm it stands straight, then drive to depth.
- Mark lines and use spacing aids, most “my hammer is the problem” issues are actually layout problems.
- On delicate fabric, finish with a punch or protective block rather than direct hammer contact.
Conclusion: getting clean tack lines is mostly control, not force
Once you use a small tack hammer with a smooth face and a predictable balance, the job stops feeling like a fight and starts feeling like placement work. Keep your starts gentle, your alignment visible, and your finishing steps non-marring, and your fabric edge usually looks sharper with less rework.
If you’re tackling a chair, headboard, or decorative trim and want a more reliable result, set up a quick scrap test, pick a tool that feels steady in your hand, then commit to a consistent rhythm for each tack.
FAQ
- What is a small upholstery tack hammer used for on fabric?
It’s used to start and drive upholstery tacks or decorative nails with better control in tight spaces, helping reduce fabric dents and crooked fasteners. - Will a magnetized tack hammer damage fabric?
Usually no, the magnet helps with starting, not striking. Damage more often comes from a rough hammer face or slipping, so keep the face clean and polished. - How do I prevent shiny marks on vinyl when using a tack hammer?
Use a very smooth face, avoid over-driving, and consider finishing with a non-marring punch. Testing on scrap vinyl is worth the minute it takes. - Why do my upholstery tacks keep bending?
They often start at a slight angle, or you’re hitting with the edge of the face. Hard frames can contribute too, a light pre-punch can help in some cases. - Is a small tack hammer better than a staple gun for upholstery?
They solve different problems. Staples are common for structural fabric attachment, while tacks and nailheads are often used for trim, detailing, or traditional looks. - What weight is best for a tack hammer small upholstery setup?
It depends on your hand comfort and the frame material. Many people prefer moderate weight for control, but if you’re working on hardwood, slightly heavier can reduce the number of strikes. - Do I need eye protection for upholstery tack work?
It’s a sensible precaution, especially with small brittle tacks that could chip or ricochet. If you’re unsure, err on the safer side.
If you’re working on fabric trim and keep fighting bent tacks or surface marks, it may help to choose a small upholstery tack hammer with a cleaner face finish and a stronger tack-start magnet, then pair it with a simple spacing method so the line stays straight without constant re-doing.