
Tile cutter manual ceramic is often the fastest way to get clean, repeatable cuts for floor tile without hauling out a wet saw, but most frustrations come from a few small setup mistakes that compound fast.
If you keep getting chipped glaze, crooked breaks, or tiles that “snap wherever they want,” you’re not alone. Manual cutters look simple, yet they’re picky about pressure, wheel condition, and how well the tile is supported.
This guide walks through what actually causes bad cuts, how to pick a cutter that fits your flooring tile, and a practical scoring-and-snapping routine you can repeat all day without guessing.
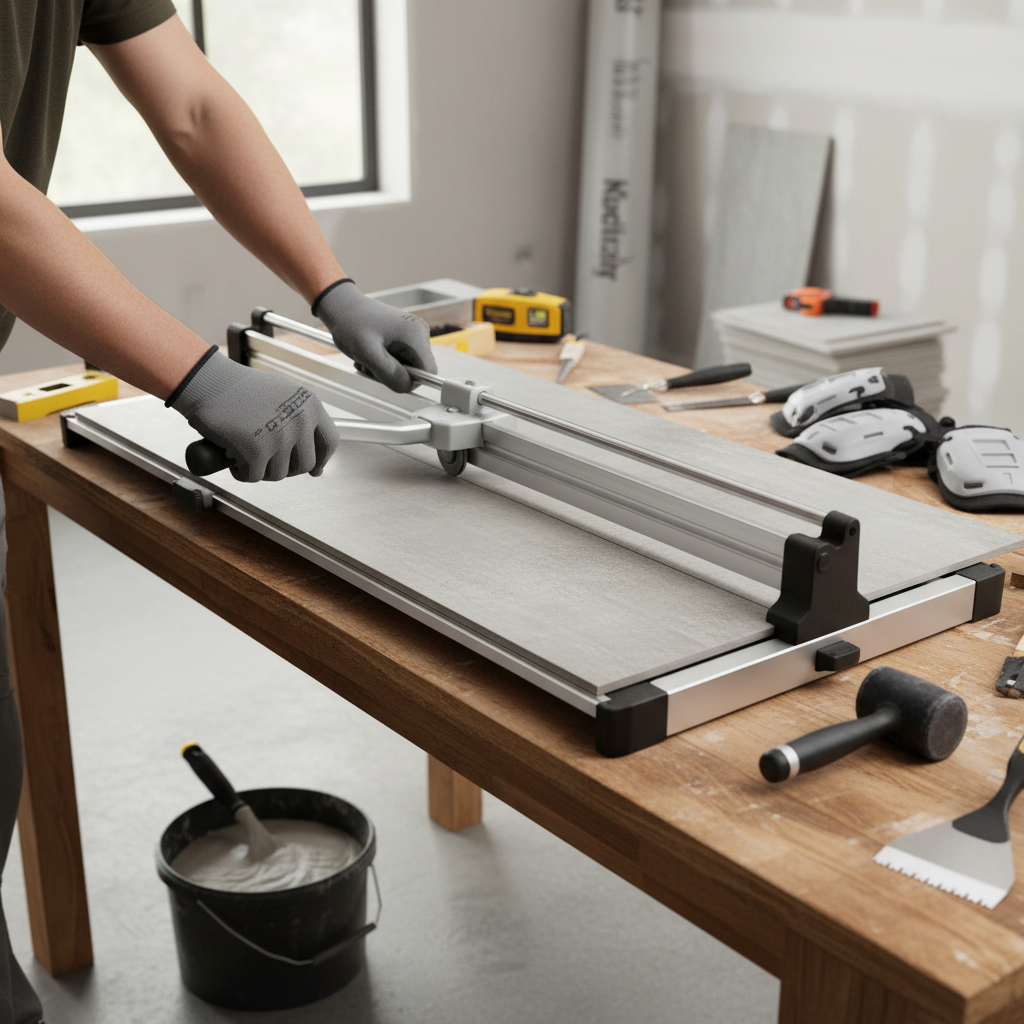
Why manual cuts fail on flooring tile (and what that usually means)
Most “bad cutter” complaints are really a mismatch between the tile, the cutter, and technique. Flooring tile tends to be thicker, harder, and less forgiving than basic wall ceramic, so little issues show up immediately.
- Not enough cutter capacity or stiffness: long tiles flex, cheaper rails flex, and the score line stops being straight.
- Dull or wrong scoring wheel: a worn wheel drags instead of scoring, increasing chips and wandering.
- Too many passes: re-scoring often increases edge chipping, especially on glazed surfaces.
- Uneven support: if the tile rocks or overhangs, the snap follows stress, not your line.
- Pressure spikes: pushing hard at the start or end can crush the glaze and start micro-cracks.
One more reality check, a manual cutter is built for straight cuts. If your plan depends on L-cuts, small notches, or lots of plumbing penetrations, you’ll likely combine tools rather than force one tool to do everything.
Picking the right manual ceramic tile cutter for floor projects
Choosing is mostly about tile type, size, and how many cuts you expect. A tile cutter manual ceramic that feels “overbuilt” usually pays off when you’re cutting 12x24, 8x48 planks, or anything with a dense body.
Key specs that matter in real jobs
- Max cut length: measure your longest tile and add breathing room, diagonal cuts eat capacity.
- Breaking strength: important for porcelain and thicker floor tile, weaker breakers struggle and cause jagged snaps.
- Rail rigidity and carriage play: less wobble equals straighter scores.
- Wheel quality and availability: replacement wheels should be easy to find, and the cutter should accept the right diameter/material.
- Fence and angle guide: useful for repeats, but only if it stays square and doesn’t flex.
Ceramic vs porcelain flooring (quick expectations)
Many people say “ceramic” while buying porcelain floor tile, so read the box. Porcelain is typically denser and can be less friendly to cheaper manual cutters.
According to the Tile Council of North America (TCNA), porcelain tile is distinguished by very low water absorption compared with other ceramic tile, which generally correlates with a denser body and tougher cutting behavior.
Fast self-check: are you set up for clean score-and-snap?
Before you blame the cutter, run this checklist. You’ll usually spot the culprit in under two minutes.
- Tile sits flat with no rocking on the cutter base
- Wheel rolls smoothly and doesn’t “skate” sideways
- Score line looks continuous, not dotted or fuzzy
- You can hear a consistent scratch sound end-to-end
- Breaker foot lands centered on the score
- Your snap force feels straight down, not twisting
If you fail more than two items, fix setup before you change technique. Good technique on a sloppy setup still gives sloppy cuts.
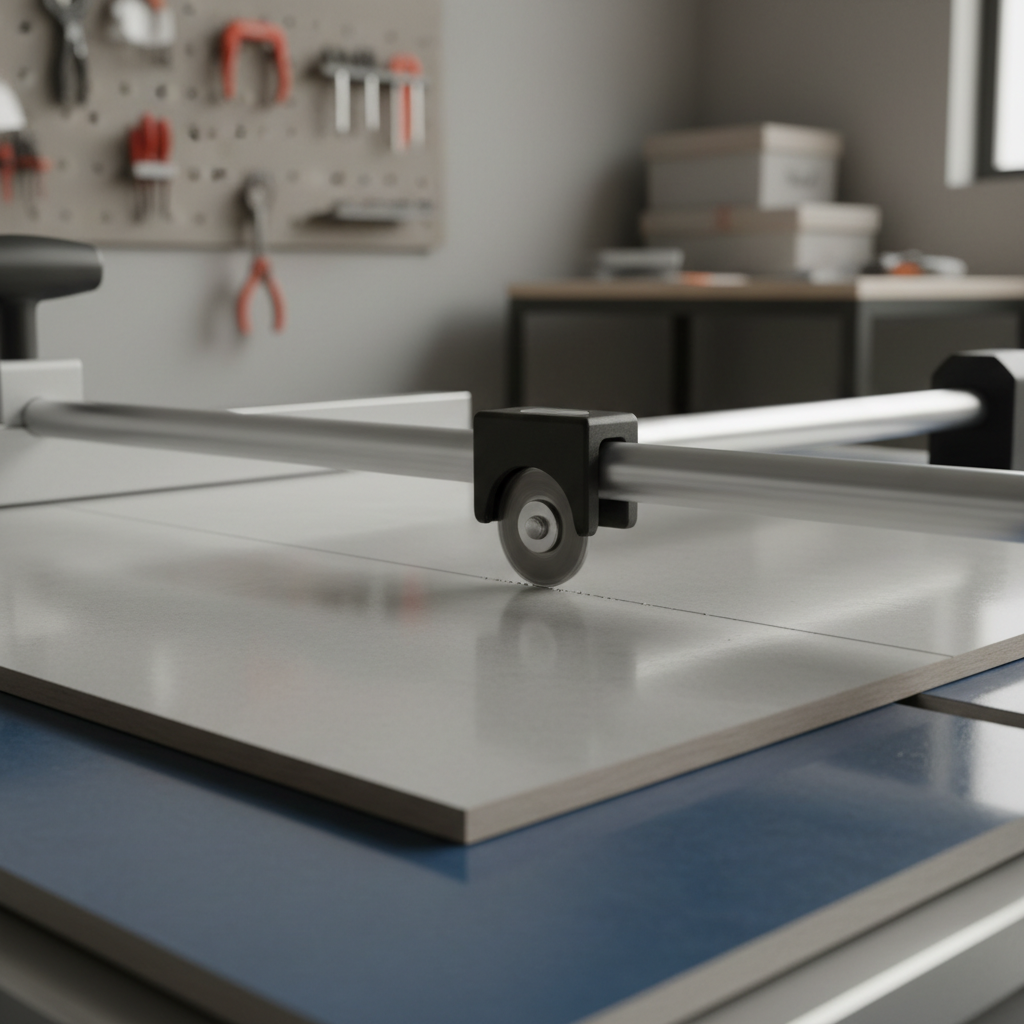
How to use a manual cutter: a repeatable method for floor tile
Tile cutter manual ceramic technique is less about muscle and more about consistency. The goal is one clean score, then a controlled snap.
Step-by-step scoring
- Mark the tile clearly: use pencil/marker and line up to the cutter’s measurement guides, then verify by eye.
- Set the tile square: push it against the fence, but avoid bending the tile if the fence flexes.
- Start the score gently: roll the wheel onto the tile edge with light pressure so it doesn’t chip the glaze on entry.
- One pass: increase to firm, even pressure, keep the handle tracking straight, and score all the way through.
Step-by-step snapping
- Position the breaker: it should land centered on the score, close enough to the tile center to distribute force.
- Press straight down: steady pressure beats a sudden slam, especially on glazed surfaces.
- Support the offcut: if one side drops early, the break can run off your line.
When the snap still looks ragged, don’t immediately press harder. Usually the wheel is worn, the tile is under-supported, or the score was too light at one section.
What cutter type fits which flooring scenario (table)
Here’s a practical way to match tool to job, without pretending there’s one tool for every tile.
| Scenario | Manual cutter works well? | What to watch | Helpful backup tool |
|---|---|---|---|
| Standard ceramic floor tile (10–12 mm) | Usually yes | Wheel sharpness, one-pass scoring | Rubbing stone |
| Porcelain 12x24 | Often yes, with a strong cutter | Breaker strength, rail stiffness | 4.5 in angle grinder with diamond blade |
| Textured/matte surface tile | Depends | Wheel may chatter on heavy texture | Wet saw for critical edges |
| Long plank tile (e.g., 8x48) | Sometimes | Tile flex and cutter length capacity | Wet saw for long precision cuts |
| Repeating straight rip cuts | Yes, great use case | Fence squareness, consistent pressure | Speed square for spot-checks |
Common mistakes (and the small fixes that actually help)
These are the issues that keep showing up on flooring installs, especially with harder tile and larger formats.
- Pressing too hard on the first inch: start light, then settle into steady pressure.
- Re-scoring to “make it deeper”: if the score looks weak, fix the wheel or alignment, don’t add passes.
- Letting the tile hang off the cutter bed: add support stands or cut on a stable surface.
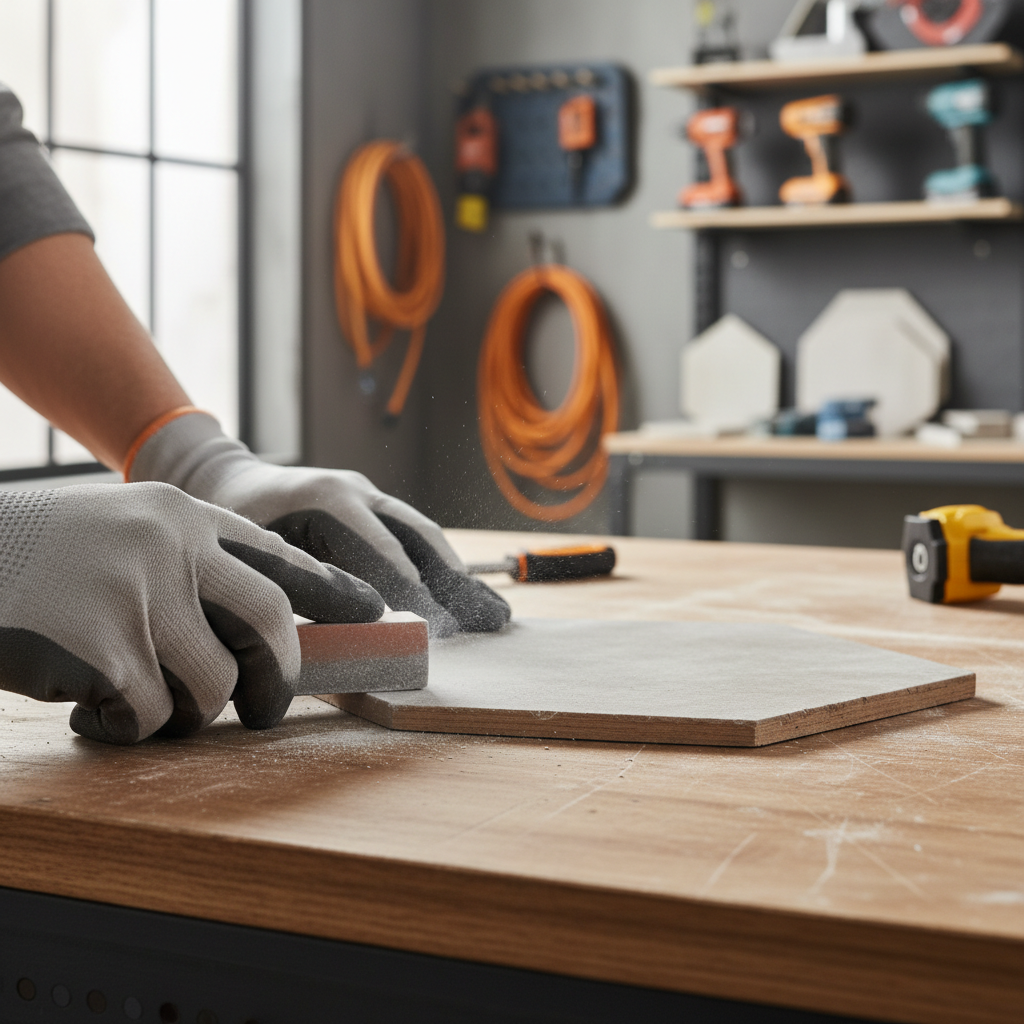
- Ignoring micro-chips: small chips often telegraph into grout lines, dress edges with a stone.
- Assuming every tile batch behaves the same: even within one product line, density and glaze can vary, test cut a spare.
On safety, snapping tile can create sharp edges and small shards, so eye protection is a good idea, and gloves may help depending on your comfort level. If you’re cutting indoors, think about cleanup, tiny chips love to hide in drop cloth folds.
Practical workflow tips for faster flooring installs
If you’re doing a whole room, efficiency comes from reducing “decision cuts.” Set up a simple routine and protect it from distractions.
- Batch your cuts: measure and mark several tiles, then cut in a run so your fence stays locked.
- Label orientation: arrows on the back help if you’re matching veining or factory edge placement.
- Keep a spare wheel: when cuts start degrading, swapping is faster than troubleshooting mid-layout.
- Dress visible edges: even a good snap benefits from a few passes with a stone on exposed areas.
- Plan for “non-manual” cuts: set aside tiles for door jamb undercuts, vents, and corners that need a saw or grinder.
Many homeowners like manual cutters because they’re quieter and easier to set up than wet saws. That’s real value, just remember the tradeoff, they reward straight, repeatable work and punish improvisation.
When to consider pro help or a different tool
A tile cutter manual ceramic can cover a lot, but certain situations tend to push beyond what score-and-snap does comfortably.
- Premium large-format porcelain where chipped edges will be highly visible
- Many outlets, floor registers, or plumbing penetrations requiring notches and curves
- Very hard or thick tile where your cutter consistently fails despite a fresh wheel
- Projects with tight timelines, where rework costs more than tool rental
If you’re unsure, renting a wet saw for a day or consulting a tile installer for a quick assessment can be a sensible middle ground, especially if you’re working with expensive material.
Key takeaways
- One clean score beats multiple passes almost every time.
- Match cutter rigidity and breaking strength to your tile, especially for floor porcelain.
- Most chipping comes from entry/exit pressure spikes, wheel wear, or poor support.
- Plan a hybrid approach for notches and specialty cuts instead of forcing a manual tool.
Clean flooring cuts are less mysterious than they feel at first, you just need a stable setup, a sharp wheel, and a repeatable rhythm. If you’re getting inconsistent breaks, start by checking tile support and wheel condition, then adjust scoring pressure, those two fixes solve a surprising amount.
If you want an easier next step, pick one tile and run three test cuts with small technique changes, then lock in the method that produces the cleanest snap before you cut your “real” pieces.
FAQ
Can a manual tile cutter cut porcelain floor tile?
Often yes, but it depends on tile thickness, density, and the cutter’s breaking strength and rigidity. If the snap keeps wandering even with a fresh wheel and good support, a wet saw can be more reliable.
Why does my tile chip at the start of the score?
That’s commonly from too much pressure when the wheel first contacts the glaze. Start lighter for the first inch, then ramp to steady pressure once the wheel is tracking.
Should I score a tile more than once?
In many cases, no. Multiple passes can roughen the glaze and create micro-chips that show up after snapping. If one pass looks weak, check wheel wear and alignment instead.
What’s the difference between a cheap and expensive manual cutter?
Usually stiffness, accuracy, and the quality of the carriage and breaker. On bigger floor tile, less flex and less wobble translates directly into straighter breaks and fewer wasted pieces.
How do I keep long plank tiles from breaking off-line?
Support is the big one, long tiles flex easily. Use side support stands, keep the tile fully on the bed, and make sure your breaker force stays straight down without twisting.
Do I need to smooth the cut edge after snapping?
If the edge will be exposed or you feel sharp micro-chips, a rubbing stone is worth it. For edges buried under baseboard or trim, you can often skip it unless the break is rough.
What tool should I use for L-cuts and notches in floor tile?
A wet saw handles many notches cleanly, while an angle grinder with a diamond blade is common for small adjustments. Either way, dust and kickback risks are real, so follow tool instructions and consider asking a professional if you’re not comfortable.
If you’re in the middle of a flooring project and deciding whether to stick with a manual cutter or switch tools, it can help to share your tile type, size, and the exact cut you’re struggling with, then you can get a more realistic recommendation without buying gear you won’t use again.