
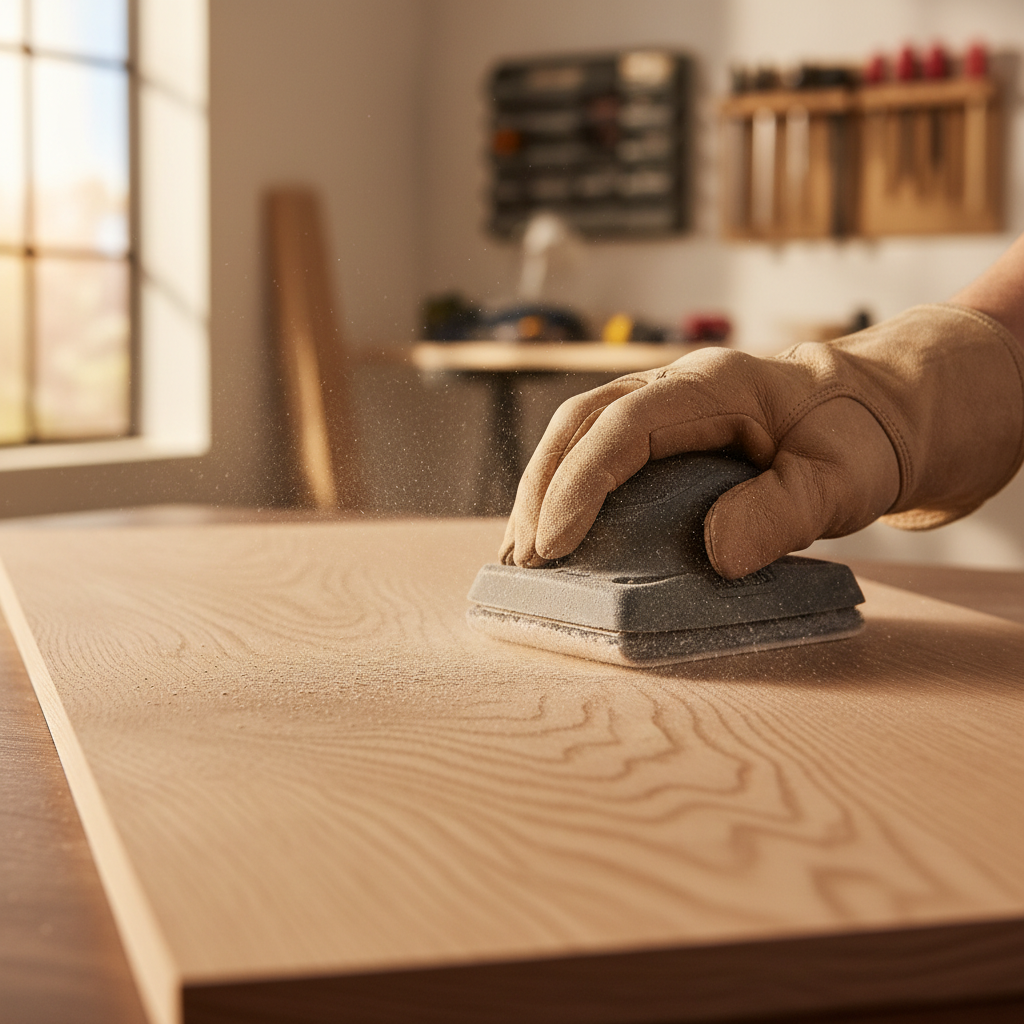
sanding block hand held is one of the simplest ways to get more even sanding without fighting swirl marks, rounded edges, or random low spots that show up the second you apply stain or paint.
If you have ever sanded a panel that looked fine, then wiped it with mineral spirits and suddenly saw waves, shiny streaks, or edge burn-through, you already know why this matters. Even sanding is less about muscle and more about consistent pressure, the right grit sequence, and using a block that matches the surface.
This guide breaks down why handheld sanding blocks work, how to pick the right style for wood and drywall, and how to actually use one so your finish looks intentional, not “good from across the room.”
Why uneven sanding happens (and why a block fixes most of it)
Uneven sanding usually comes from inconsistent pressure and a sanding surface that flexes more than you think. Fingers press harder in a few spots, the paper wrinkles, and the surface ends up with tiny hills and valleys.
- Finger grooves and “hot spots”: sanding with loose paper concentrates pressure under fingertips, leaving tracks that show through paint and clear coat.
- Rounded edges: it feels natural to roll over edges, but that removes crisp lines fast, especially on softwood.
- Skipped grits: jumping too far in grit leaves deeper scratches that finer paper cannot fully erase.
- Wrong block hardness: a very hard block can bridge over minor dips, a very soft one can follow dips and exaggerate them, you need a match.
A handheld sanding block spreads pressure across a flatter area, keeps the abrasive stable, and makes your strokes more repeatable. That repeatability is what makes the finish look even.
How to choose a hand held sanding block for your project
Not all blocks behave the same. Some are meant to stay flat, some are meant to flex, and some are designed to hold specialty abrasives.
Common types and where they shine
- Hard rubber or cork blocks: good general-purpose choice for flat wood surfaces and paint prep, decent feedback, comfortable in the hand.
- Foam blocks (soft to medium): better for slight curves, trim profiles, and blending, but they can round edges if you are not careful.
- Hook-and-loop (Velcro) blocks: fast paper changes, good if you switch grits often, just keep dust from clogging the hooks.
- Contoured or profile blocks: made for moldings, spindles, and shaped trim, helpful where flat blocks miss details.
- Drywall sanding blocks: wider face and often paired with mesh abrasives, optimized for joint compound rather than hardwood.
Material matters too. A harder block helps you keep a tabletop honest, a slightly cushioned block helps you avoid “faceting” on gentle curves.
Quick self-check: are you using the block the right way?
If your results feel inconsistent, this checklist usually reveals the culprit in two minutes.
- You see shiny streaks after wiping with mineral spirits or water, especially across the grain.
- Edges look softer than you intended, or corners lose definition.
- Scratches show up after finishing even though you “went to 220.”
- Your hand feels tired fast, like you are forcing the cut.
- Sandpaper loads up quickly or tears at the corners of the block.
If you checked two or more, focus less on sanding longer and more on grip, grit steps, and block choice. That is where the easy wins sit.
Grit progression that actually produces an even surface
The most common sanding mistake is trying to “fix” roughness with too-fine paper. Fine grits polish high spots, but they do not level the surface efficiently.
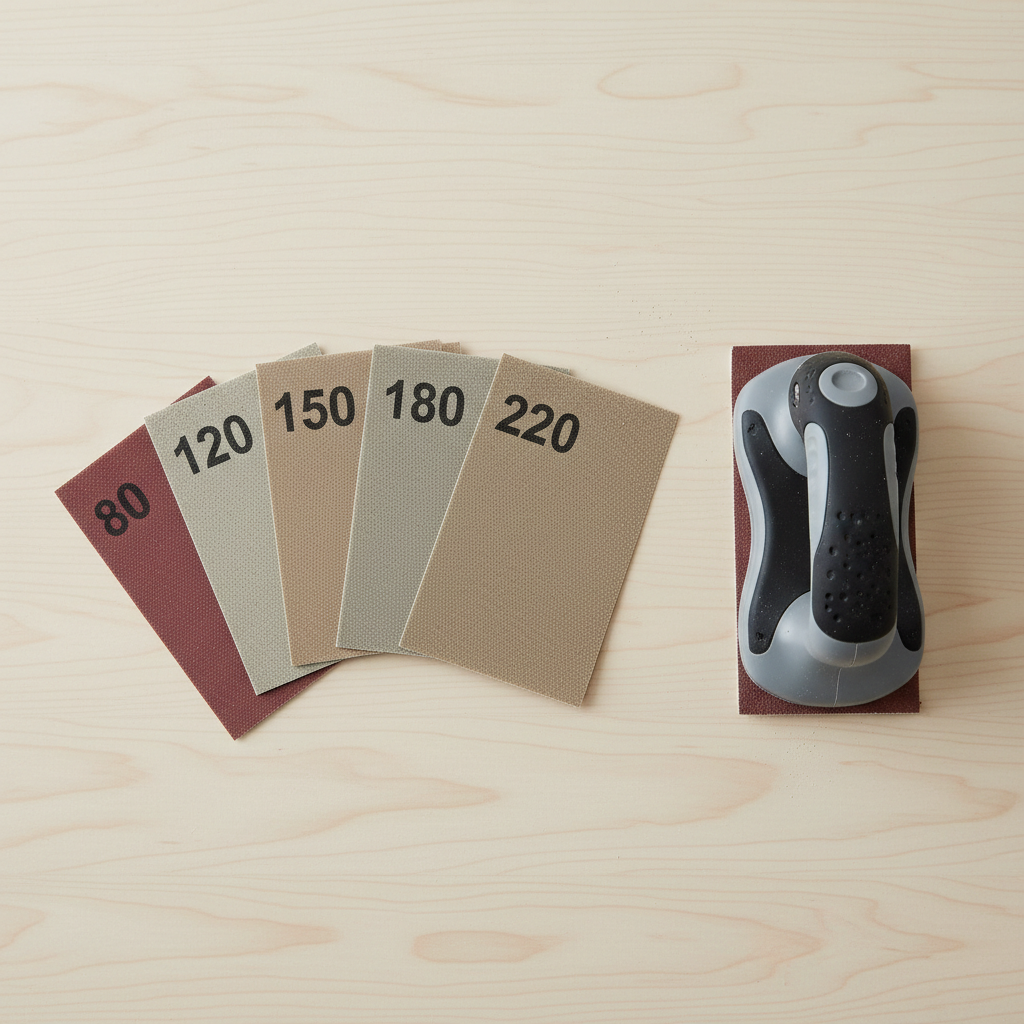
Here is a practical progression many wood projects tolerate well, though species and finish type can change the ideal stopping point.
| Task | Typical grit range | What you should see |
|---|---|---|
| Leveling tool marks, flattening | 60–100 | Uniform scratch pattern, no visible ridges |
| General smoothing | 120–150 | Previous scratches replaced, surface feels consistent |
| Pre-finish sanding (many paints/clear coats) | 180–220 | No coarse lines under raking light |
| Between coats (varies by finish) | 220–320 | Light scuff only, no cut-through on edges |
Key point: move up only when the scratch pattern from the current grit looks even across the whole area. If you still see a few deeper lines, you are not “ready” for the next grit yet.
According to the U.S. Forest Service Forest Products Laboratory, wood properties and surface prep can influence finishing performance, so matching your sanding approach to species and finish system is a practical step, not perfectionism.
Technique: how to get even sanding with a handheld block
Good technique looks boring. Same stroke length, steady pressure, and frequent checks under light.
Step-by-step that works in most shops
- Wrap paper tight: slack paper folds and cuts random grooves. Pull it snug and keep edges tucked.
- Let the grit cut: use moderate pressure, if you push hard, you tend to tip the block and round edges.
- Sand with the grain when possible: especially for the last one or two grits on wood, cross-grain scratches love to show up under stain.
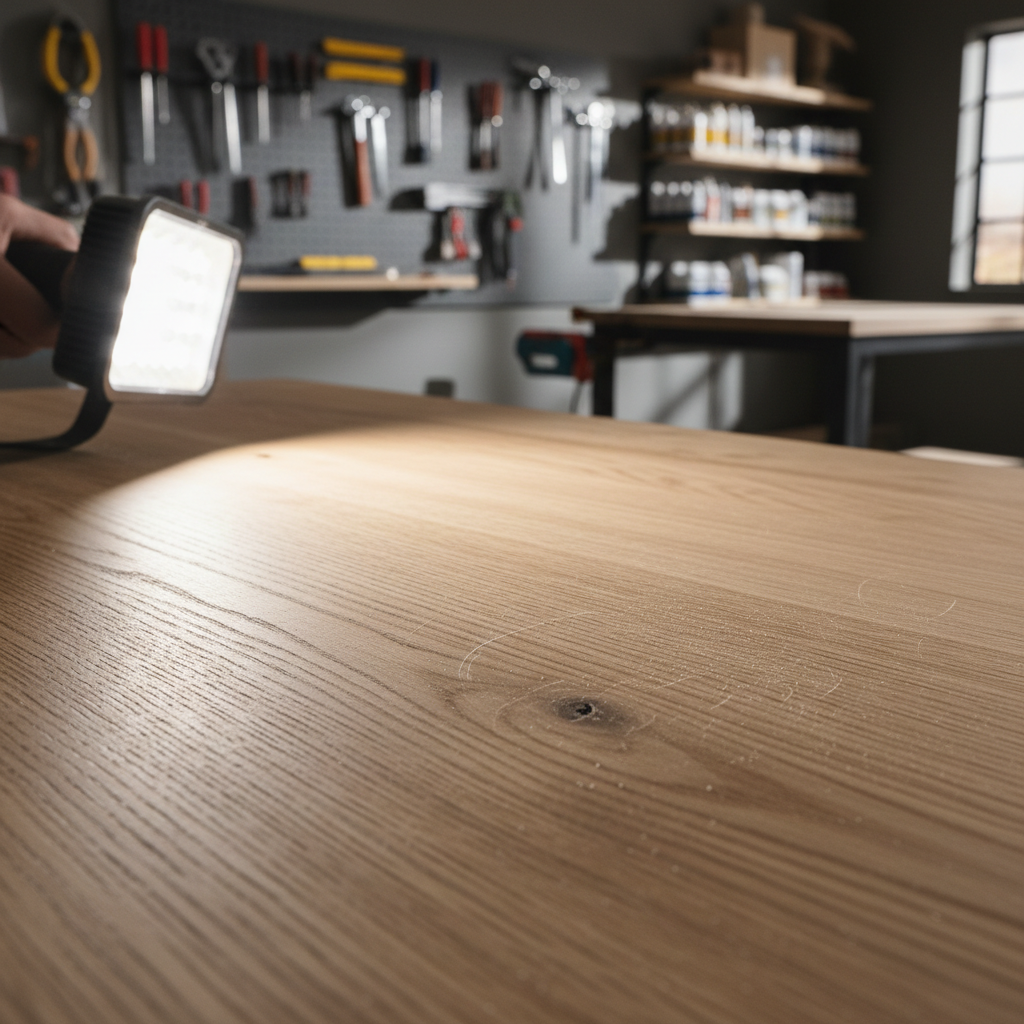
- Use raking light checks: shine a light low across the surface, you will spot dips and leftover scratches immediately.
- Clean between grits: vacuum or wipe dust away so a stray coarse particle does not “re-scratch” your near-finished surface.
For big flat panels, a sanding block hand held works best when you treat it like a small jointer plane, long strokes, overlap passes, and avoid hanging off the edge with half the block.
Practical tips for tricky surfaces (edges, curves, filler, drywall)
This is where people lose evenness, because the surface changes and the block that felt perfect suddenly becomes the wrong tool.
Edges and corners
- Mask edges if you must: painter’s tape can act like a speed bump while you learn, especially on veneered plywood.
- Use fewer strokes: edges need less sanding than faces, usually just a quick break of the sharpness.
- Keep the block flat: tipping is what rounds corners, not the sanding itself.
Curves and profiles
- Use a medium-foam block or a contoured profile block so abrasive stays in contact without digging.
- On tight profiles, consider sanding sponges, but treat them as blending tools, not leveling tools.
Wood filler and patches
- Filler often sands faster than wood, so it is easy to dish the patch area.
- Feather with a block that bridges the repair and surrounding wood, then check under light.
Drywall compound
- Drywall usually prefers a wider sanding block and mesh abrasives that resist clogging.
- Wear a respirator and use dust control, fine dust can irritate lungs, and if you are unsure about your dust exposure, ask a safety professional.
According to OSHA, controlling dust exposure and using appropriate respiratory protection can reduce health risks in sanding tasks, the right approach depends on materials and jobsite conditions.
Common mistakes that waste time (and how to avoid them)
- Chasing perfection with ultra-fine grits: going too fine before stain can reduce absorption on some woods, test on scrap when appearance matters.
- Skipping dust removal: leftover grit from a coarser step can ruin the next step fast.
- Over-sanding softwood: pine and similar woods dent and round easily, lighter pressure usually wins.
- Ignoring paper condition: dull abrasive creates heat and burnishes instead of cutting, swap paper sooner than you think.
- Using a soft block on flats: it feels comfortable, but it may follow dips and keep them alive.
If you feel stuck, simplify the process: pick the right starting grit, keep the block flat, and verify scratch pattern before moving up. Most “mystery finish problems” trace back to one of those three.
Wrap-up: what to do next
Even sanding is not about sanding forever, it is about making each grit do a specific job, with a block that helps you keep pressure consistent. Once you get that rhythm, the surface starts looking predictable, and finishing stops being stressful.
Next steps: choose a block hardness that matches your surface, run a sensible grit progression, and do one raking-light check before you call it done. If you are applying stain, test your final grit on a hidden area or scrap, it saves rework.
FAQ
What is the best way to hold a sanding block for even sanding?
Grip it so your palm applies pressure through the center of the block, not through fingertips near the front edge. If you feel the block tipping, lighten up and slow down rather than pushing harder.
Should I sand in circles or with the grain when using a hand held sanding block?
For wood, circles can hide where scratches come from, but they often leave marks that show under stain. Many people use short cross-grain passes early for leveling, then finish with the grain for the last grits.
Why does my surface look uneven after staining even though it felt smooth?
“Smooth to the touch” can still mean uneven scratch depth. Wipe the surface with mineral spirits to preview, if you see lines or patches, drop back one grit and sand until the scratch pattern looks uniform.
What grit should I stop at before painting?
It depends on the paint and surface, but 150–220 is common for many wood trims and furniture. High-build primers can hide more, while thin paints show more, so a small test area is worth it.
Is a sanding sponge the same as a sanding block hand held?
They overlap, but a sponge is usually more flexible, great for curves and blending, less ideal for keeping a large surface dead flat. For tabletops and doors, a firmer block often gives more predictable results.
How do I keep from rounding edges while sanding?
Keep the block fully on the surface, stop your stroke before you “fall off” the edge, and use fewer passes on corners. On delicate edges like veneer, tape protection can be a practical training wheel.
Can I use a handheld sanding block on drywall repairs?
Yes, but a wider drywall-style block or pole sander is often easier on large patches. Dust control matters more with drywall, so consider a vacuum attachment and wear appropriate protection.
If you are working through a finish-critical project and want fewer surprises, a simple routine helps: pick the right sanding block, track your grit steps, and verify the surface under raking light before you move on, it is a small habit that tends to pay back every time you open a can of stain or paint.