
how to use a wood chisel correctly usually comes down to three things most people skip: a truly sharp edge, the right body position, and picking a cut that matches the grain.
If your chisel keeps digging in, skating across the surface, or tearing fibers instead of slicing them, it’s rarely “bad technique” in the abstract, it’s a specific mismatch between bevel angle, grain direction, and how you’re applying force. Fix those, and your results change fast.
This guide keeps it practical: how to choose the right chisel for the job, set up for control, make the common cuts (paring, chopping, cleanup), and avoid the safety mistakes that send tools into hands.
Pick the right chisel for the cut (it matters more than people admit)
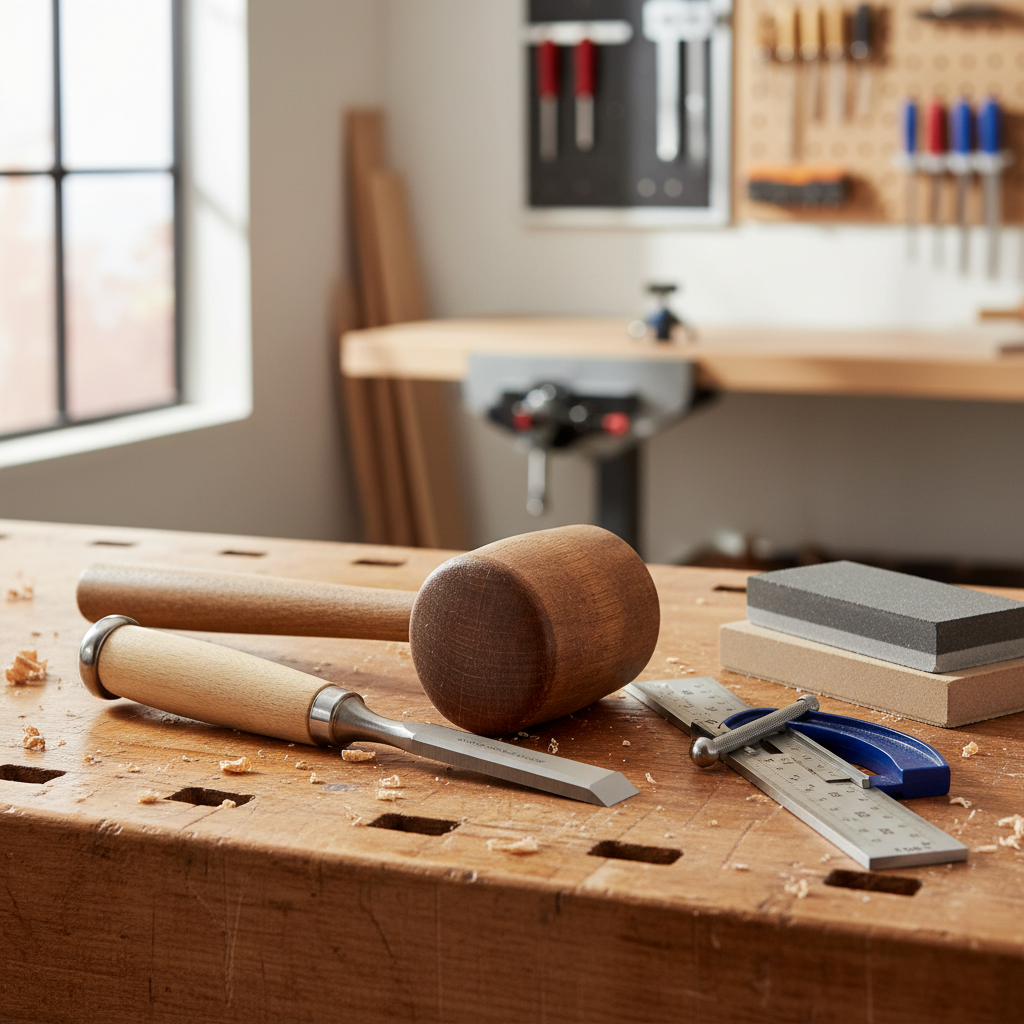
Before technique, choose the tool that behaves predictably. A stout chisel can take mallet blows without twisting, while a thin bevel-edge chisel reaches tight corners but feels easier to deflect.
- Bench (bevel-edge) chisels: the everyday choice for paring and light chopping, good for general joinery.
- Mortise chisels: thick, strong, meant for deep chopping and levering waste in mortises.
- Paring chisels: long and thin, designed for hand pressure only and very controlled slicing.
Width also changes control. Many tasks feel easier with a slightly narrower chisel than the joint because you can “walk” the cut without binding.
Sharpening and bevel angles: the real foundation of clean cuts
If you want to know how to use a wood chisel correctly, start by assuming your edge is not sharp enough. Sharp in woodworking means it slices end grain without crushing, and it can pare a thin shaving with light hand pressure.
According to OSHA, cutting tools should be kept sharp because dull tools often require extra force and can contribute to slips and injuries. That’s shop safety, not just craftsmanship.
A simple angle guide (typical ranges)
These are common starting points, not sacred rules. Dense woods, knots, and heavy mallet work often push you toward a steeper angle for durability.
| Task | Typical bevel angle | Why it helps |
|---|---|---|
| Paring (hand pressure) | 20°–25° | Easier slicing, less effort |
| General bench work | 25°–30° | Balance of sharpness and edge life |
| Heavy chopping / hardwood | 30°–35° | Resists rolling and chipping |
Two sharpening details people rush
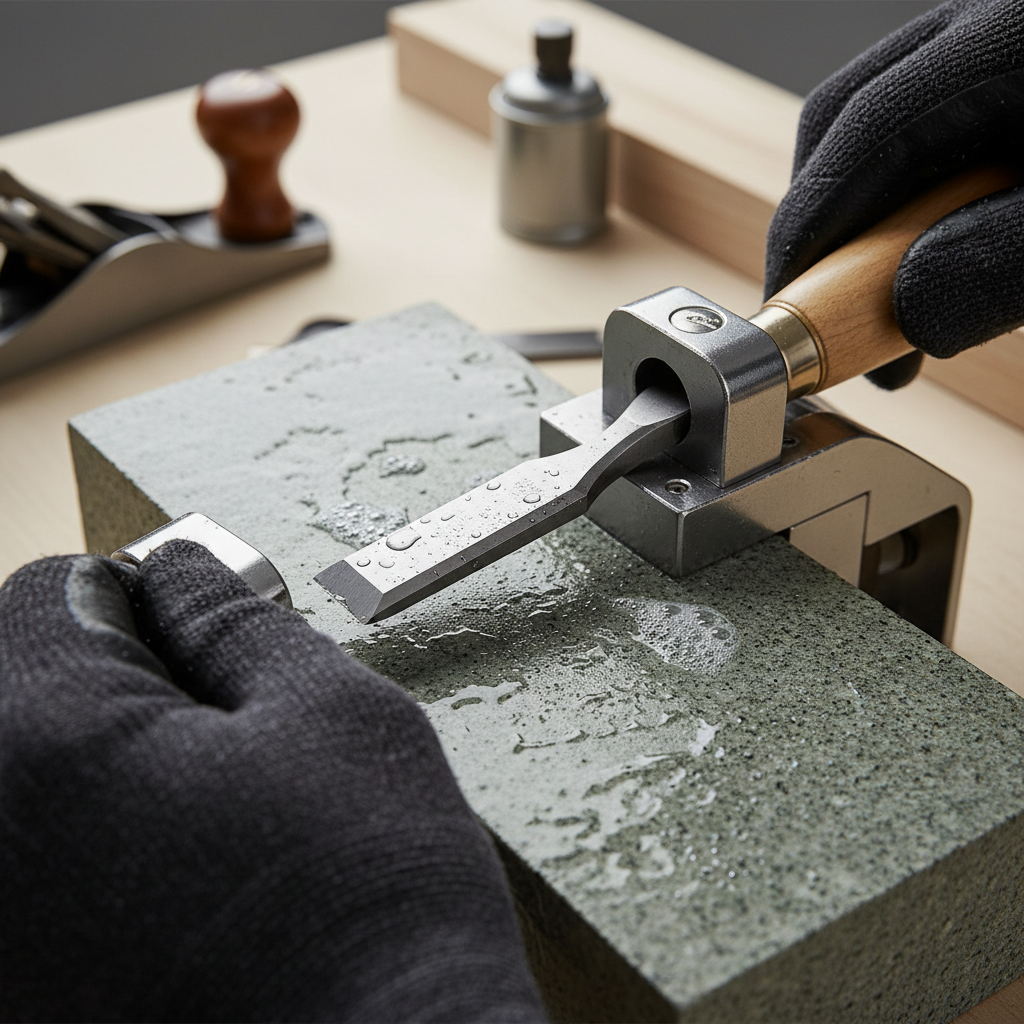
- Flatten the back near the edge: you don’t need the whole back perfect, just the first inch or so dead-flat and polished.
- Remove the burr cleanly: if you leave a wire edge, the chisel may feel sharp for a minute, then crumble and tear fibers.
For repeatability, a honing guide helps many beginners. Freehand works too, but consistency beats pride here.
Safe setup and body mechanics: control beats strength
A chisel is controllable when the workpiece is immovable and your hands have a plan. If the board shifts even a little, your cut will too.
- Clamp the work or use a vise. A “free hand” board is a slip waiting to happen.
- Keep hands behind the edge. If the chisel slips, it should travel into open air, not into fingers.
- Cut away from your body when possible, especially when paring.
- Use a mallet made for chisels. Steel hammers can damage handles and feel less controllable.
Also, give yourself a reference. A knife line or pencil line is not just for accuracy, it reduces the temptation to “correct” a wandering chisel mid-cut.
Read the grain before you cut (this is where tear-out starts)
Most ugly chisel work is grain direction, not talent. If you pare “uphill” into rising grain, the edge can lift fibers and split past your line.
- Look at the side of the board: grain lines that rise toward you usually mean you should pare in the opposite direction.
- Test with a light pass: a thin shaving that peels cleanly is a green light, dust and tearing is a warning.
- When grain reverses, work from both sides toward the middle rather than forcing one direction.
End grain is its own thing. It often pares cleaner with a very sharp edge, lighter cuts, and sometimes a small backer board to prevent blowout.
Core techniques: paring, chopping, and “split-then-pare”
This is the part people actually mean when they ask how to use a wood chisel correctly. The trick is matching technique to the amount of material and the accuracy you need.
Paring (hand pressure, high control)
- Hold the handle low, guide near the blade with your other hand.
- Keep the bevel down for controlled, shallow slicing, and take thin shavings.
- Stop short of the line, then sneak up to it with lighter passes.
Paring shines for fitting joinery, cleaning tenon cheeks, and trimming proud plugs flush without tearing the surrounding fibers.
Chopping (mallet work for depth)
- Start with a knife line when accuracy matters, it acts like a tiny wall.
- Chop straight down a little away from the line, then move closer in steps.
- Keep the chisel vertical by checking from two angles, your eye lies when you only look from one.
If you pry aggressively with a bench chisel, it can twist and chip. For levering waste, a mortise chisel or careful, shallow levering tends to be safer for the edge.
Split-then-pare (fast waste removal without wrecking the line)
When you need to remove a lot of material, don’t try to “one-shot” it. Many woodworkers get cleaner results by splitting waste out in chunks, then paring to final dimension.
- Chop a series of relief cuts across the waste area.
- Pop out small sections, keeping pressure controlled.
- Finish with paring cuts to the line for a clean surface.

Quick self-check: why your chisel work looks rough
If results feel unpredictable, use this checklist. It helps you diagnose one problem at a time instead of changing everything at once.
- Edge crushes fibers instead of slicing: edge likely dull, or bevel angle too steep for paring.
- Chisel dives suddenly: cutting too deep per pass, or bevel orientation wrong for the cut.
- Chisel skates on the surface: starting without a knife line, or trying to bite with too low an angle.
- Tear-out past the line: grain direction not respected, or no scoring cut to sever fibers.
- Handles feel jumpy under mallet: poor stance, workpiece not clamped, or striking off-center.
One small reality check: some woods just behave badly when tools are marginally sharp. Poplar, pine, and construction lumber often show bruising fast.
Practical steps for common jobs (what to do at the bench)
Here are repeatable mini-workflows you can follow without overthinking.
Cleaning a dado or housing joint bottom
- Score the shoulders with a knife for crisp edges.
- Chop lightly across the bottom to break fibers, then pare with bevel down.
- Use a straightedge to spot high areas, pare only those spots.
Trimming a tenon to fit
- Mark high spots with pencil or a light rub of chalk.
- Make thin paring cuts on the cheeks, checking fit often.
- Avoid levering against the shoulder, it bruises the reference surface that makes the joint look tight.
Chopping a small mortise (light duty)
- Lay out with knife lines, mark depth.
- Chop in the center first, then work toward the ends.
- Clear waste in shallow layers; if the mortise fights you, a mortise chisel or drill press setup may be the better call.
Key takeaway: thin cuts feel slower, but they’re usually faster than fixing a blown-out shoulder.
Common mistakes and what to do instead
- Trying to “muscle” a dull chisel: resharpen, then reduce cut depth. Extra force increases slip risk.
- Using a bench chisel as a pry bar: if you must lever, do it gently and in tiny bites, or switch to a tougher tool.
- Ignoring the knife line: score first, then let the chisel register against that wall.
- Storing chisels loose: edge-to-edge contact chips edges, use a rack or guards.
According to the American Woodworking Federation, machine guarding and safe tool practices are central in woodshops; even with hand tools, keeping setups stable and habits consistent reduces avoidable injuries. If you’re unsure about a safe workflow in a shared shop, asking a supervisor or experienced woodworker is a smart move.
When to get extra help or change tools
If you keep getting tear-out after sharpening and adjusting grain direction, the issue might be wood quality, a damaged edge, or a technique mismatch. A local woodworking class can be worth it because an instructor can spot posture and angle problems in seconds.
Also consider switching tools when the job demands it: deep mortises, lots of hardwood chopping, or production work often goes better with a mortise chisel, router plane, or even a router and jig. That’s not “cheating,” it’s choosing the right level of effort.
Conclusion: a simple way to improve your next cut
Using a chisel well is less mysterious than it looks: sharpen until it truly slices, clamp the work so you can relax your grip, then let grain direction tell you which way to pare. Once those pieces click, how to use a wood chisel correctly stops feeling like luck and starts feeling repeatable.
Next time you’re at the bench, do two things: score your line with a knife, then take half-depth cuts for the first few passes. You’ll feel the control immediately, and your joints will look cleaner without a bunch of sanding to hide mistakes.