
Hose clamp set metal plastic options look similar on the shelf, but the wrong clamp material or size can turn a small drip into a recurring leak, a cracked fitting, or a hose that keeps slipping off under pressure.
If you are securing coolant lines, low-pressure irrigation tubing, a shop air hose, or a small appliance drain, the clamp is a small part that decides whether the connection stays quiet for months or nags you every weekend. Most “mystery leaks” start at the connection, not the hose itself.
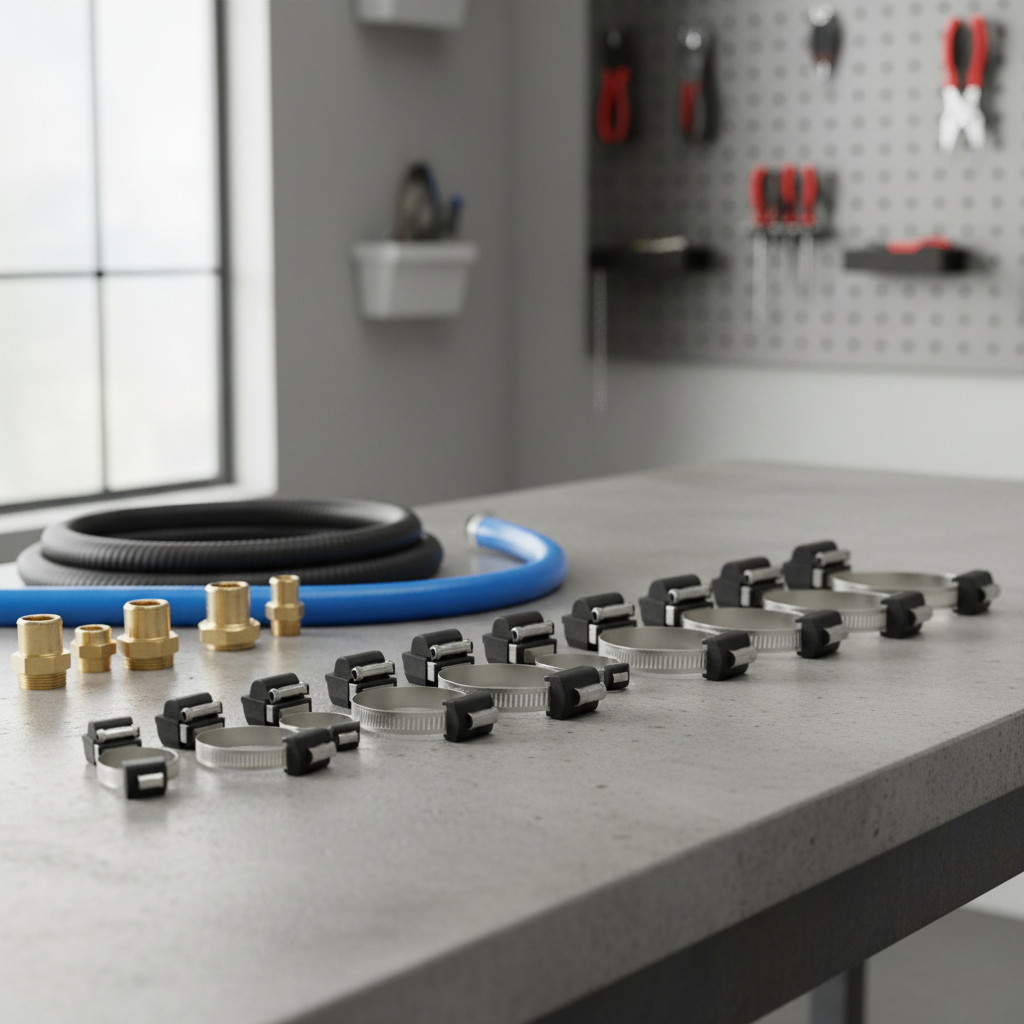
This guide breaks down when metal clamps make sense, when plastic clamps are the safer pick, and how to choose the right diameter and tightening method. You will also get a quick checklist and a practical install routine that reduces leaks without over-cranking.
What a mixed metal & plastic hose clamp set is really for
A mixed set usually covers two realities in the field: not every connection needs maximum torque, and not every hose tolerates aggressive clamping. Keeping both materials on hand helps you match clamp behavior to the hose, the fitting, and the environment.
- Metal clamps typically handle higher torque, heat, vibration, and pressure, which suits automotive, marine, and shop equipment.
- Plastic clamps often work well for low-pressure lines, soft tubing, and places where corrosion or scratching matters.
- A “set” matters because sizing is half the battle, a clamp that is one size off creates uneven compression.
In practice, many users end up using metal on the engine bay or compressor side, plastic for tidy routing on small lines or where you need quick adjustments.
Metal vs. plastic clamps: how to choose without guessing
Picking between metal and plastic is less about “strong vs weak” and more about what failure mode you can live with. A metal clamp can over-compress and damage soft hose, while plastic can relax over time in heat.
| Factor | Metal clamp (worm-gear / band) | Plastic clamp (ratcheting / spring-style) |
|---|---|---|
| Pressure & vibration | Usually better for moderate to high demands | Better for low pressure, low vibration |
| Heat exposure | Often suitable, depends on grade | Can soften or creep, depends on polymer |
| Corrosion risk | Can rust if not stainless, salt accelerates | Won’t rust, good for damp areas |
| Hose protection | Can cut or bite if over-tightened or cheap band | Often gentler on soft tubing |
| Reusability | Often reusable if not stripped | Varies, many are one-time or limited cycles |
Rule of thumb: if you need predictable clamping force over time in a hot, vibrating area, metal tends to win; if you need a quick, non-marring hold on a small line, plastic can be the calmer choice.
Common reasons clamps fail (and it’s not always the clamp)
Most clamp issues come from mismatch: wrong size range, wrong hose type, or tightening method that looks “secure” but actually distorts the seal.
- Wrong diameter window: a clamp near its max diameter often clamps unevenly, and near its min diameter can bottom out before sealing.
- Over-tightening: worm-gear metal clamps can create localized pressure points that nick the hose, especially on thin-wall silicone or vinyl.
- Clamp placement: clamping on the very end of the barb can let the hose flare, clamping too far back can miss the barb ridge.
- Surface contamination: coolant film, oil, or soap used for assembly can reduce friction and encourage slip until it evaporates.
- Thermal cycling: heat-up and cool-down can relax soft hose, what felt tight on day one may loosen later.
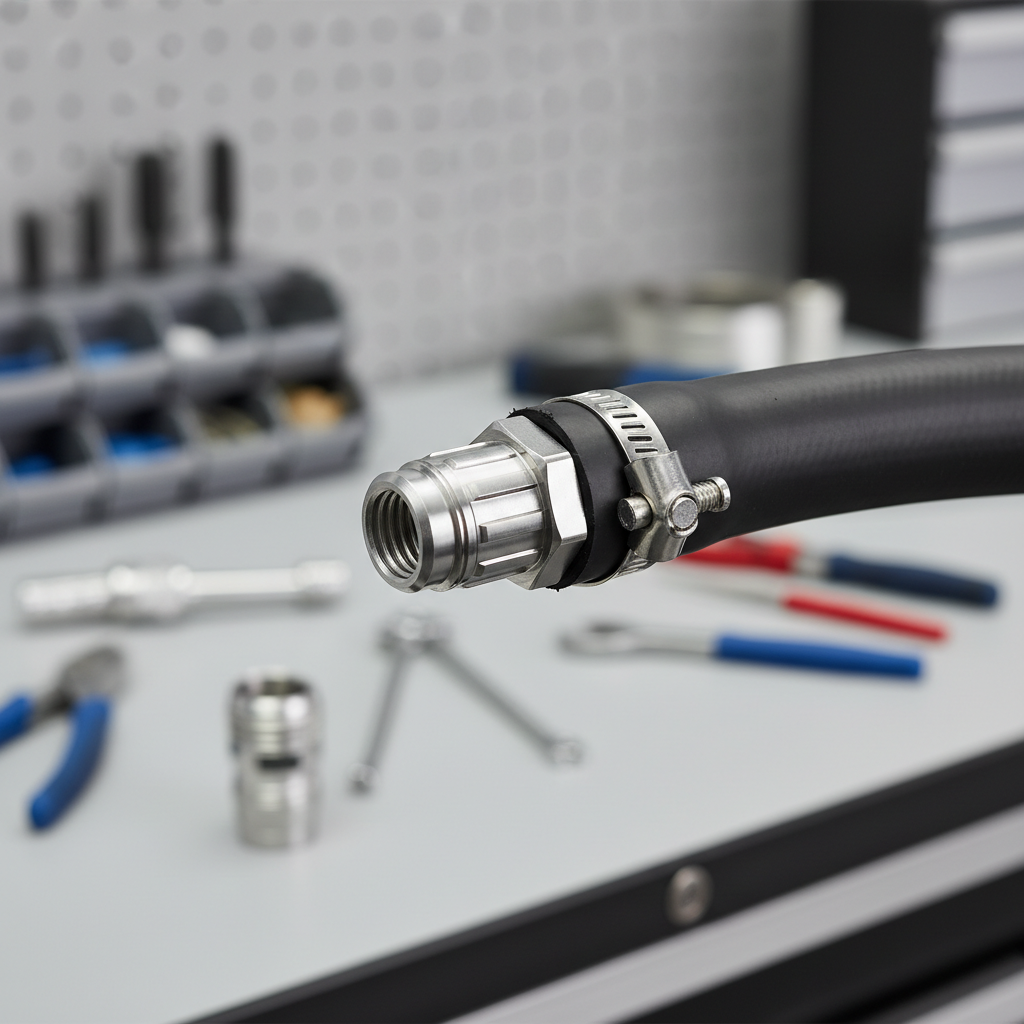
According to OSHA, compressed air used for cleaning can create serious hazards when pressure is too high or used improperly. If your hose clamps are for pneumatic lines, treat the connection as a safety item, not just a convenience part.
Quick self-check: which clamp type fits your job?
If you are standing in the garage with a handful of clamps and one hose, use this quick filter before you install anything.
Choose metal when most of these are true
- The line sees heat, vibration, or frequent pressure spikes
- The hose wall is thick enough to tolerate band pressure
- You need fine adjustability with a screwdriver or nut driver
- You may remove and re-tighten during maintenance
Choose plastic when most of these are true
- The line is low-pressure (drains, small coolant bypass, aquarium, irrigation)
- The tube is soft and marks easily
- Corrosion is a concern or the clamp sits in a wet cabinet area
- You want a quick install with consistent “click” steps
When in doubt, consider the hose material first, soft vinyl and thin silicone usually dislike aggressive metal edges unless the band is smooth and the clamp is properly sized.
How to size a hose clamp set (the part most people rush)
Hose clamp sizing is about the outside diameter of the hose when installed on the fitting, not the hose ID printed on the package. That difference causes a lot of mis-buys.
- Install the hose on the fitting dry (or with minimal lubricant), then measure the outside diameter at the clamp location.
- Select a clamp where that measurement sits near the middle of the clamp’s adjustment range.
- If you are between sizes, many cases favor the smaller size, as long as it does not bottom out before sealing.
For mixed kits, sort clamps into small/medium/large bins, and label the diameter range on the bin. It sounds basic, but it saves time and prevents forcing a clamp that “almost fits.”
Practical installation steps (metal and plastic)
A hose clamp set metal plastic kit is only as good as the install. The goal is uniform compression, not brute force. If you follow a repeatable routine, leaks drop sharply.
Before you clamp
- Inspect the hose end for ovaling, cracks, or hardened sections, cut back to fresh material if needed.
- Check the fitting barb or bead for burrs, a sharp edge can slice under clamp load.
- Slide the clamp onto the hose first, then seat the hose fully against the fitting stop.
Place the clamp correctly
- Position the clamp behind the barb ridge, not on the very edge of the hose.
- Keep the band square to the hose, angled clamps create uneven sealing.
Tighten with restraint
- Metal worm-gear: tighten until the hose slightly compresses, then add small increments. Stop if you see the band digging in.
- Plastic ratcheting: tighten to the first firm resistance, then one or two clicks beyond, avoid maxing out “just because.”
After the first heat cycle or first day of use, re-check. Many hoses relax slightly, and a minor snug can beat a full rework later.
Mistakes to avoid (especially with mixed kits)
Mixed sets are convenient, but they invite mixing styles in the wrong spots. These are the errors that show up most often.
- Using a narrow, perforated band on soft hose: the slots can imprint and start a tear line over time.
- Clamping over a raised seam on some cheap tubing, rotate the hose so the seam is not under the clamp.
- Stacking two clamps randomly: dual-clamping can help on some high-risk connections, but spacing and alignment matter, otherwise you just create two pinch points.
- Ignoring chemical exposure: oils, fuels, and solvents can attack some plastics and some rubbers, match materials to fluid type when possible.
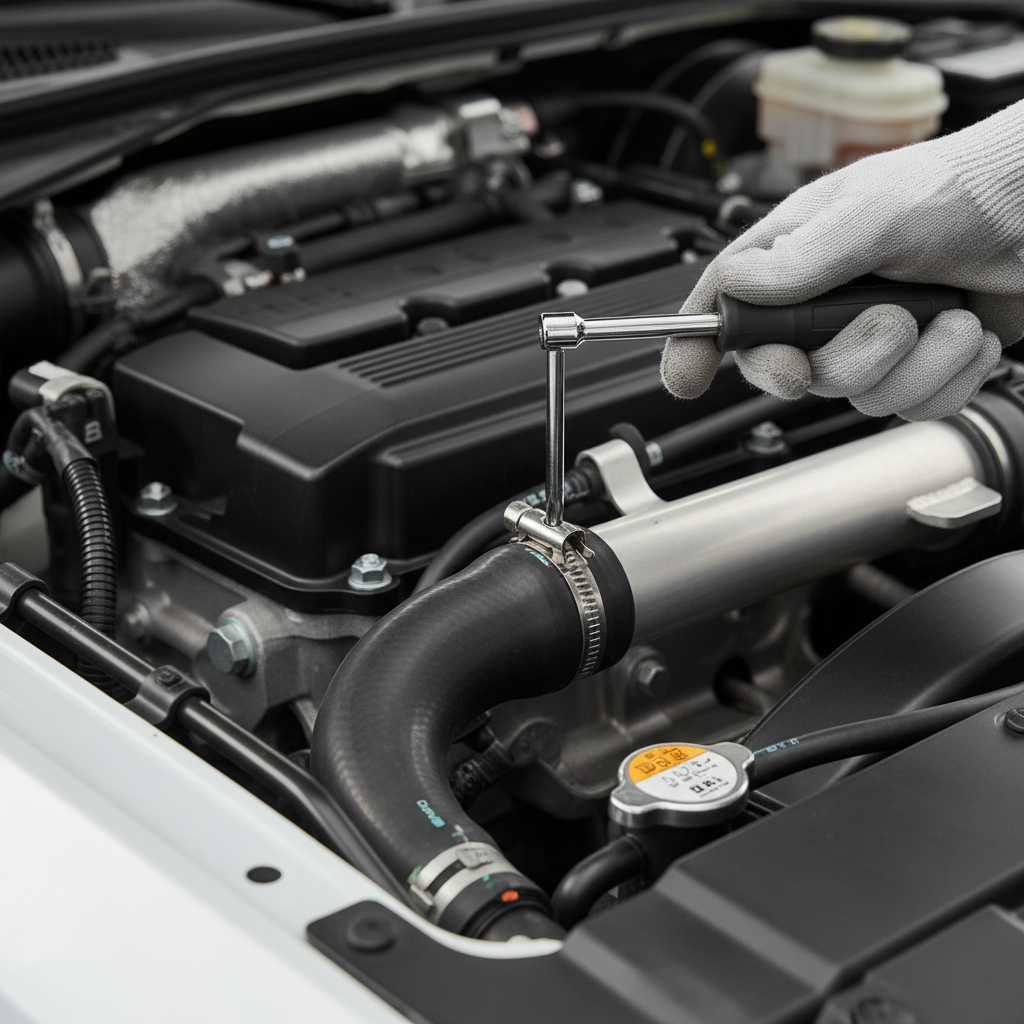
Also, do not assume “stainless” means identical across brands, grade and band design vary, and in salty environments even decent hardware can stain or seize over time.
When to bring in a pro (or at least slow down)
Clamps touch systems that can create real risk: hot coolant, fuel vapors, compressed air, or pressurized water lines in finished spaces. If any of these apply, it may be worth consulting a qualified technician or licensed plumber.
- You smell fuel, see wetness near fuel lines, or the hose connects to a fuel rail or tank area
- The line operates at high pressure and failure could cause injury or property damage
- You already replaced the clamp and the leak persists, which can indicate a damaged fitting or wrong hose spec
- The hose sits near moving parts or high heat sources, routing and shielding matter as much as clamping
According to NFPA, flammable liquids and vapors require careful handling and controls to reduce fire risk. If you are clamping anything that carries fuel or solvent, treat it as a higher-stakes job.
Conclusion: a clamp set is small, but it decides reliability
Most people buy a mixed kit to “be ready,” and that is smart, but results come from matching clamp type to hose material, sizing to the installed outside diameter, and tightening just enough to seal without crushing.
If you do one thing today, sort your kit by size range and write down what each clamp style is for. If you do a second thing, re-check your connections after the first run cycle, that simple habit catches the slow loosening that causes surprise leaks later.
FAQ
What is the best way to pick sizes in a hose clamp set metal plastic kit?
Measure the hose outside diameter after it is pushed onto the fitting, then choose a clamp where that number falls mid-range. It prevents bottoming out or uneven band pressure.
Are plastic hose clamps safe for automotive coolant hoses?
Sometimes for low-stress auxiliary lines, but under-hood heat and vibration can be hard on many plastics. For primary coolant hoses, metal clamps are more common, and you may want a pro opinion if the vehicle is critical.
Why does my hose still leak even after tightening the clamp?
Common causes include a hardened hose end, clamp positioned on the wrong spot, or a fitting with a scratch or out-of-round barb. A new clamp cannot compensate for a damaged sealing surface.
Can I reuse worm-gear metal clamps?
Often yes if the screw and band are not stripped and the band stays smooth. If the band has sharp deformation or the screw feels gritty, replacing is usually safer.
Should I use two clamps on one hose connection?
It can help in some higher-risk cases, but only when you can space them slightly and keep them aligned. Two clamps stacked on the same groove often adds damage without improving sealing.
What tool should I use to tighten metal hose clamps?
A nut driver or screwdriver works, but a nut driver often gives better control. Avoid over-torquing; if you feel the screw starting to jump or strip, stop and reassess size.
Do plastic clamps loosen over time?
They can, especially with heat cycling or constant load. If the line is warm or under vibration, a quick re-check after initial use is a good habit.
If you are stocking a garage, boat kit, or maintenance cart and want a more “grab-and-go” setup, a labeled mixed hose clamp set with clearly separated metal and plastic styles can save time and reduce the trial-and-error that leads to repeat leaks.