
cable clamp set management is really about one thing: keeping cords where you intended them to be, day after day, without redoing your work every time someone unplugs a charger or bumps a power strip.
If you have a desk that looks tidy for one afternoon and turns into a spaghetti mess by Friday, you’re not alone. Loose cables snag shoes, collect dust, tug on ports, and make even simple tasks like swapping a monitor annoyingly slow. A clamp set won’t “solve life,” but it often fixes the recurring friction points.
This guide breaks down what a cable clamp set actually includes, how to choose the right type for your surfaces and cable mix, and how to install it so it stays put. I’ll also call out the common mistakes that waste time, like using the wrong clamp size or sticking adhesive onto dusty paint.
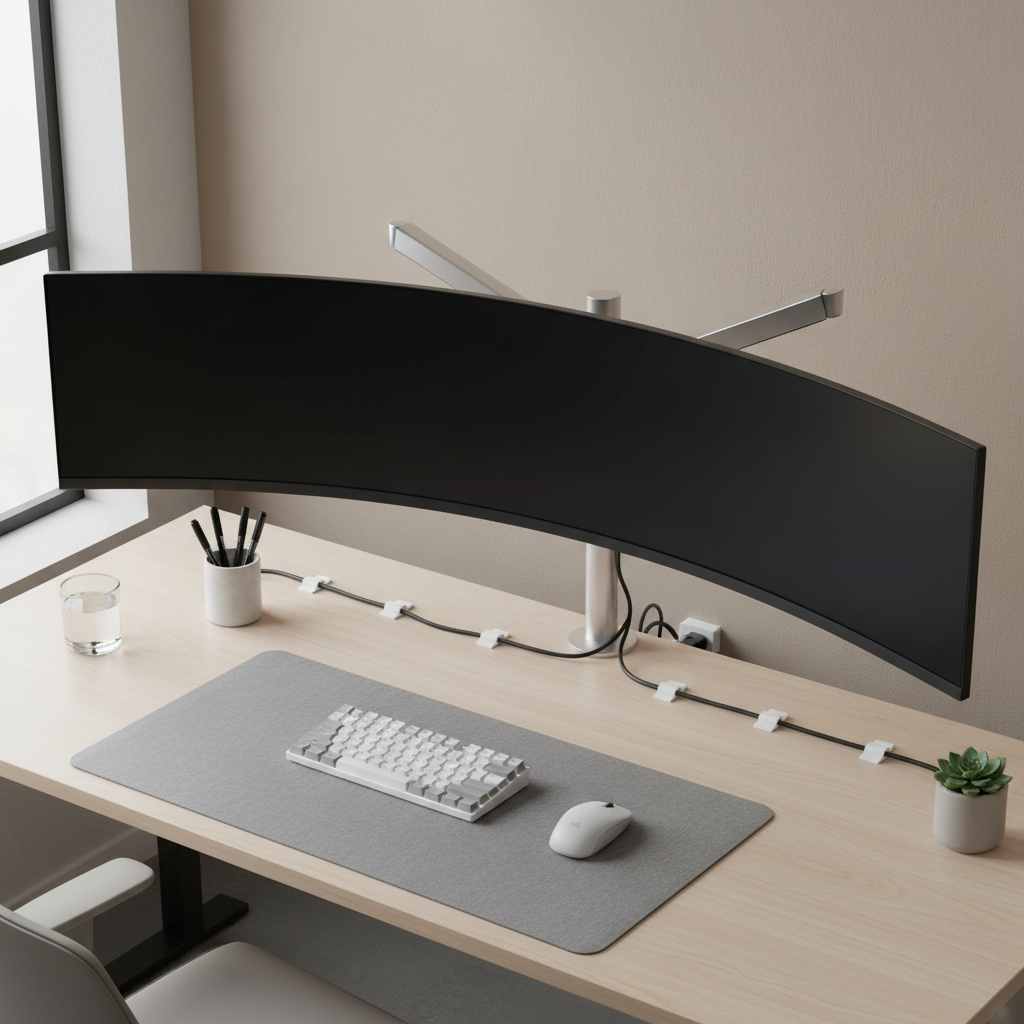
What a Cable Clamp Set Is (and What It’s Not)
A cable clamp set is a bundle of small holders that anchor cables to a surface so they route cleanly along edges, under desks, inside cabinets, or on walls. Think “cable path control,” not just “cable storage.”
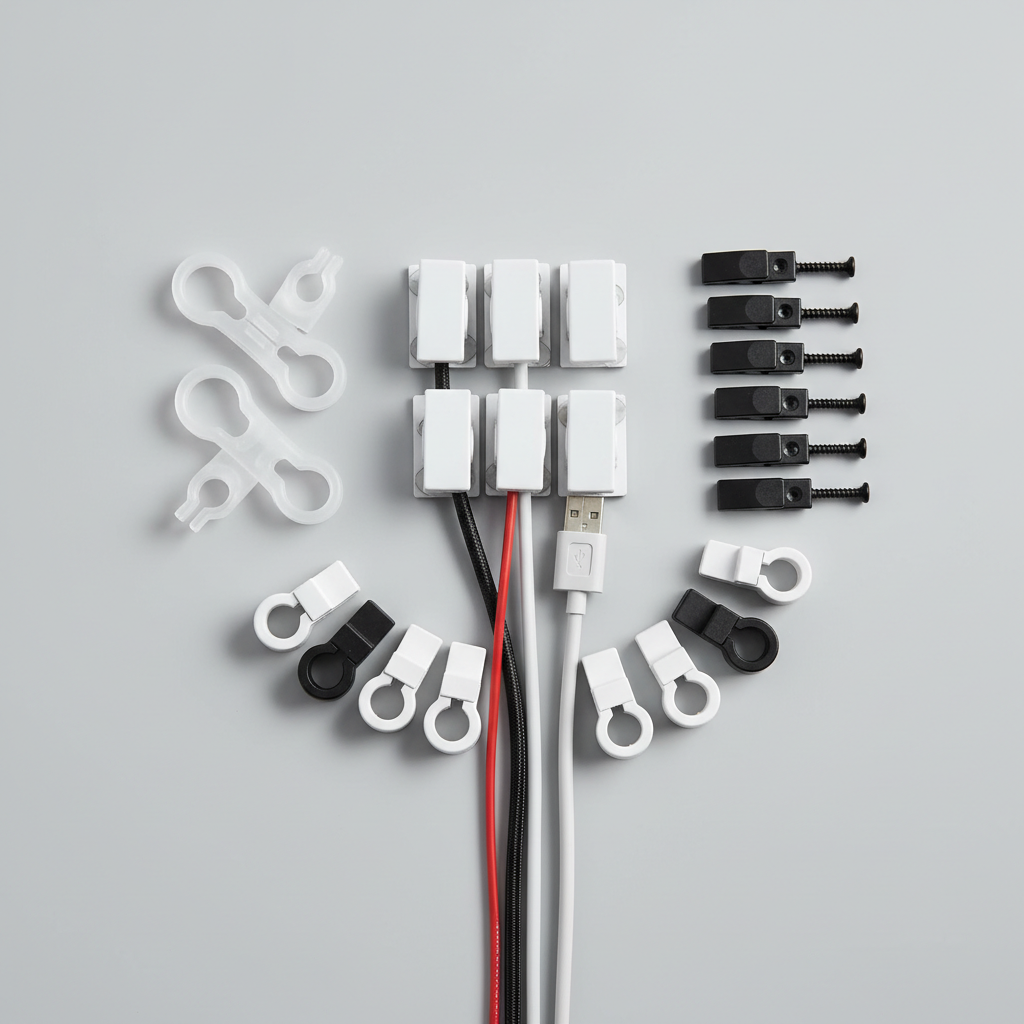
Most sets include a mix of sizes and mounting options. Typical pieces you’ll see:
- Adhesive-backed clamps for desks, baseboards, and equipment racks
- Screw-mount clamps for wood studs, under-desks, and long-term installs
- Snap-in or hinged clamps for thicker bundles or frequent changes
- Open-loop clips when you want to pop a cable in and out quickly
What it’s not: it’s not a substitute for a surge protector, not a fire-safety device, and not the best tool for hiding a massive power brick. It’s a routing tool that makes everything else easier to manage.
Why Cable Mess Keeps Coming Back: The Real Causes
Most cable chaos isn’t because people “don’t organize.” It’s because the setup has no stable routing decisions, so every small change resets the mess. In cable clamp set management, the recurring culprits usually look like this:
- No defined pathways: cords fall to the shortest path, which is almost always the messiest path.
- Mixed cable weights: HDMI and power cords pull harder than you expect, especially when cables hang vertically.
- Frequent device swapping: laptops, USB hubs, chargers, and docking stations change weekly, sometimes daily.
- Bad anchor surfaces: dusty laminate, textured paint, or warm metal can reduce adhesive performance.
- Port stress: cables tug on ports, which can cause intermittent connections and wear over time.
According to OSHA, good housekeeping practices help reduce slip, trip, and fall hazards in the workplace, and cords in walkways are a common contributor. That doesn’t mean clamps are a compliance plan by themselves, but they can be part of a safer layout when you route cables away from foot traffic.
Quick Self-Check: Which Setup Do You Actually Have?
Before buying or installing anything, take two minutes to classify your situation. It saves money and prevents the “I bought a kit and still hate my desk” outcome.
Pick the closest match
- Desk setup: laptop + monitor(s) + dock + power strip under desk
- Entertainment center: TV + soundbar + console + streaming box
- Workshop/garage: chargers + tools + extension cords + wall outlets
- Networking corner: modem/router + NAS + switch + patch cords
Then answer these yes/no questions
- Do cables hang where feet or chair wheels can catch them?
- Do you unplug and replug at least weekly?
- Are you mixing thick power cords with thin data cables in one bundle?
- Is the mounting surface textured, oily, dusty, or warm to the touch?
- Do you need cables to be removable without tools?
If you answered “yes” to the last two, you’ll usually want a mix of adhesive clips for light runs and screw-mount clamps for high-tension areas.
Choosing the Right Cable Clamp Set: A Practical Comparison
There’s no single “best” kit. The right choice depends on cable thickness, how often you change things, and whether you can drill. Here’s a table you can use as a quick filter.
| Clamp type | Best for | Pros | Watch-outs |
|---|---|---|---|
| Adhesive-backed clip | Desks, smooth walls, light cables | Fast install, no tools | May fail on textured/dirty surfaces; heat can weaken adhesive |
| Screw-mount clamp | Under-desk, studs, long runs | Strong hold, stable over time | Leaves holes; needs basic tools |
| Snap-in/hinged clamp | Thicker bundles, frequent swaps | Easy maintenance, re-openable | Bulkier; spacing matters to avoid pinch points |
| Open-loop holder | Temporary routing, light cables | Quick add/remove | Less secure if cable gets pulled |
Key sizing tip: measure the outer diameter of your thickest cable (often the power cord) and choose clamps that fit without forcing. If you have to “cram it in,” the clamp may pop open or stress the cable jacket.
How to Install Cable Clamps So They Stay Put
The install is where most people lose patience. The trick is to treat it like a routing plan, not like decorating. Cable clamp set management works best when you commit to a path and then lock it in.
Step-by-step (desk and entertainment center friendly)
- Unplug and map: identify which cables must move (laptop charger) and which can stay fixed (TV power).
- Choose a path: along the back edge, down one leg, then to the power strip. Avoid “floating” mid-air spans.
- Prep the surface: clean with isopropyl alcohol when possible, then let it dry. Adhesives hate dust and oils.
- Place anchors first: install clamps empty, spacing them tighter where cables bend or hang.
- Route with slack: leave a small service loop near devices so ports don’t take the strain.
- Test before final press: plug/unplug once to confirm reach, then firmly press adhesive mounts.
If you’re routing near warm equipment (consoles, AV receivers), consider screw mounts or heat-rated adhesive solutions, since heat can reduce stickiness over time.
Real-World Setups: What to Do in Common Scenarios
Below are a few patterns that tend to work in actual rooms, not just in perfect product photos.
Under-desk “drop zone” (work-from-home)
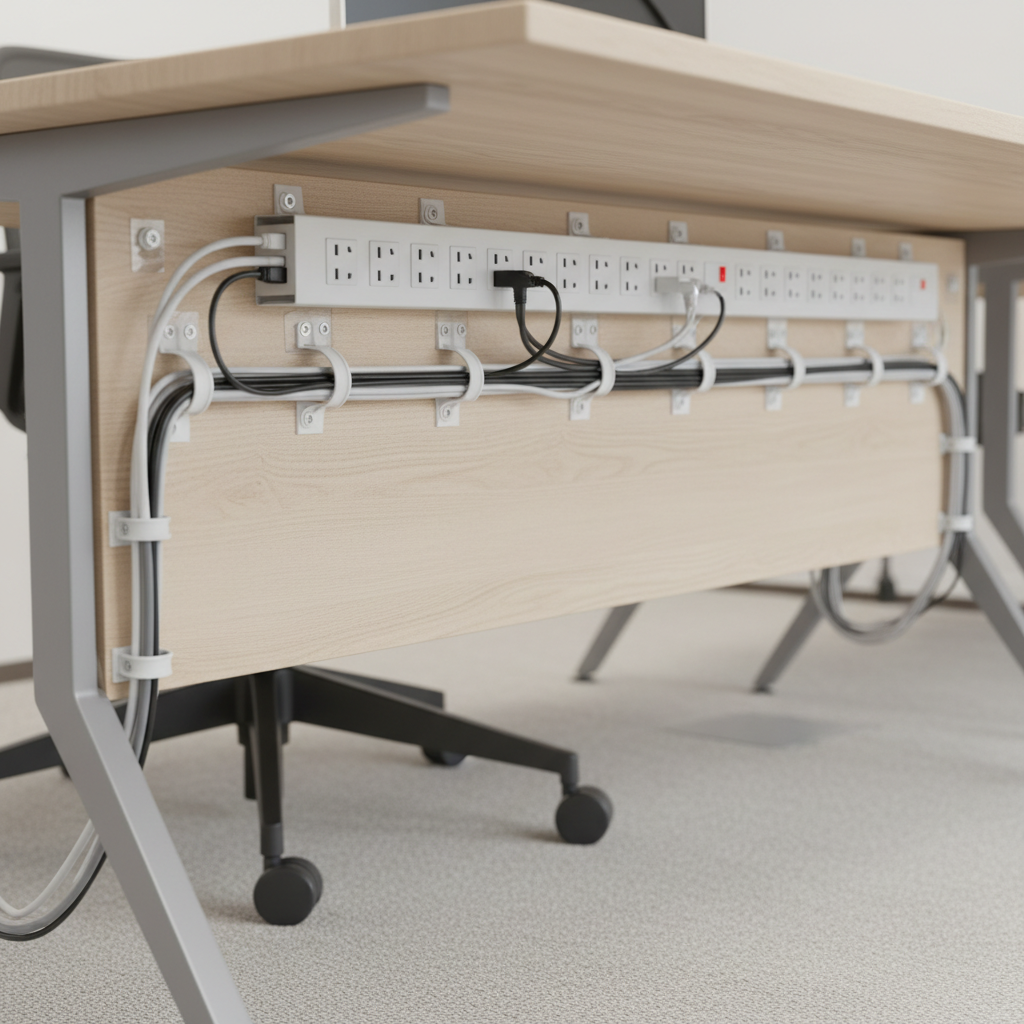
- Mount a power strip under the desk, then clamp the main power cord along the rear edge.
- Run monitor cables as a bundle, but keep power and data slightly separated where possible to reduce tangling.
- Use re-openable clamps near the dock, since that area changes more often.
TV console with multiple devices
- Create two routes: one for power, one for HDMI/optical, each with its own clamp line.
- Clamp cables to the back panel or inside edge so they don’t droop behind the console.
- Label both ends if you ever swap devices, future-you will thank you.
Garage/workbench (durability first)
- Use screw-mount clamps for anything that might get snagged by tools, hoses, or moving equipment.
- Keep cords off the floor where possible, especially around doorways.
- If you’re unsure about electrical routing in tight spaces, it’s reasonable to consult a qualified electrician.
Mistakes That Make Cable Management Worse (Yes, Really)
A clamp kit can backfire when it locks in a bad layout. These are the errors that keep showing up:
- Over-tight routing: no slack near ports means every bump becomes strain on connectors.
- Adhesive on the wrong surface: textured paint, dusty particleboard, or oily plastics can lead to slow peel-off.
- Too few clamps: long spans sag, then you add “one more cable,” and it all collapses.
- Mixing everything into one giant bundle: it looks clean for a day, then troubleshooting becomes miserable.
- Ignoring cable bend radius: sharp bends can shorten cable life; keep curves gentle.
According to the National Fire Protection Association (NFPA), extension cords are intended for temporary use, and overloading or improper use can introduce safety risks. If you find yourself chaining power strips or relying on extension cords permanently, it may be worth rethinking outlet placement with a professional.
Key Takeaways and a Simple Maintenance Routine
Key points that usually make cable clamp set management feel “done,” not ongoing:
- Define cable paths before sticking or drilling anything.
- Use the right mount: adhesive for light/clean surfaces, screws for tension and long-term holds.
- Keep service loops near devices to protect ports and make swaps painless.
- Separate problem areas: power zone vs data zone, and “frequently changed” vs “never touched.”
Maintenance can stay minimal. Once a month, do a 60-second check: press on adhesive clips, confirm nothing rubs sharp edges, and remove any “temporary” cables that quietly became permanent.
If you want a fast next step, pick one zone, usually the power strip area under your desk or the back of the TV console, and lock in a clean route with clamps. Small win, visible impact.
FAQ
What is included in a typical cable clamp set?
Many sets mix sizes and mounting styles, like small adhesive clips for thin cables and larger clamps for thicker cords. The useful kits usually include a few re-openable options for areas you change often.
Are adhesive cable clamps strong enough for power cords?
Sometimes, especially on clean, smooth surfaces with low tension, but heavier cords and vertical runs can pull over time. For high-tension spots, screw-mount clamps tend to be more reliable.
How many clamps do I need for a desk setup?
It depends on cable count and how far they travel, but most desks feel stable when clamps appear at bends, edges, and any place the bundle wants to droop. If you see sagging spans, add one or two more rather than forcing the cable tighter.
Can cable clamps damage walls or furniture?
Screw mounts leave holes, and some adhesives can pull paint depending on wall finish and removal technique. If you’re renting or working with delicate finishes, test one clamp in an unseen area before committing.
How do I remove adhesive clamps without peeling paint?
Go slowly, warm the adhesive slightly with a hair dryer on low, and pull parallel to the surface rather than straight out. If the paint feels fragile, it may be safer to switch to non-adhesive routing methods.
Is it okay to clamp multiple cables together?
Usually yes for neatness, but avoid compressing bulky bundles or forcing sharp bends. Keeping power and data runs loosely separated often makes troubleshooting easier later.
When should I talk to an electrician about cable routing?
If you’re running cords through walls, dealing with persistent overload issues, or relying on extension cords as permanent wiring, professional guidance is the safer move. For anything that affects building wiring, it’s better to ask than guess.
If you’re trying to clean up a desk, TV console, or small networking corner and want a more predictable result, a well-matched clamp kit plus a simple routing plan usually beats buying more organizers at random, and it keeps everyday swaps from turning into another cable mess.