
Harmonic balancer puller kit is the tool most people end up shopping for after they’ve already rounded a bolt, bent a cheap puller, or realized the balancer will not “just slide off” like a YouTube clip made it look.
If you’re working on a crank seal, timing cover, oil pump, or a front-end rebuild, removing the harmonic balancer is often the gatekeeper job. When it goes smoothly, the rest of the project feels manageable. When it doesn’t, you can lose hours and risk damaging the crank snout, threads, or the balancer itself.
This guide focuses on what actually matters: which puller style fits which engines, what pieces you want in a kit, how to avoid common mistakes, and a practical step-by-step approach that’s friendly to DIYers but realistic about when to stop and get help.
What a harmonic balancer puller kit does (and why it’s not “just a puller”)
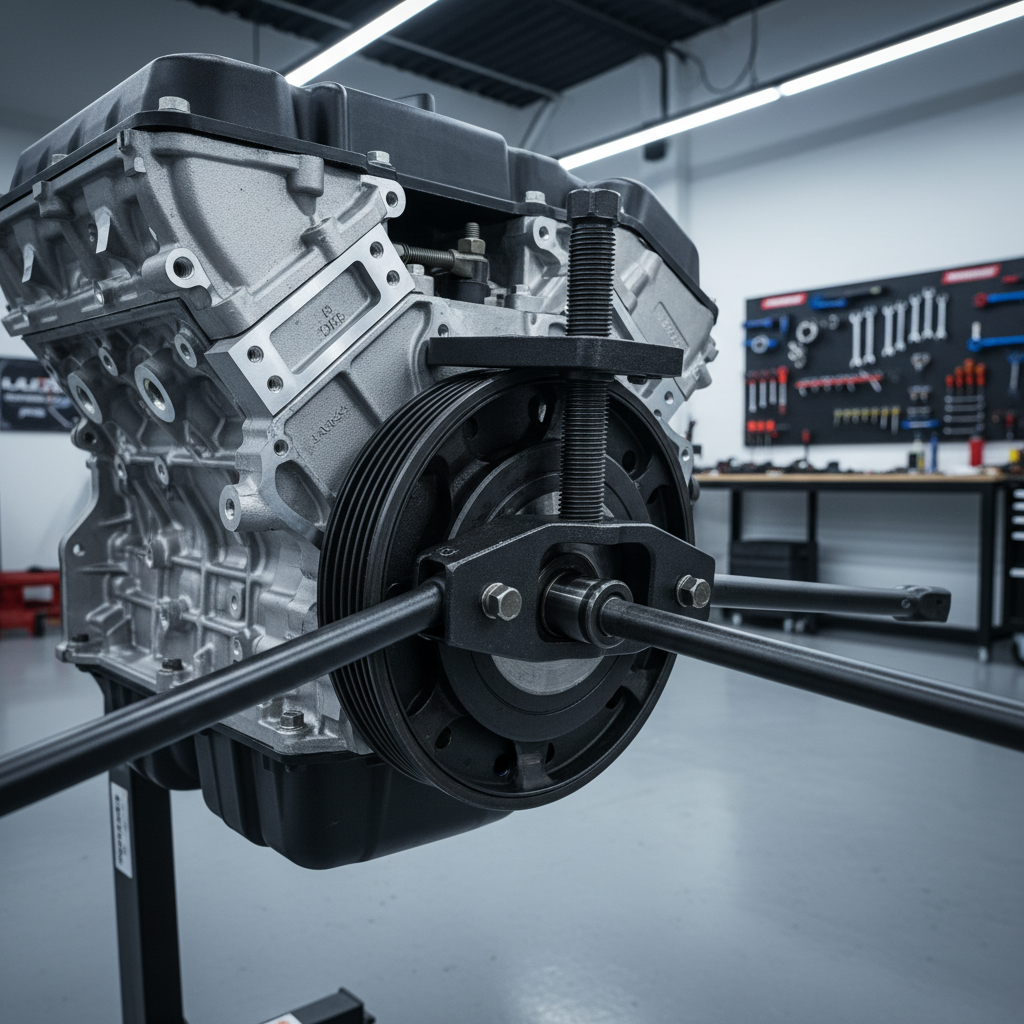
A harmonic balancer is typically press-fit onto the crankshaft, and that interference fit is the whole point. The puller kit gives you controlled, centered force to draw the balancer off without prying on the timing cover area or hammering on the crank.
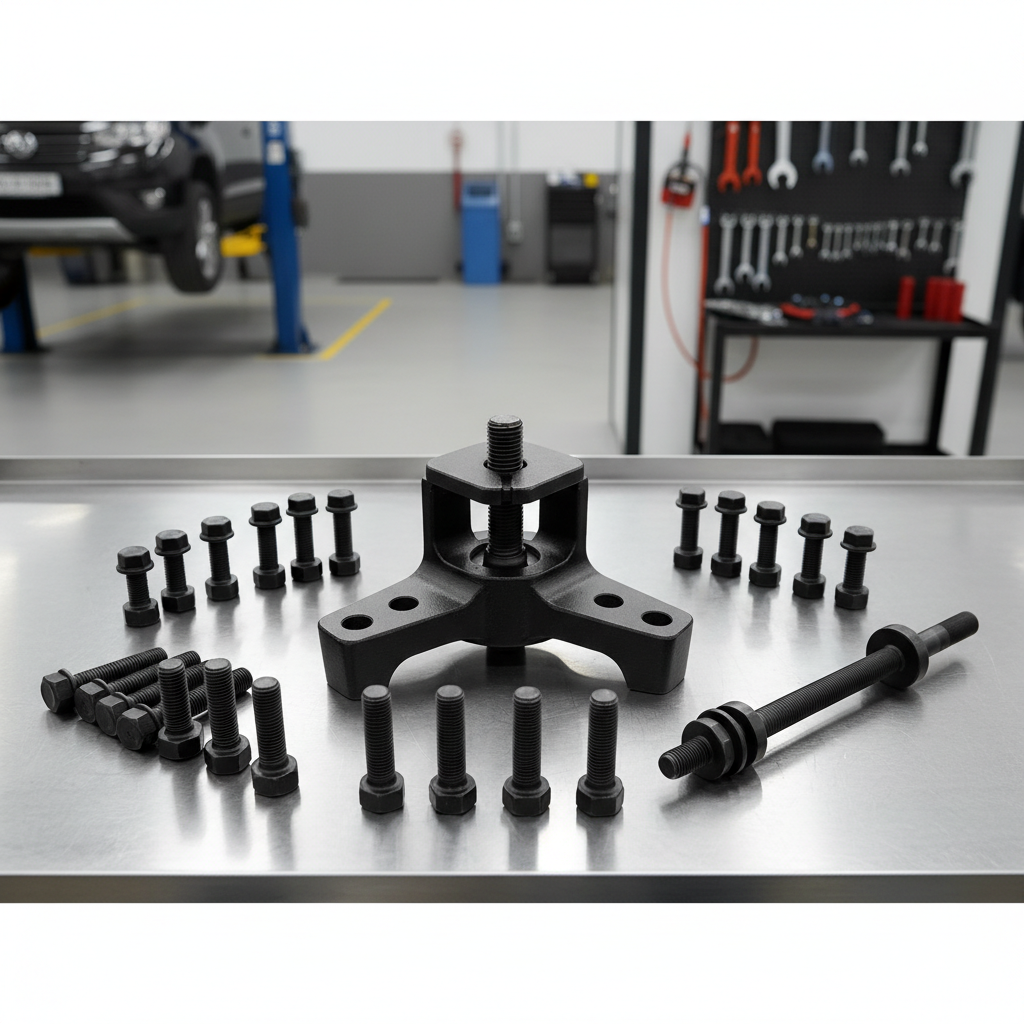
Most kits include a forcing screw (center bolt), a yoke or plate, and multiple bolts. Some also include a separate installer tool, which matters because tapping a balancer on with a mallet is where a lot of expensive damage starts.
One more thing people miss: “harmonic balancer” and “crank pulley” get used interchangeably in conversation, but on many vehicles the pulley and balancer are a combined assembly, and on others they’re separate. That affects how much room you have for a puller and what bolt pattern you’re actually grabbing.
Common reasons harmonic balancers get stuck
When a balancer refuses to come off, it’s usually not because you’re weak, it’s because something is adding friction or locking it in place. In real garages, these are the repeat offenders.
- Corrosion on the crank snout: Moisture and road salt can create a tight “ring” of rust where the hub meets the crank.
- Heat cycles and fretting: Tiny movement over time can create metal transfer, making the fit feel glued.
- Wrong bolt holes used: Some balancers have threaded holes for a puller; others use pulley bolt holes, and mixing them can strip threads fast.
- Insufficient engagement: Short bolts or incorrect thread pitch can pull out under load, then you’re worse off than when you started.
- Interference from shields or timing cover lips: The puller may not sit flat, so force goes sideways and binds.
According to NHTSA, proper maintenance practices and correct tool use help reduce risk during vehicle repair, especially around moving parts and heavy components. That sounds generic, but with balancers, “correct tool use” is the difference between a clean pull and damaged crank threads.
How to choose the right kit: features that matter
If you only buy based on “fits most cars,” you’ll often end up missing the one bolt length or thread pitch your engine needs. Here’s what tends to matter more than brand labels.
1) Puller style: 2/3-jaw vs. bolt-on yoke
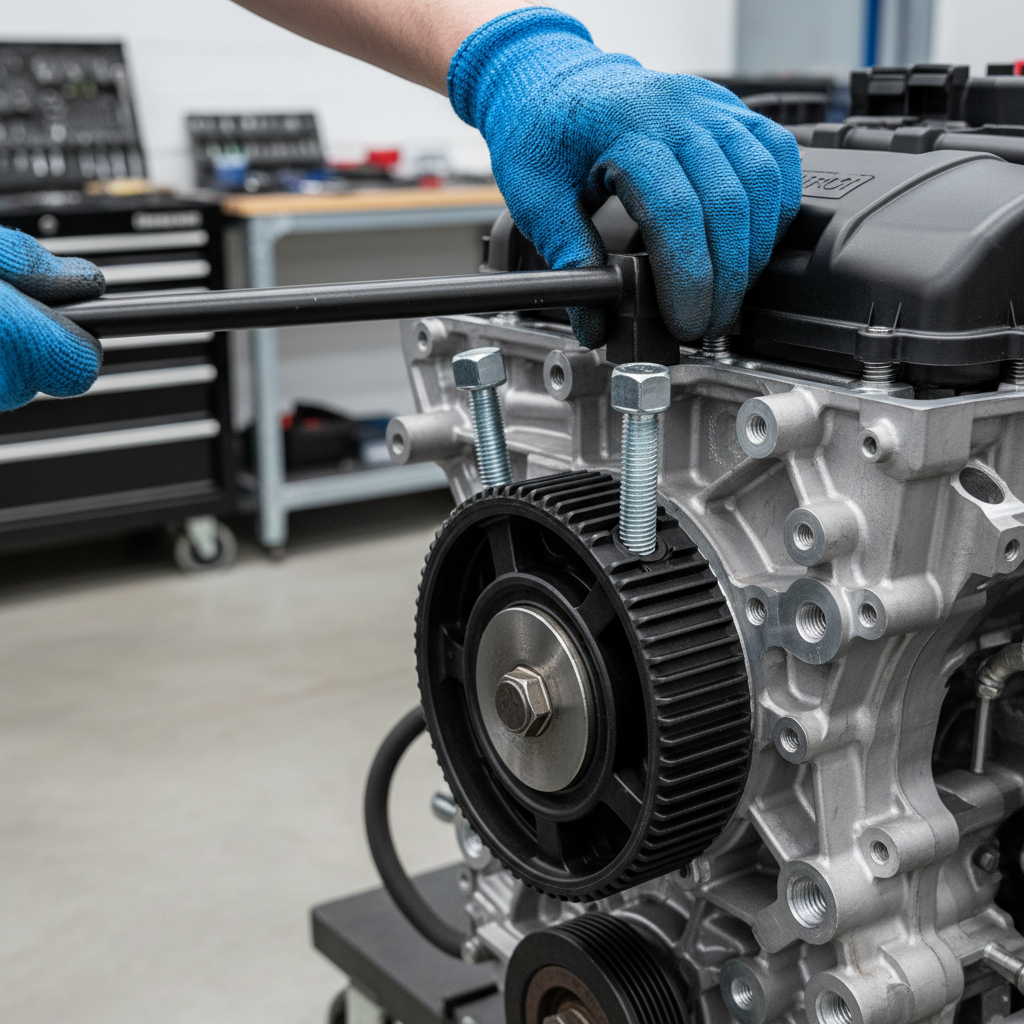
- Bolt-on yoke/plate puller: Preferred for most modern harmonic balancers because it pulls from threaded holes and stays centered.
- Jaw puller: Useful when there are no threaded holes, but it’s easier to slip, chip the outer ring, or apply uneven force.
For most DIY jobs, a kit with a solid yoke and multiple bolt sizes is the safer bet, assuming your balancer has puller holes.
2) Forcing screw quality and tip design
The forcing screw is where cheap kits show their limits. Look for hardened threads and a smooth, well-machined tip. A removable tip or bearing-style end can reduce friction, which translates to smoother pulling and less chance you gall the crank end.
3) Bolt assortment (this is where projects stall)
A “complete” harmonic balancer puller kit usually lives or dies by its bolt selection. You want common SAE and metric sizes, plus enough length to fully engage threads even when a thick yoke is used.
- Common metric: M8, M10, M12 (thread pitch varies by vehicle)
- Common SAE: 5/16, 3/8, 7/16 (fine vs coarse matters)
- At least a couple longer bolts for deeper hubs
4) Installer tool included (strongly recommended)
Many kits sell the puller only, but the installer is what helps you finish correctly. Pressing the balancer on with the proper installer uses the crank threads gently and keeps the hub straight. Without it, people often use the crank bolt to “draw it on,” which can work in some cases, but it also risks stripping threads or breaking the bolt on stubborn fits.
Quick comparison table
| Kit feature | Why it matters | Best for |
|---|---|---|
| Bolt-on yoke/plate | Centered pull, less slip risk | Most engines with puller holes |
| Jaw puller option | Works when no threaded holes exist | Older designs, limited-access setups |
| Hardened forcing screw | Handles high load without thread damage | Stuck or corroded balancers |
| Wide bolt assortment | Prevents stripped holes and delays | DIYers, multi-vehicle use |
| Installer tool | Safer, straighter installation | Timing cover/seal jobs, reassembly |
Fast self-check: do you have the right setup?
Before you start cranking on the tool, run through this. It saves you from the classic “everything is tight but nothing is moving” situation.
- Do you see threaded puller holes? If yes, use them, don’t grab the outer ring with jaws unless you must.
- Are your bolts the correct thread pitch? If a bolt doesn’t spin in by hand easily, stop and confirm.
- Do you have enough bolt engagement? Many techs aim for several full turns of engagement, not just a couple threads.
- Is the puller sitting flat? A cocked plate loads the hub sideways and increases the chance of binding.
- Do you have an installer? If not, plan your install method now, not when the balancer is half on.
Key point: If you’re forcing anything while the tool looks misaligned, you’re not “making progress,” you’re usually setting up damage.
Step-by-step: using a harmonic balancer puller kit safely
This process assumes a typical bolt-on yoke puller. Your service manual may specify details for your engine, and it’s worth checking because crank bolt torque specs and thread types vary.
Prep
- Disconnect the battery if you’ll be near the starter circuit.
- Remove belts and any shields that block a flat puller fit.
- Inspect the balancer for rubber separation or wobble; if it’s failing, handle it gently so the ring doesn’t shift.
Mount the puller
- Select bolts that match the threaded holes and thread in by hand.
- Snug bolts evenly so the yoke stays centered.
- Lightly lubricate the forcing screw threads to reduce binding.
Apply force in controlled steps
- Turn the forcing screw a half turn to a turn, then pause and check alignment.
- If the hub moves a hair, keep going slowly; that first movement is usually the hardest part.
- If nothing moves and the tool is flexing, stop and reassess rather than “going harder.”
If it’s really stuck
Penetrating oil applied to the hub-to-crank interface can help, though it often needs time. Gentle heat on the hub area may help in some situations, but it also brings fire risk and can harm nearby seals, so this is a “use judgment” zone. If you’re unsure, it’s reasonable to consult a professional technician.
Practical tips that prevent damaged threads and broken tools
- Never use the puller bolts as “jackscrews” unevenly. Tightening one side more than the other twists the plate and binds the hub.
- Protect the crank threads. If your forcing screw pushes directly on the crank end, make sure it seats cleanly; some setups benefit from a small protective adapter, depending on design.
- Don’t pry behind the balancer. Timing covers and seal surfaces are easy to distort.
- If the balancer has a reluctor ring or trigger wheel, keep it safe. Bending it can create drivability issues that look like “mystery misfires.”
- Plan the install before removal. Having the right installer and the correct torque procedure ready avoids panic decisions later.
When it’s time to stop DIY and get professional help
Some situations are not worth the risk, especially when the potential downside is a crankshaft replacement or timing component damage.
- The puller holes strip or the bolts won’t hold torque.
- The balancer wobbles or separates as you pull, suggesting internal rubber failure.
- You see metal shavings, cracked hub areas, or a visibly damaged crank snout.
- You need heat or specialty tools (like OEM-specific pullers) but you’re not comfortable managing the risk.
According to OSHA, using the correct tools and following safe work practices helps reduce injury risk in mechanical work environments. In plain terms: if the setup looks sketchy, it usually is.
Conclusion: pick the kit that matches your engine and your patience level
A good harmonic balancer puller kit saves you from improvising with pry bars and bad angles, and it makes the job feel predictable instead of violent. The biggest wins tend to come from simple things: a centered bolt-on yoke, bolts that actually match your balancer, and an installer tool so reassembly stays controlled.
If you want a quick action plan, confirm whether your balancer has threaded puller holes, then choose a kit with a broad bolt assortment and a hardened forcing screw. And if your project involves reinstalling the balancer, prioritize a kit or add-on that includes an installer, your future self usually appreciates that.